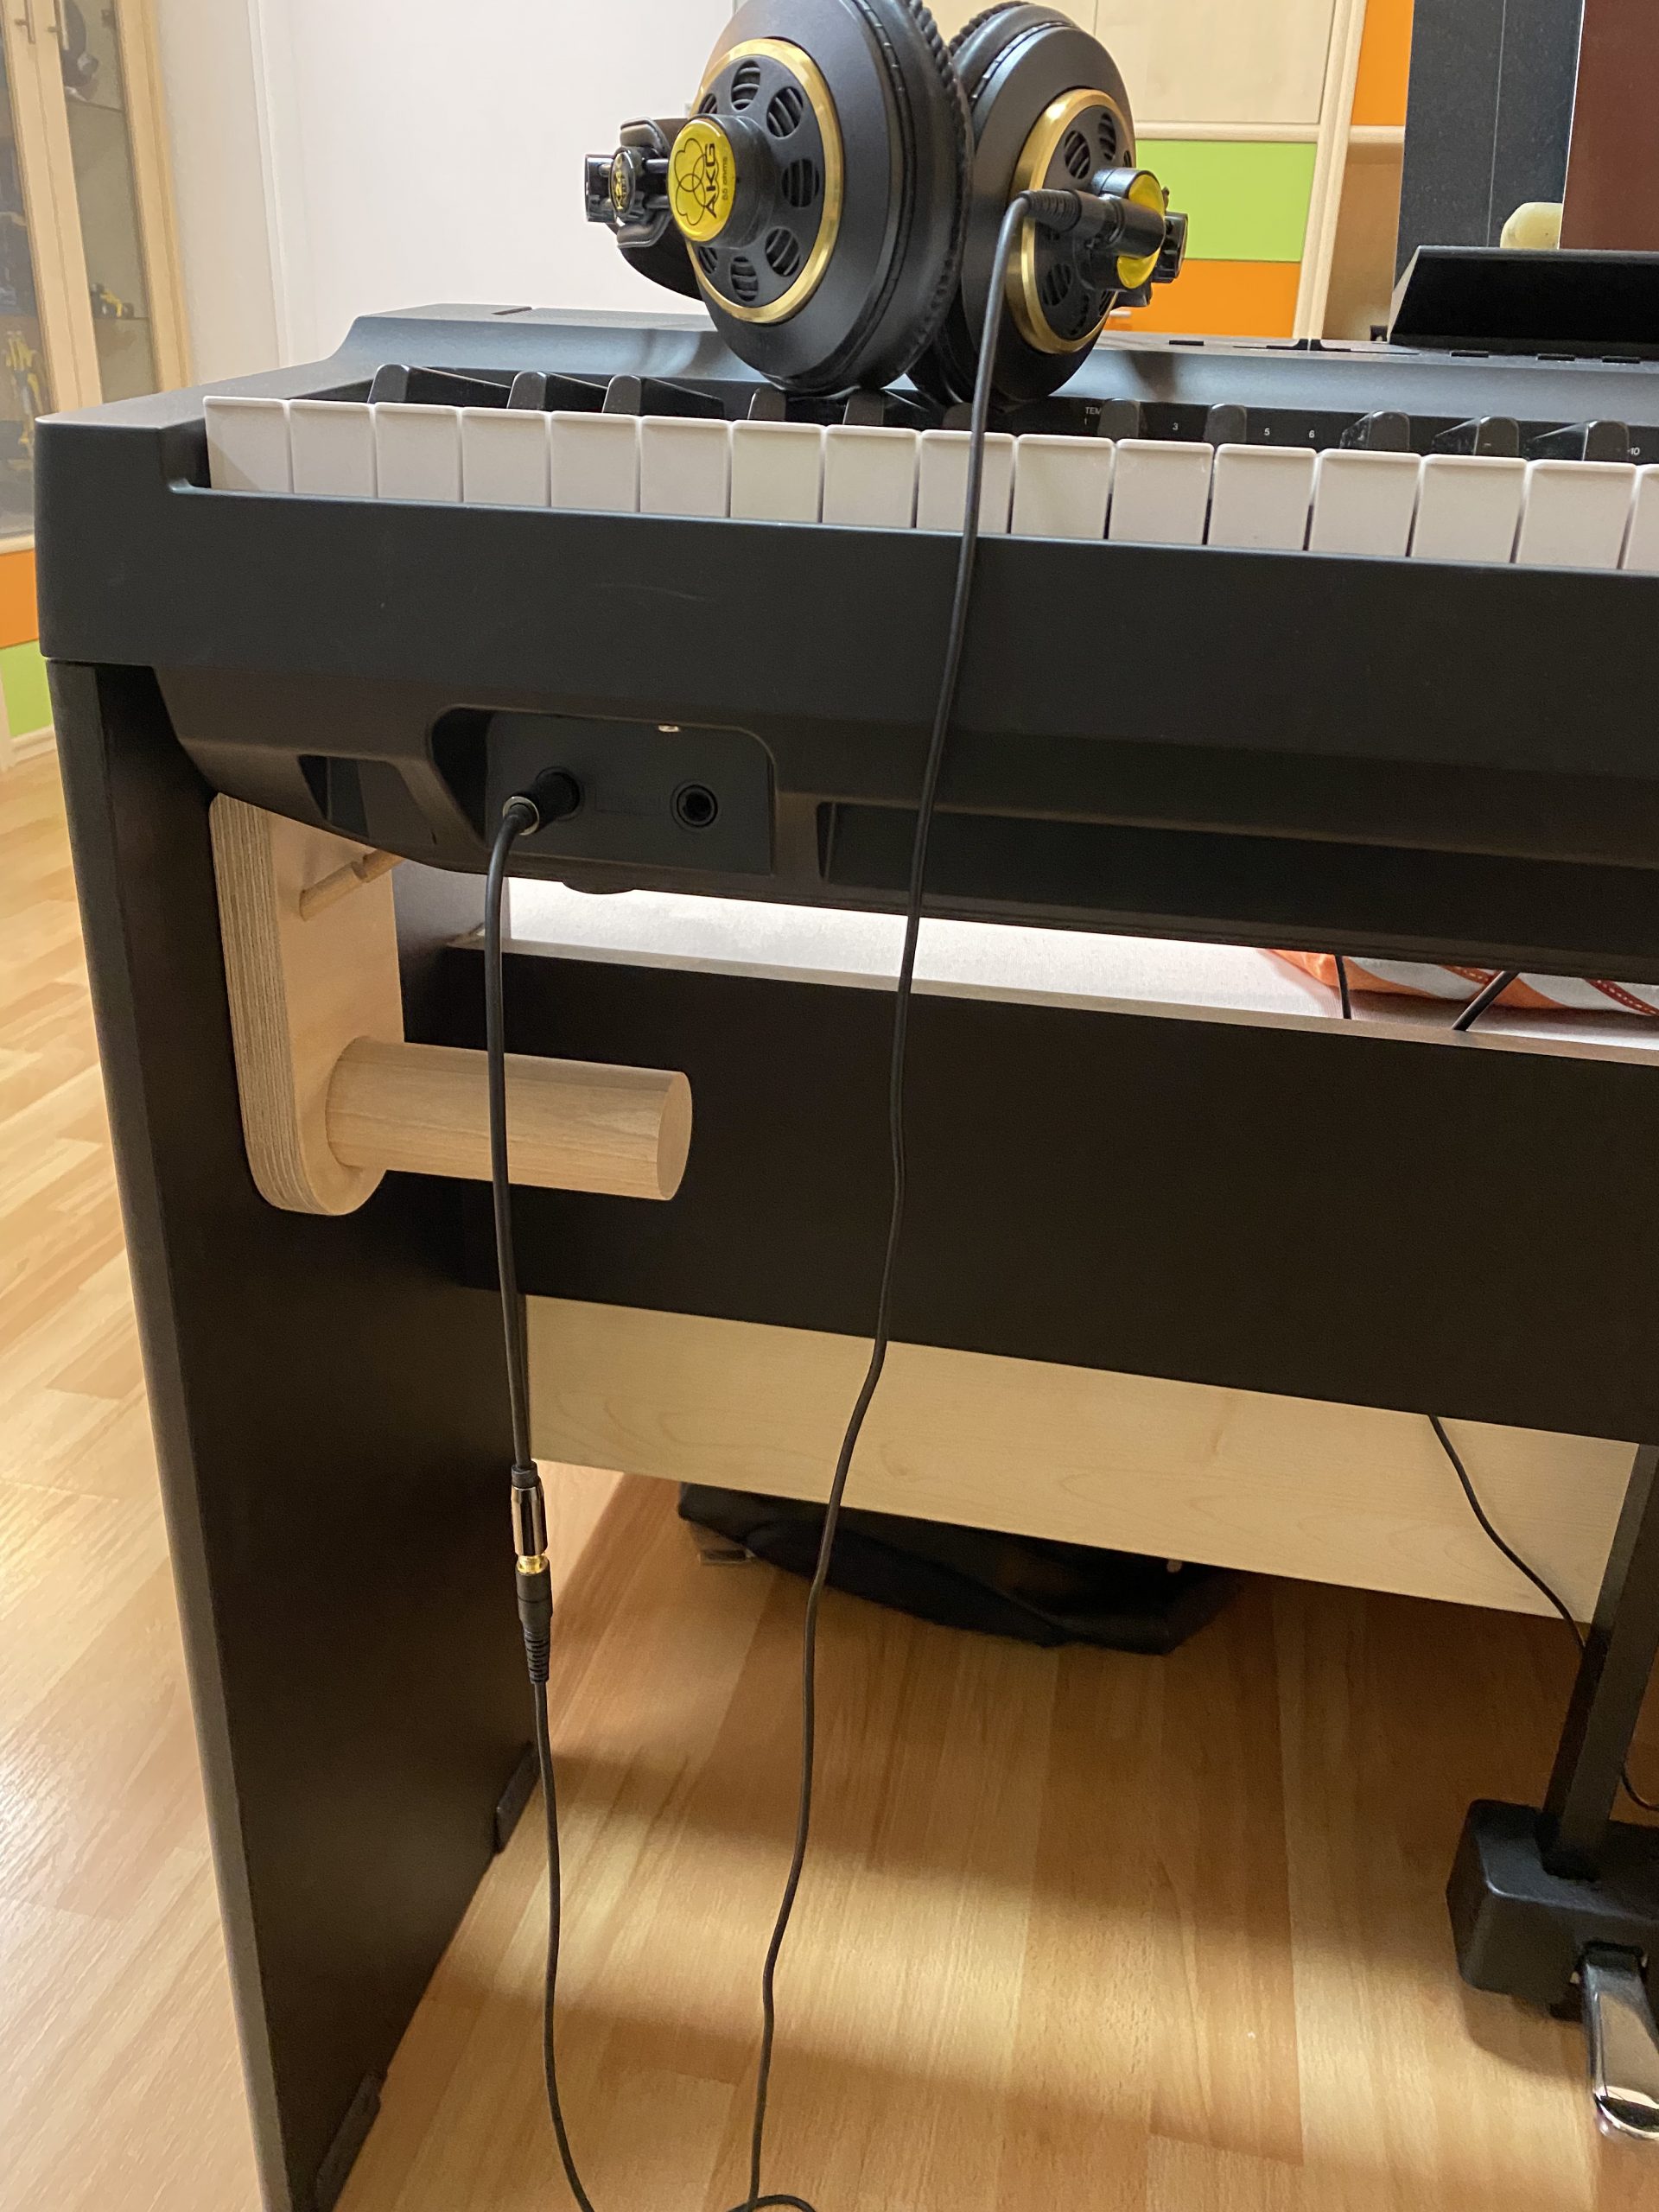
I needed a better way to store the headphones for my digital piano, because I would just place them on the keyboard, which did not look nice, and they would get in the way when using the built-in speakers.

I started by building a prototype from cardboard and a toilet paper roll to verify if my design would work and to check the dimensions. I was planning on 3D printing this project, however it would be difficult to fit inside the small build volume of my SLA printer. But then I realized how I could build it from wood, so that is what I did.

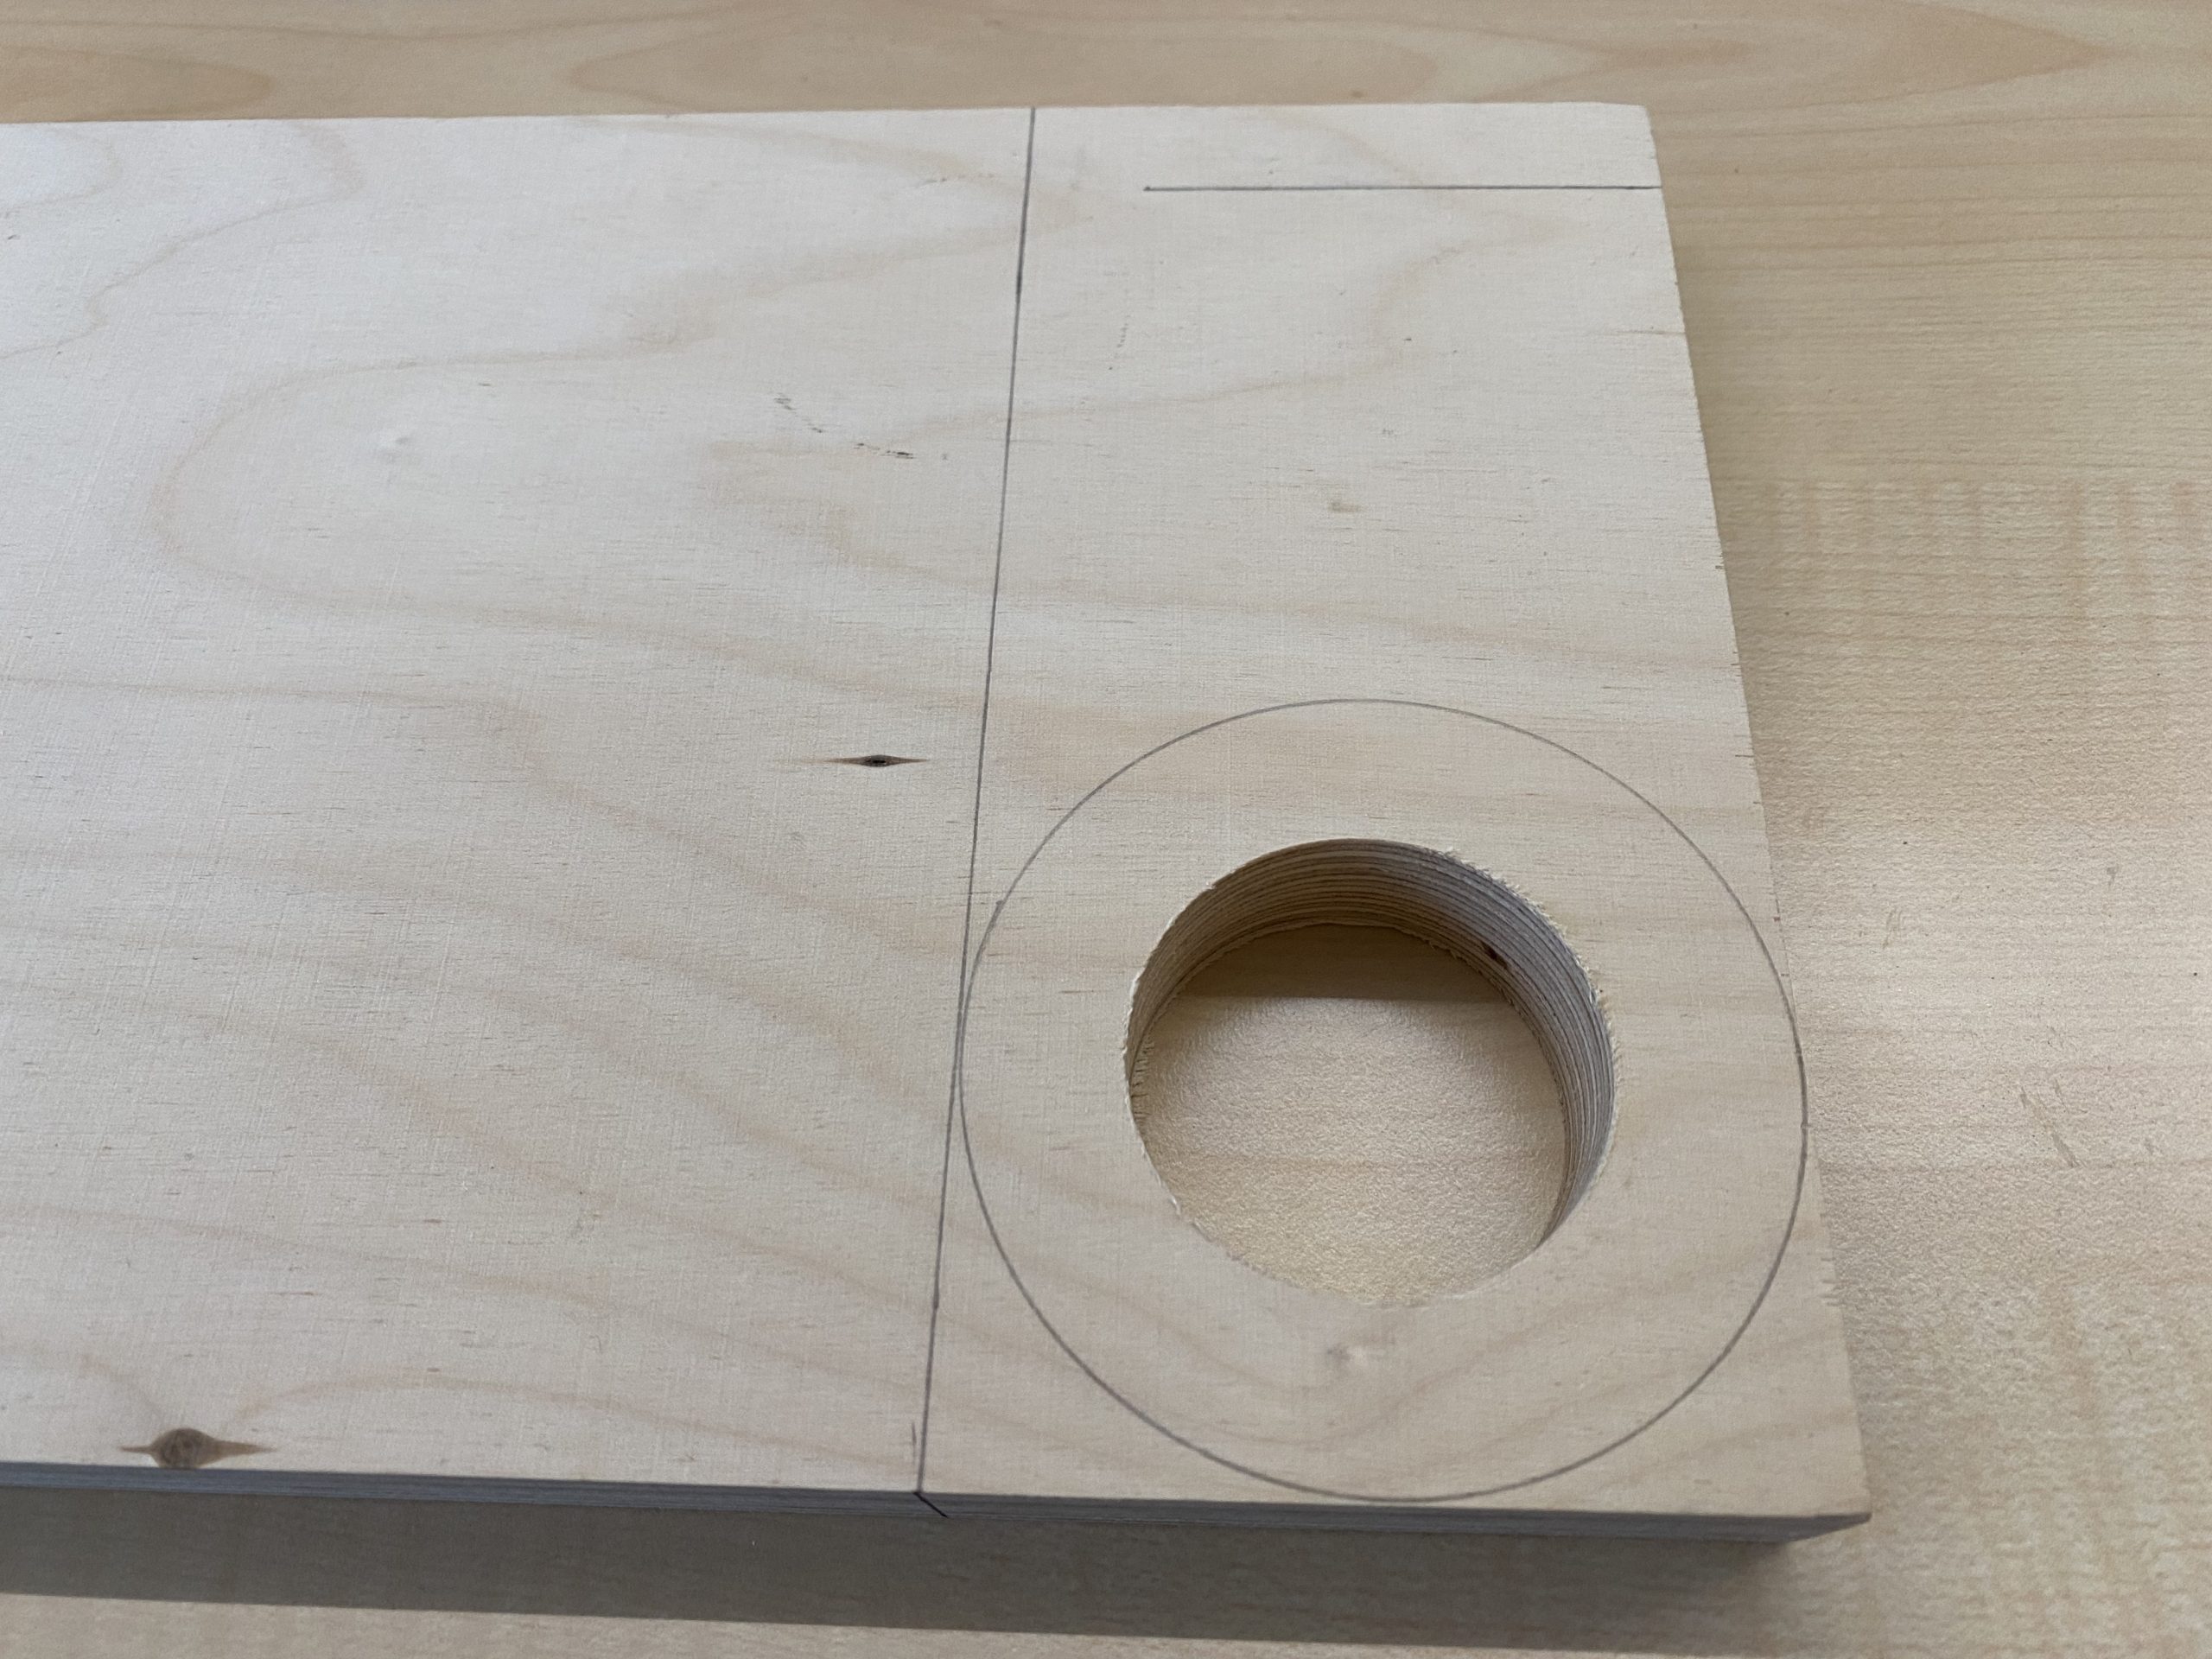
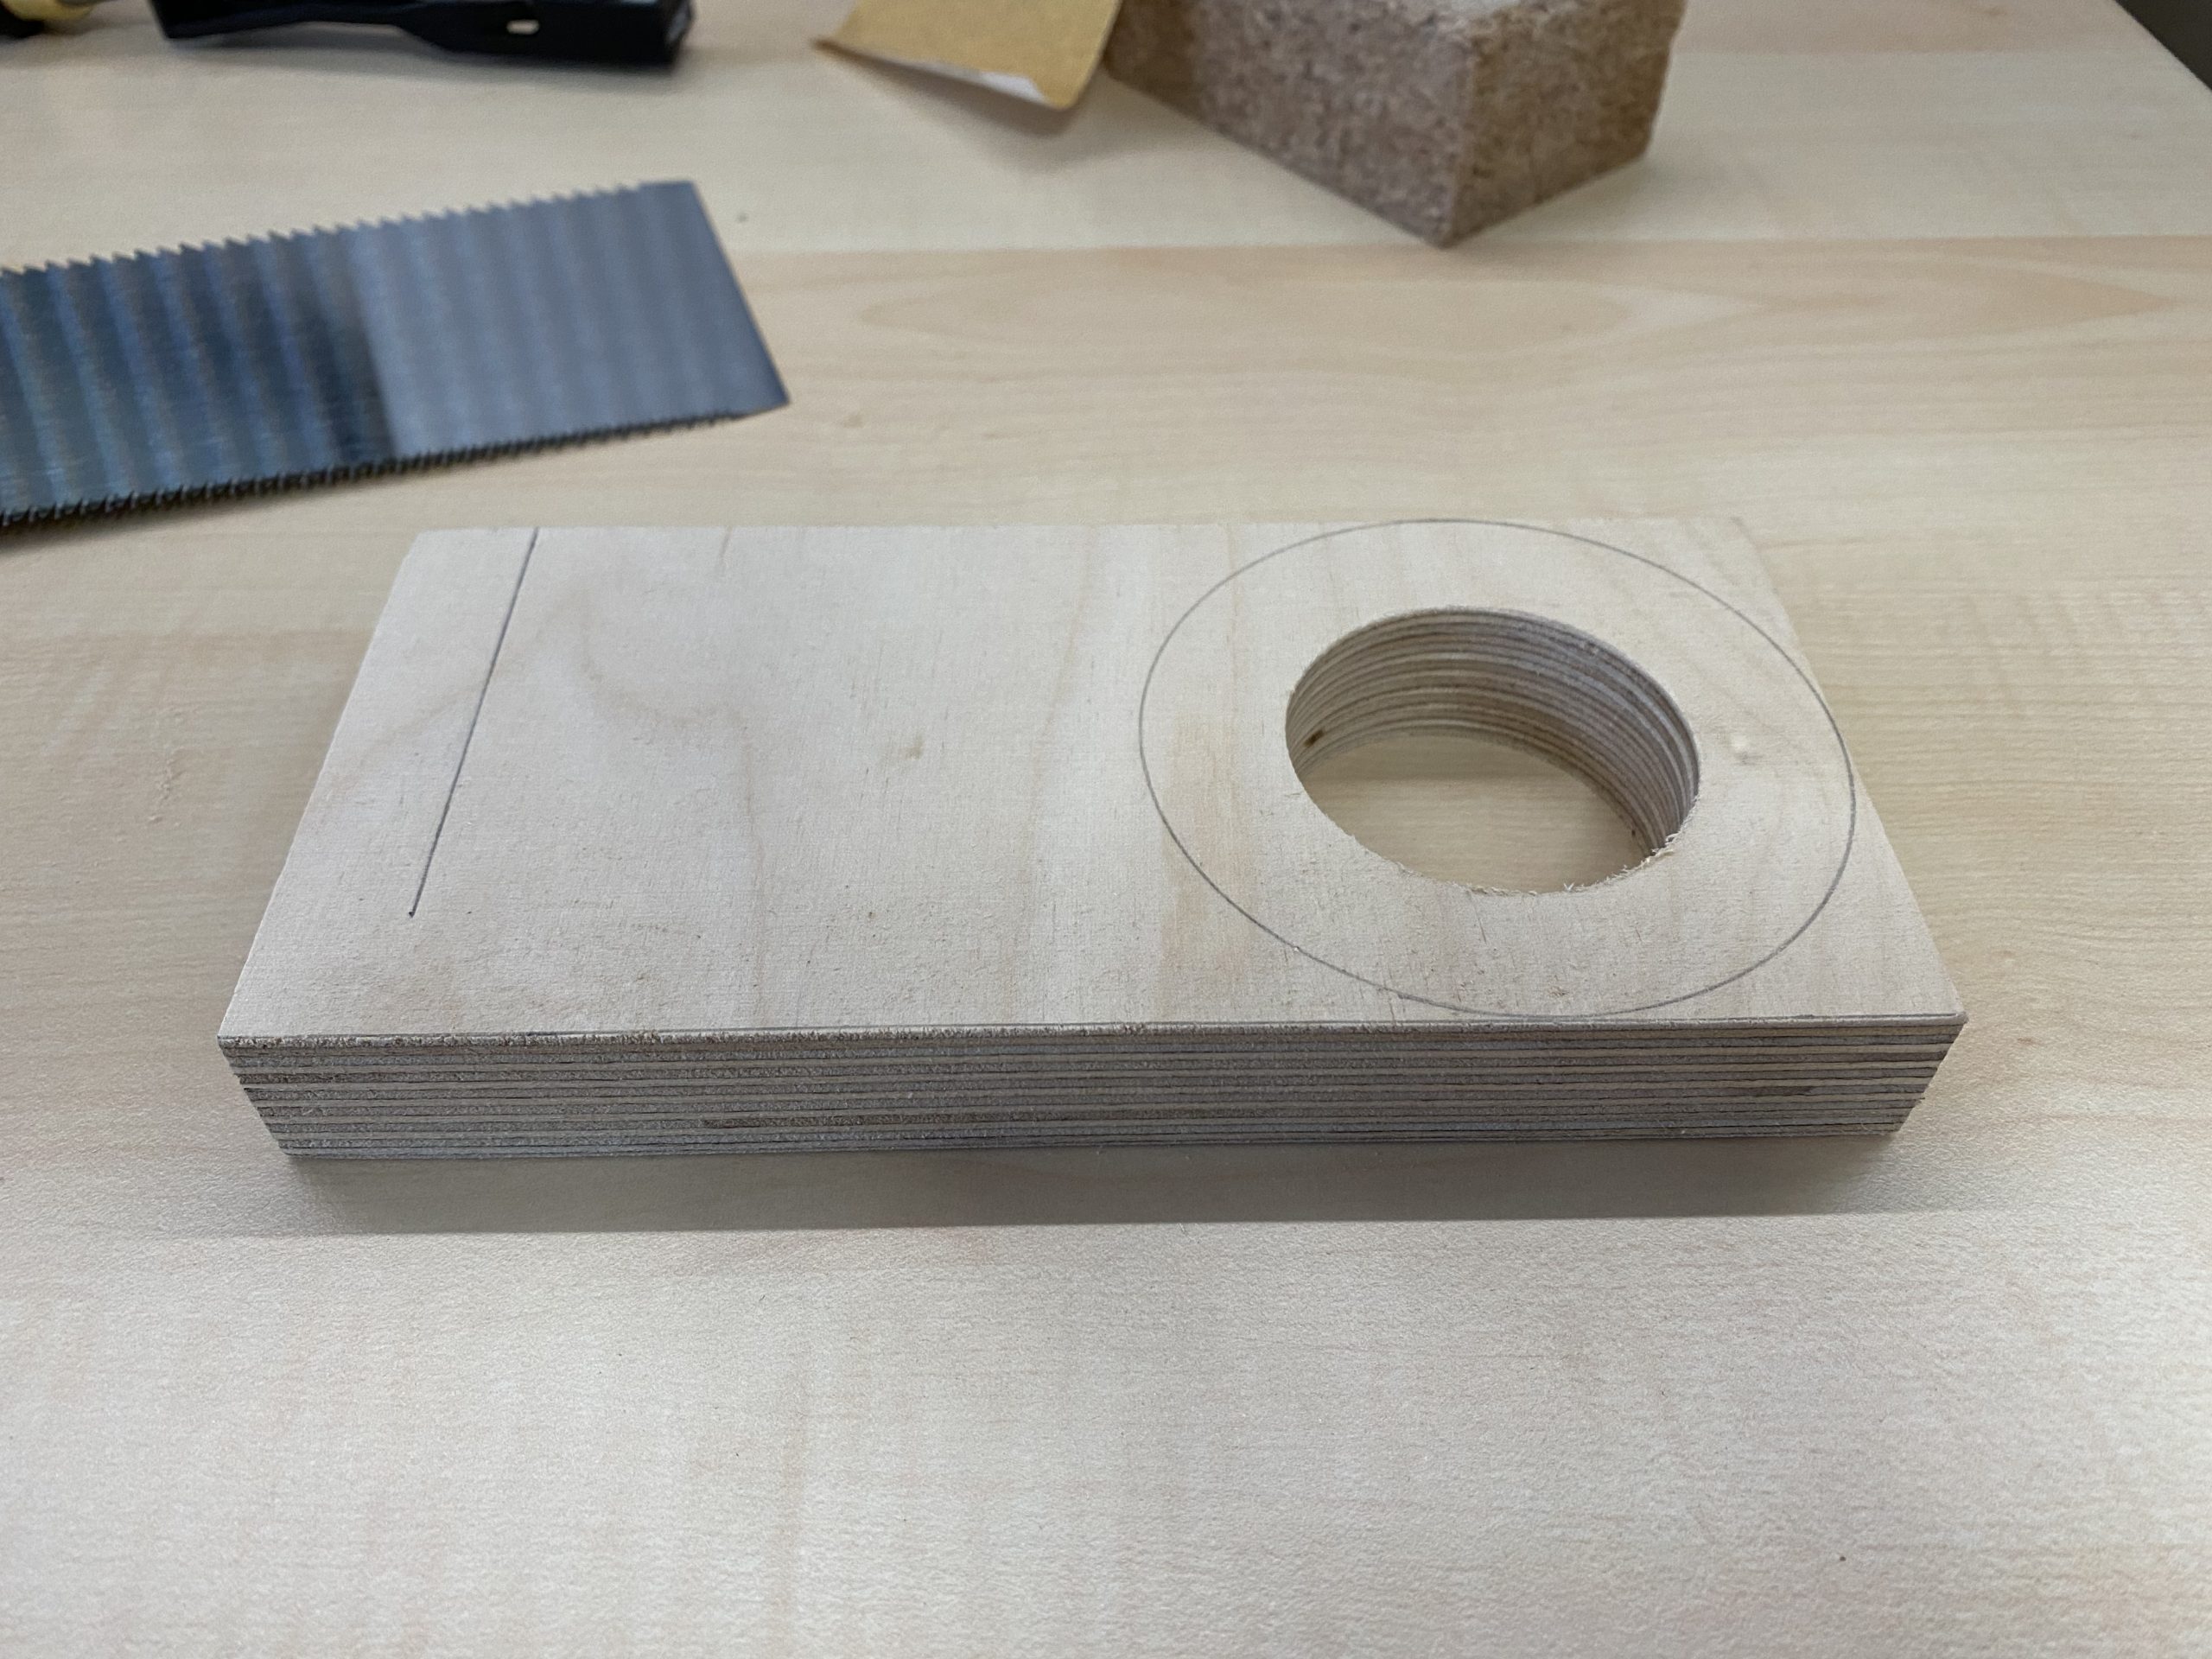
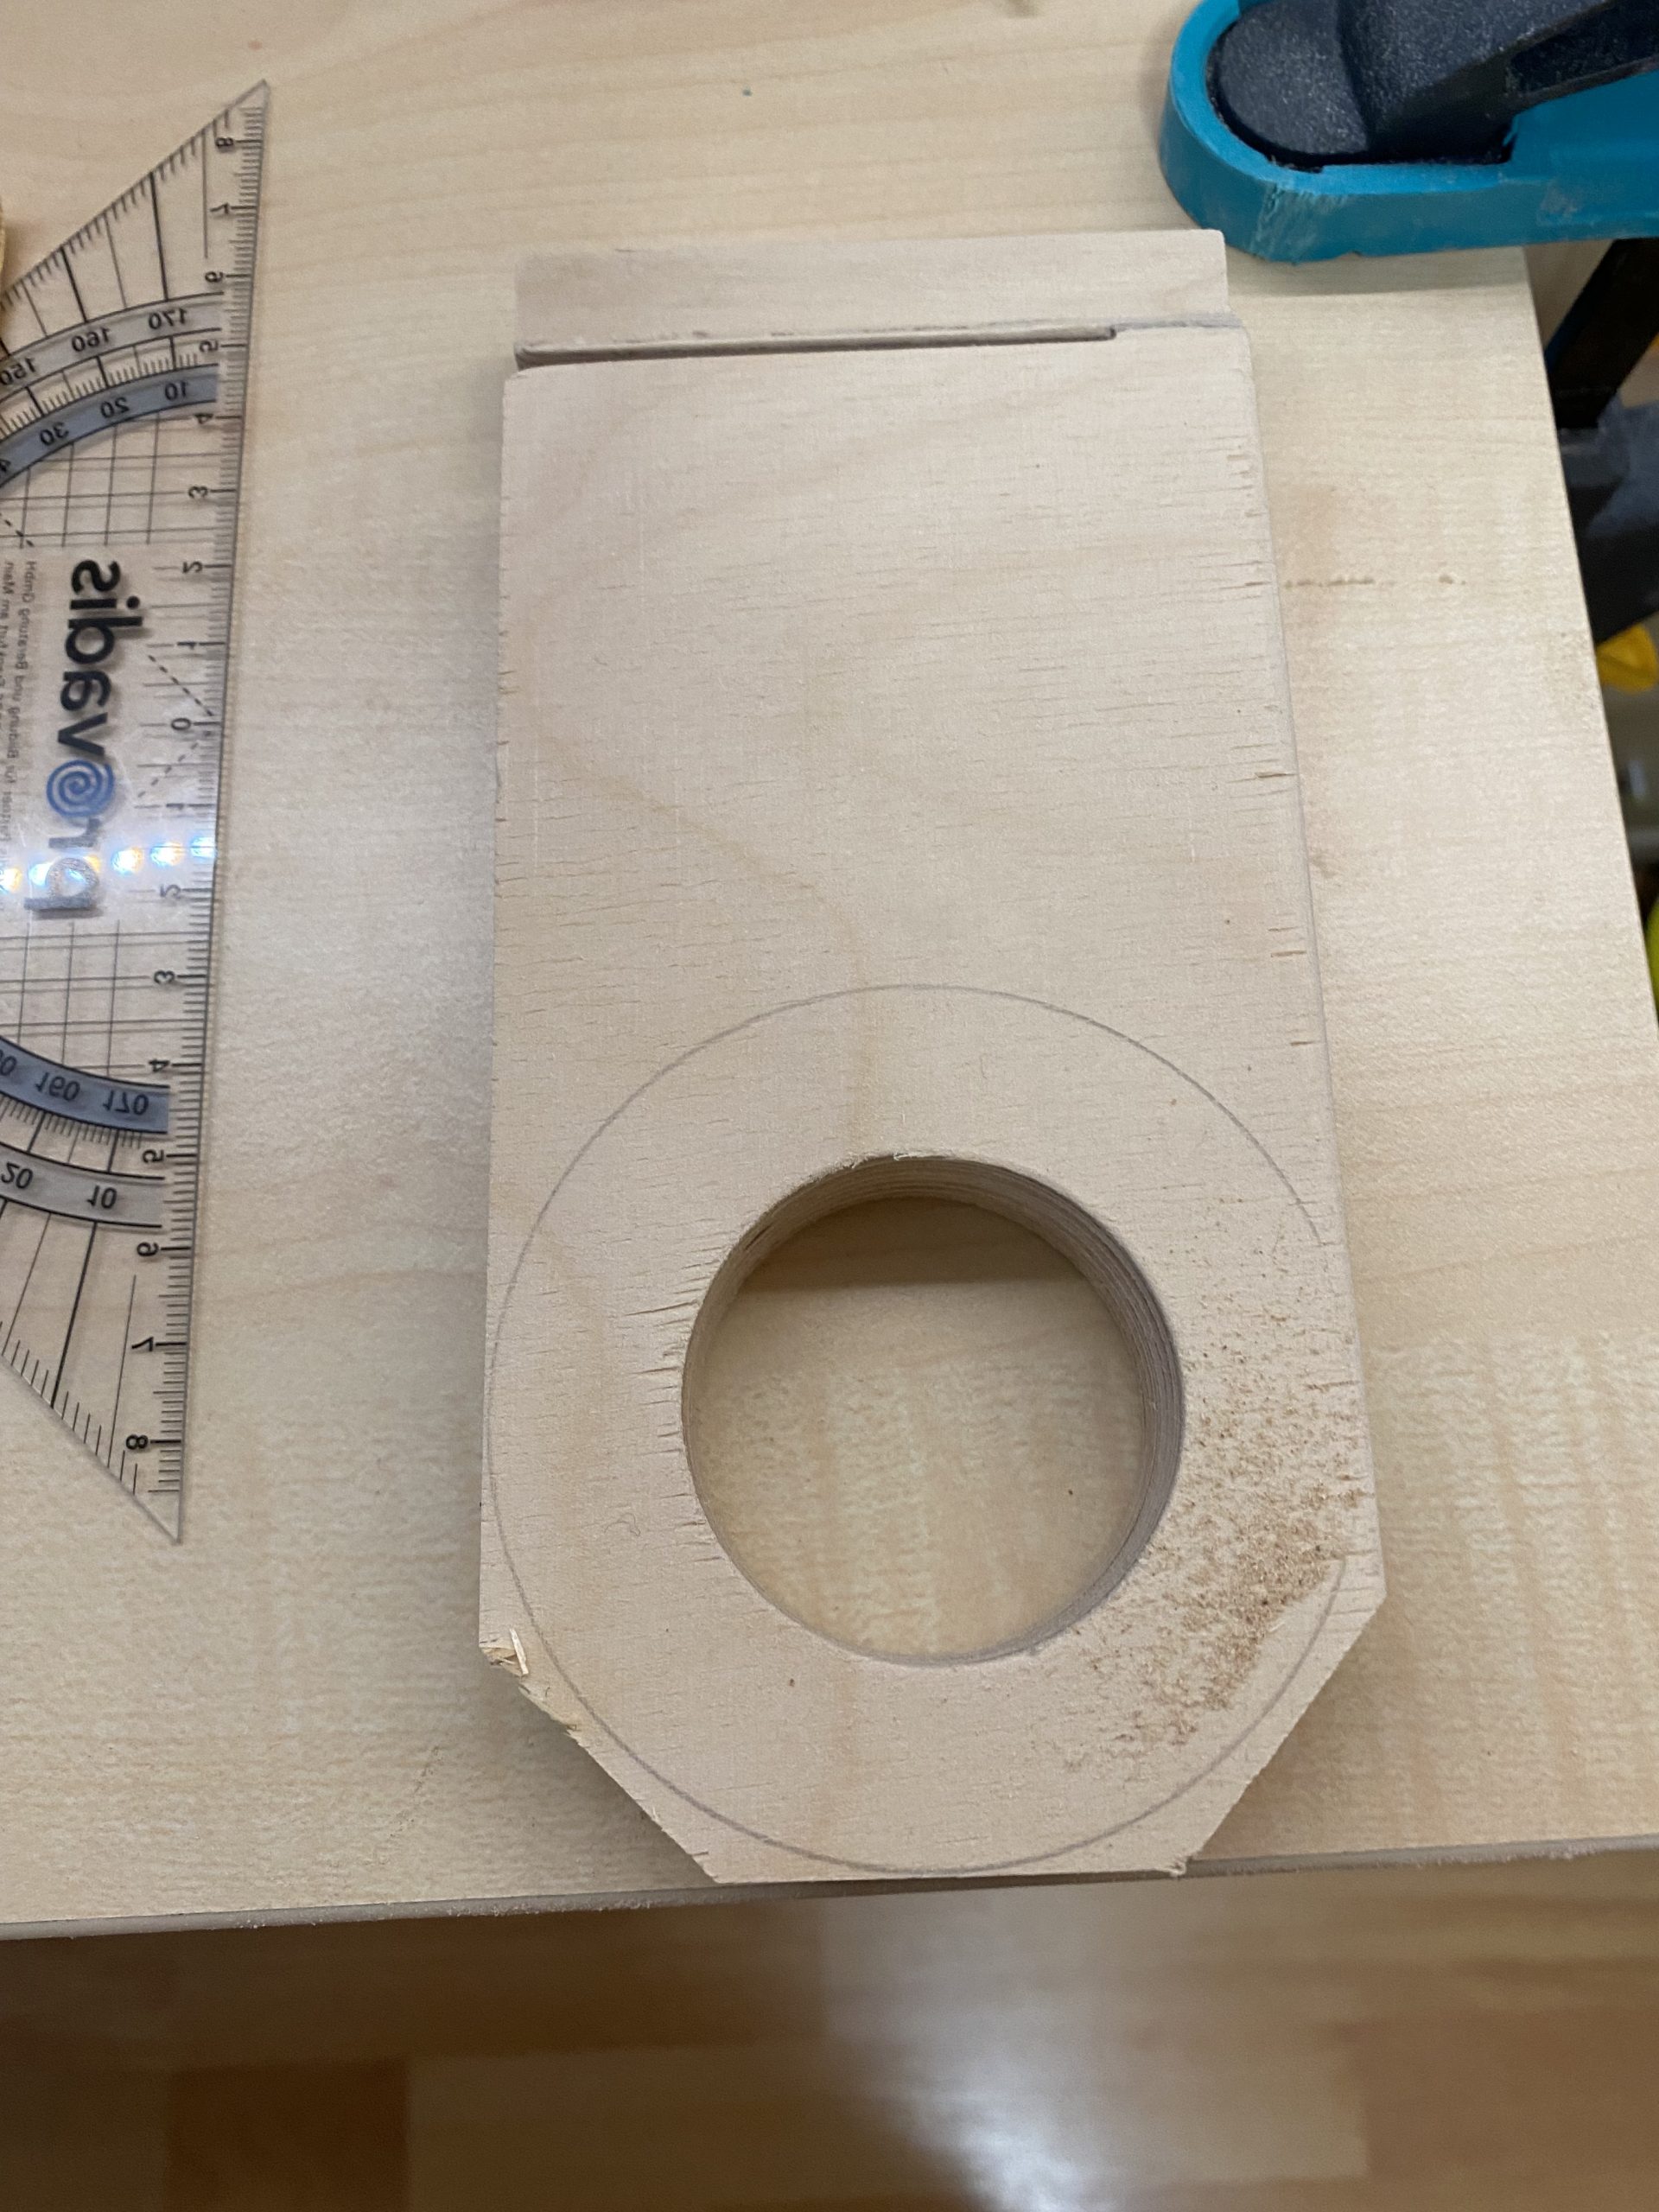
I marked the dimensions on a board of plywood I had lying around. This board is 21mm thick, which is definitely overkill, but it is what I had.


I used a hole saw kit to drill out the center hole.
Then, I cut the part off from the rest of the board.
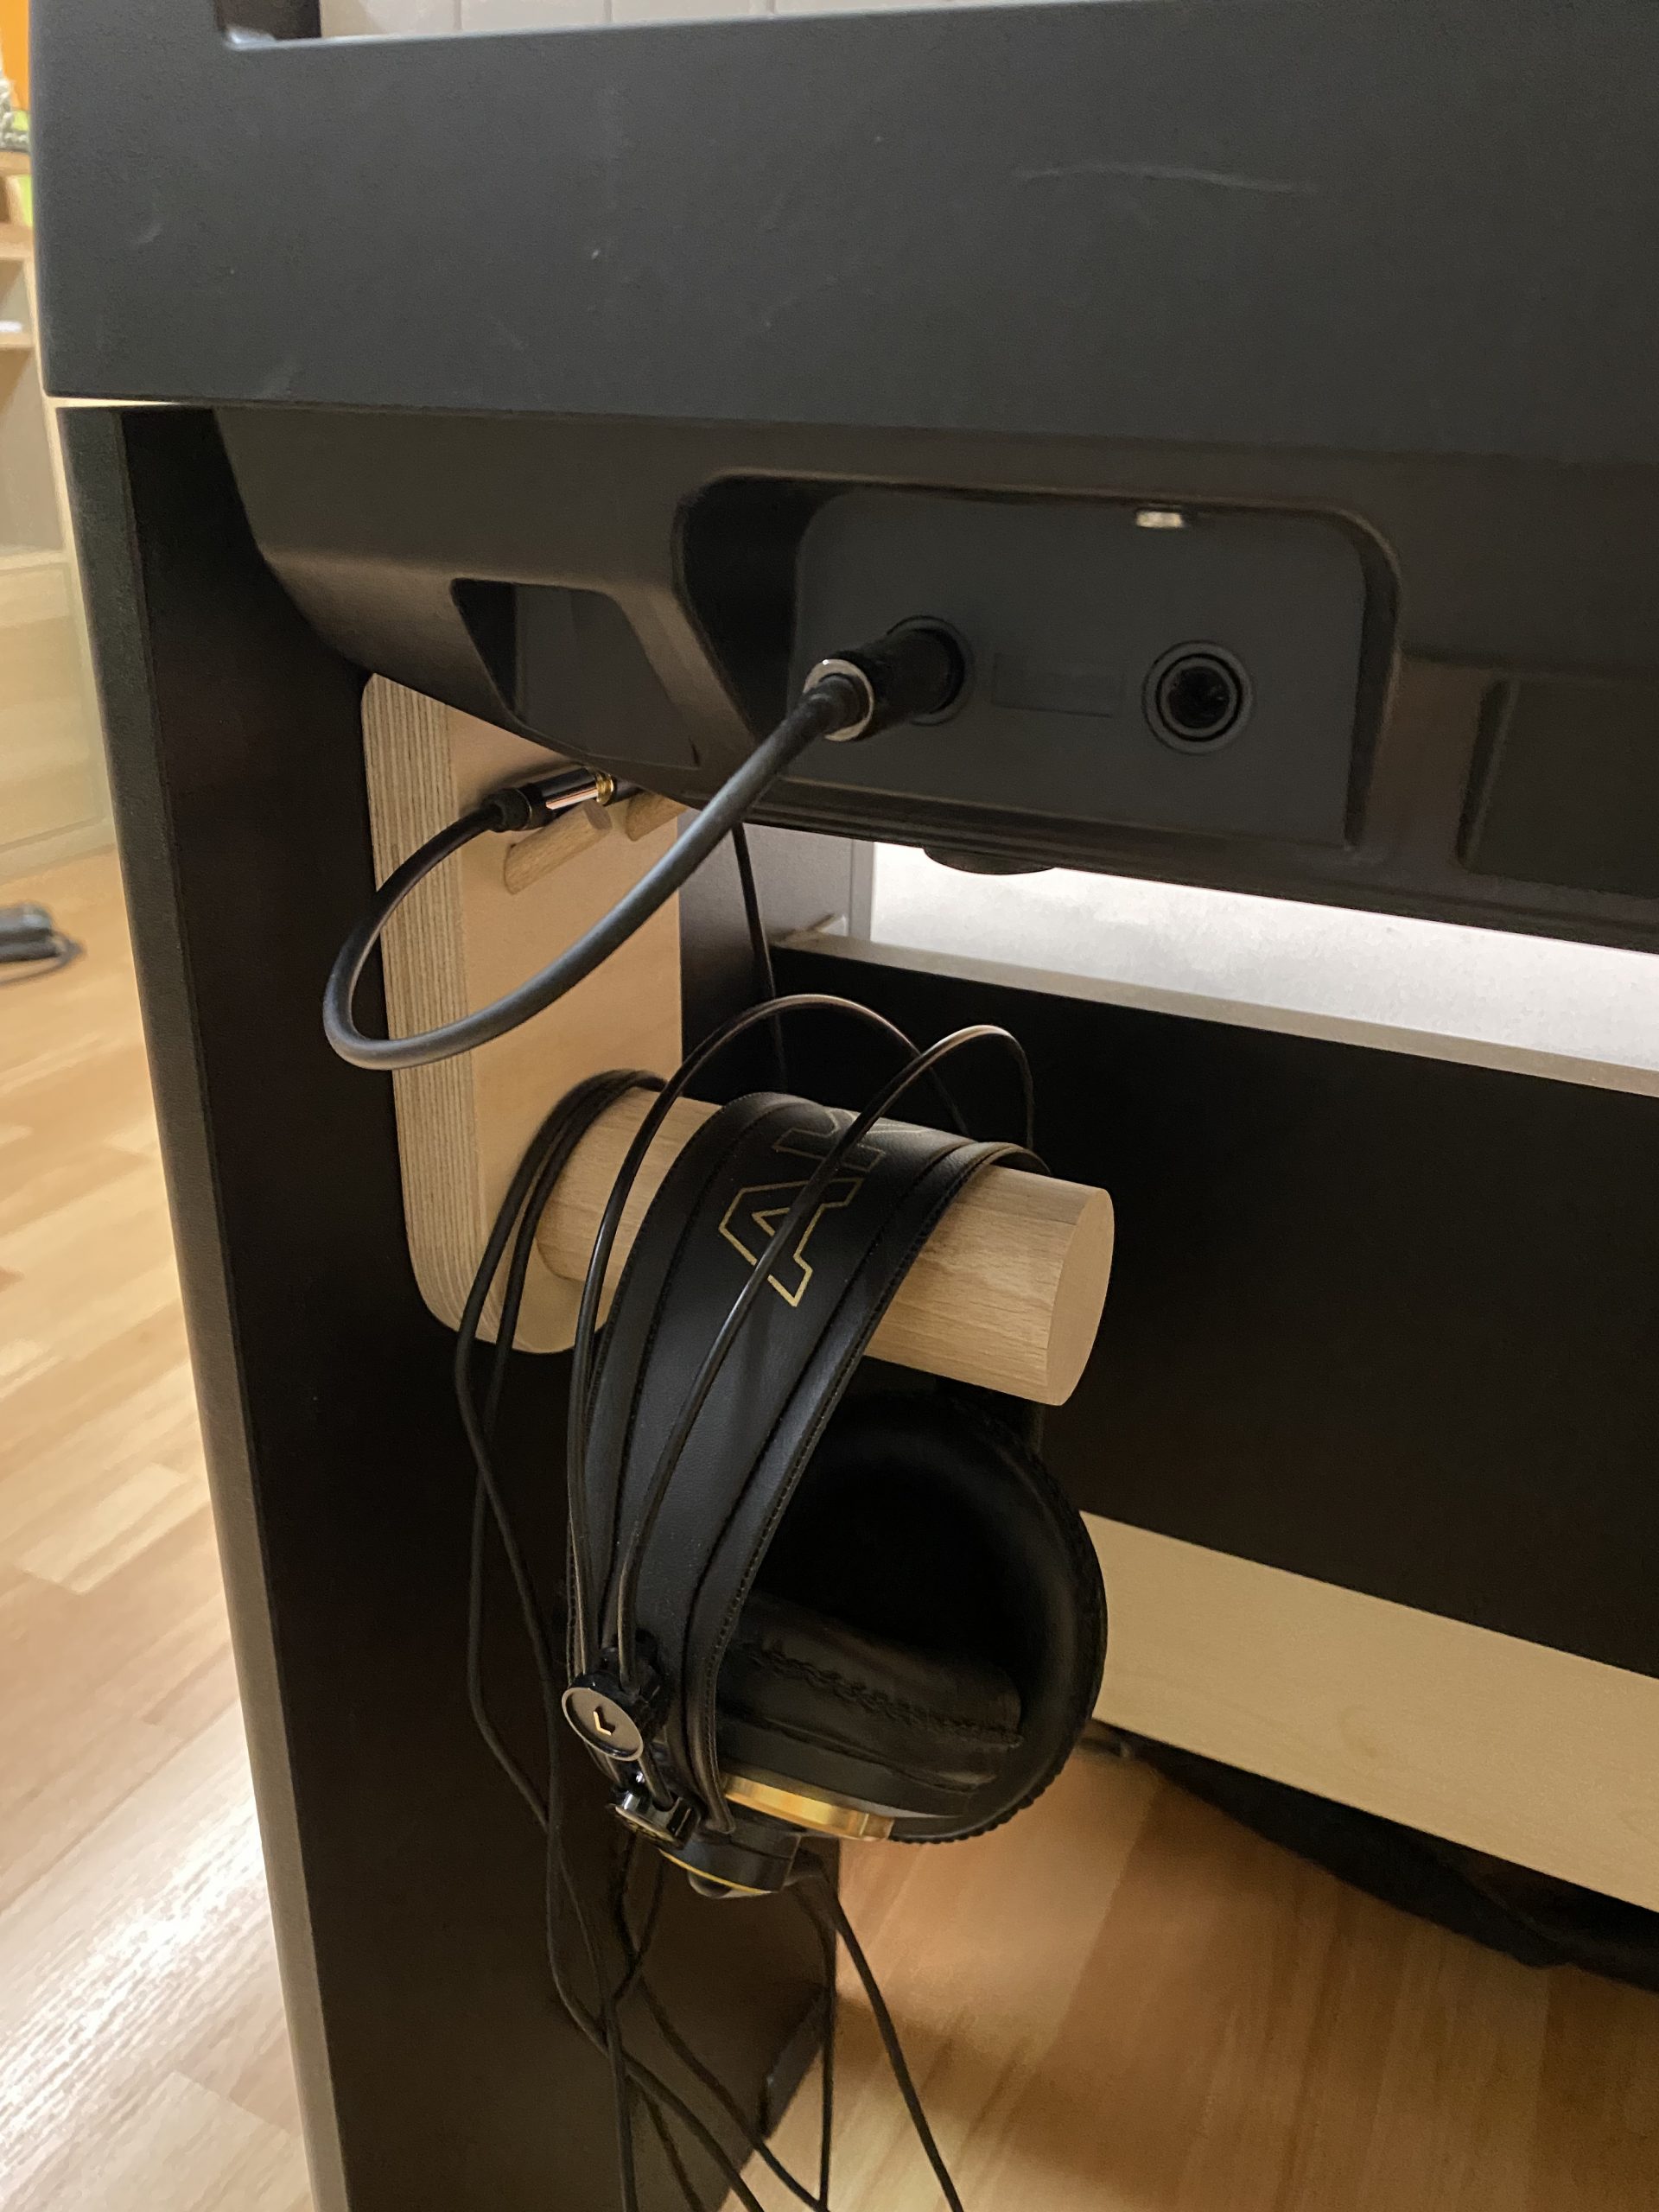
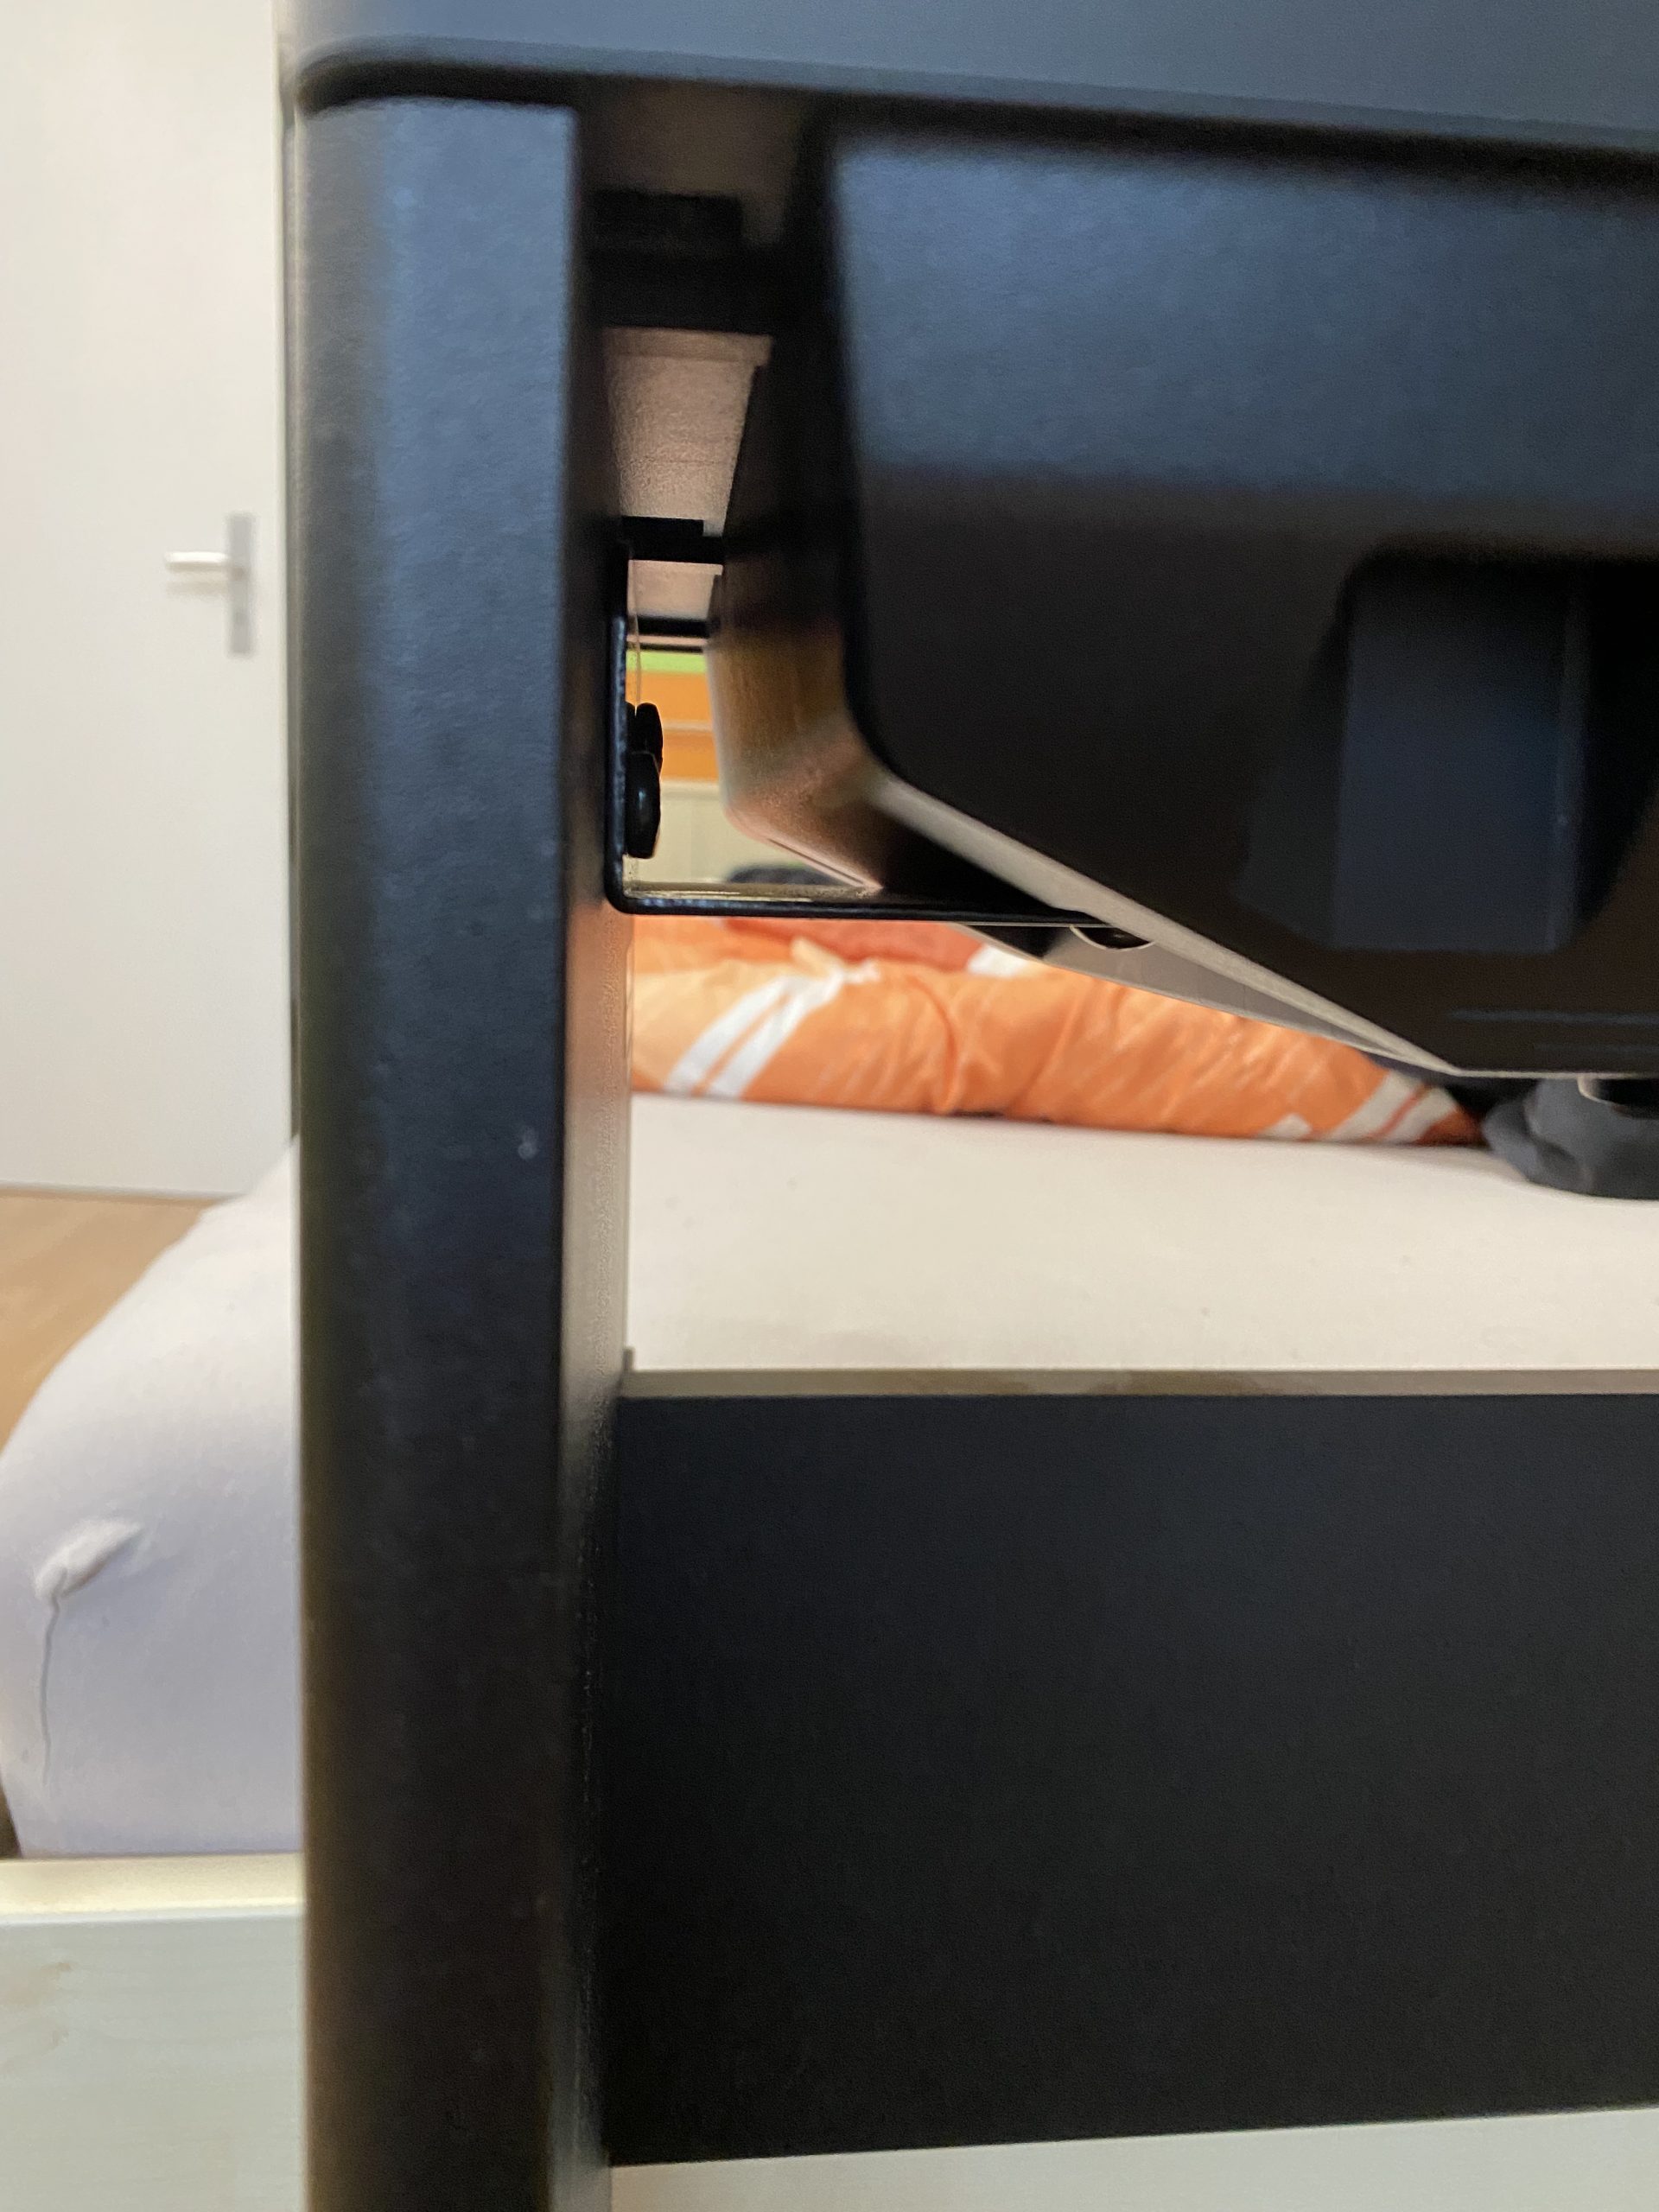
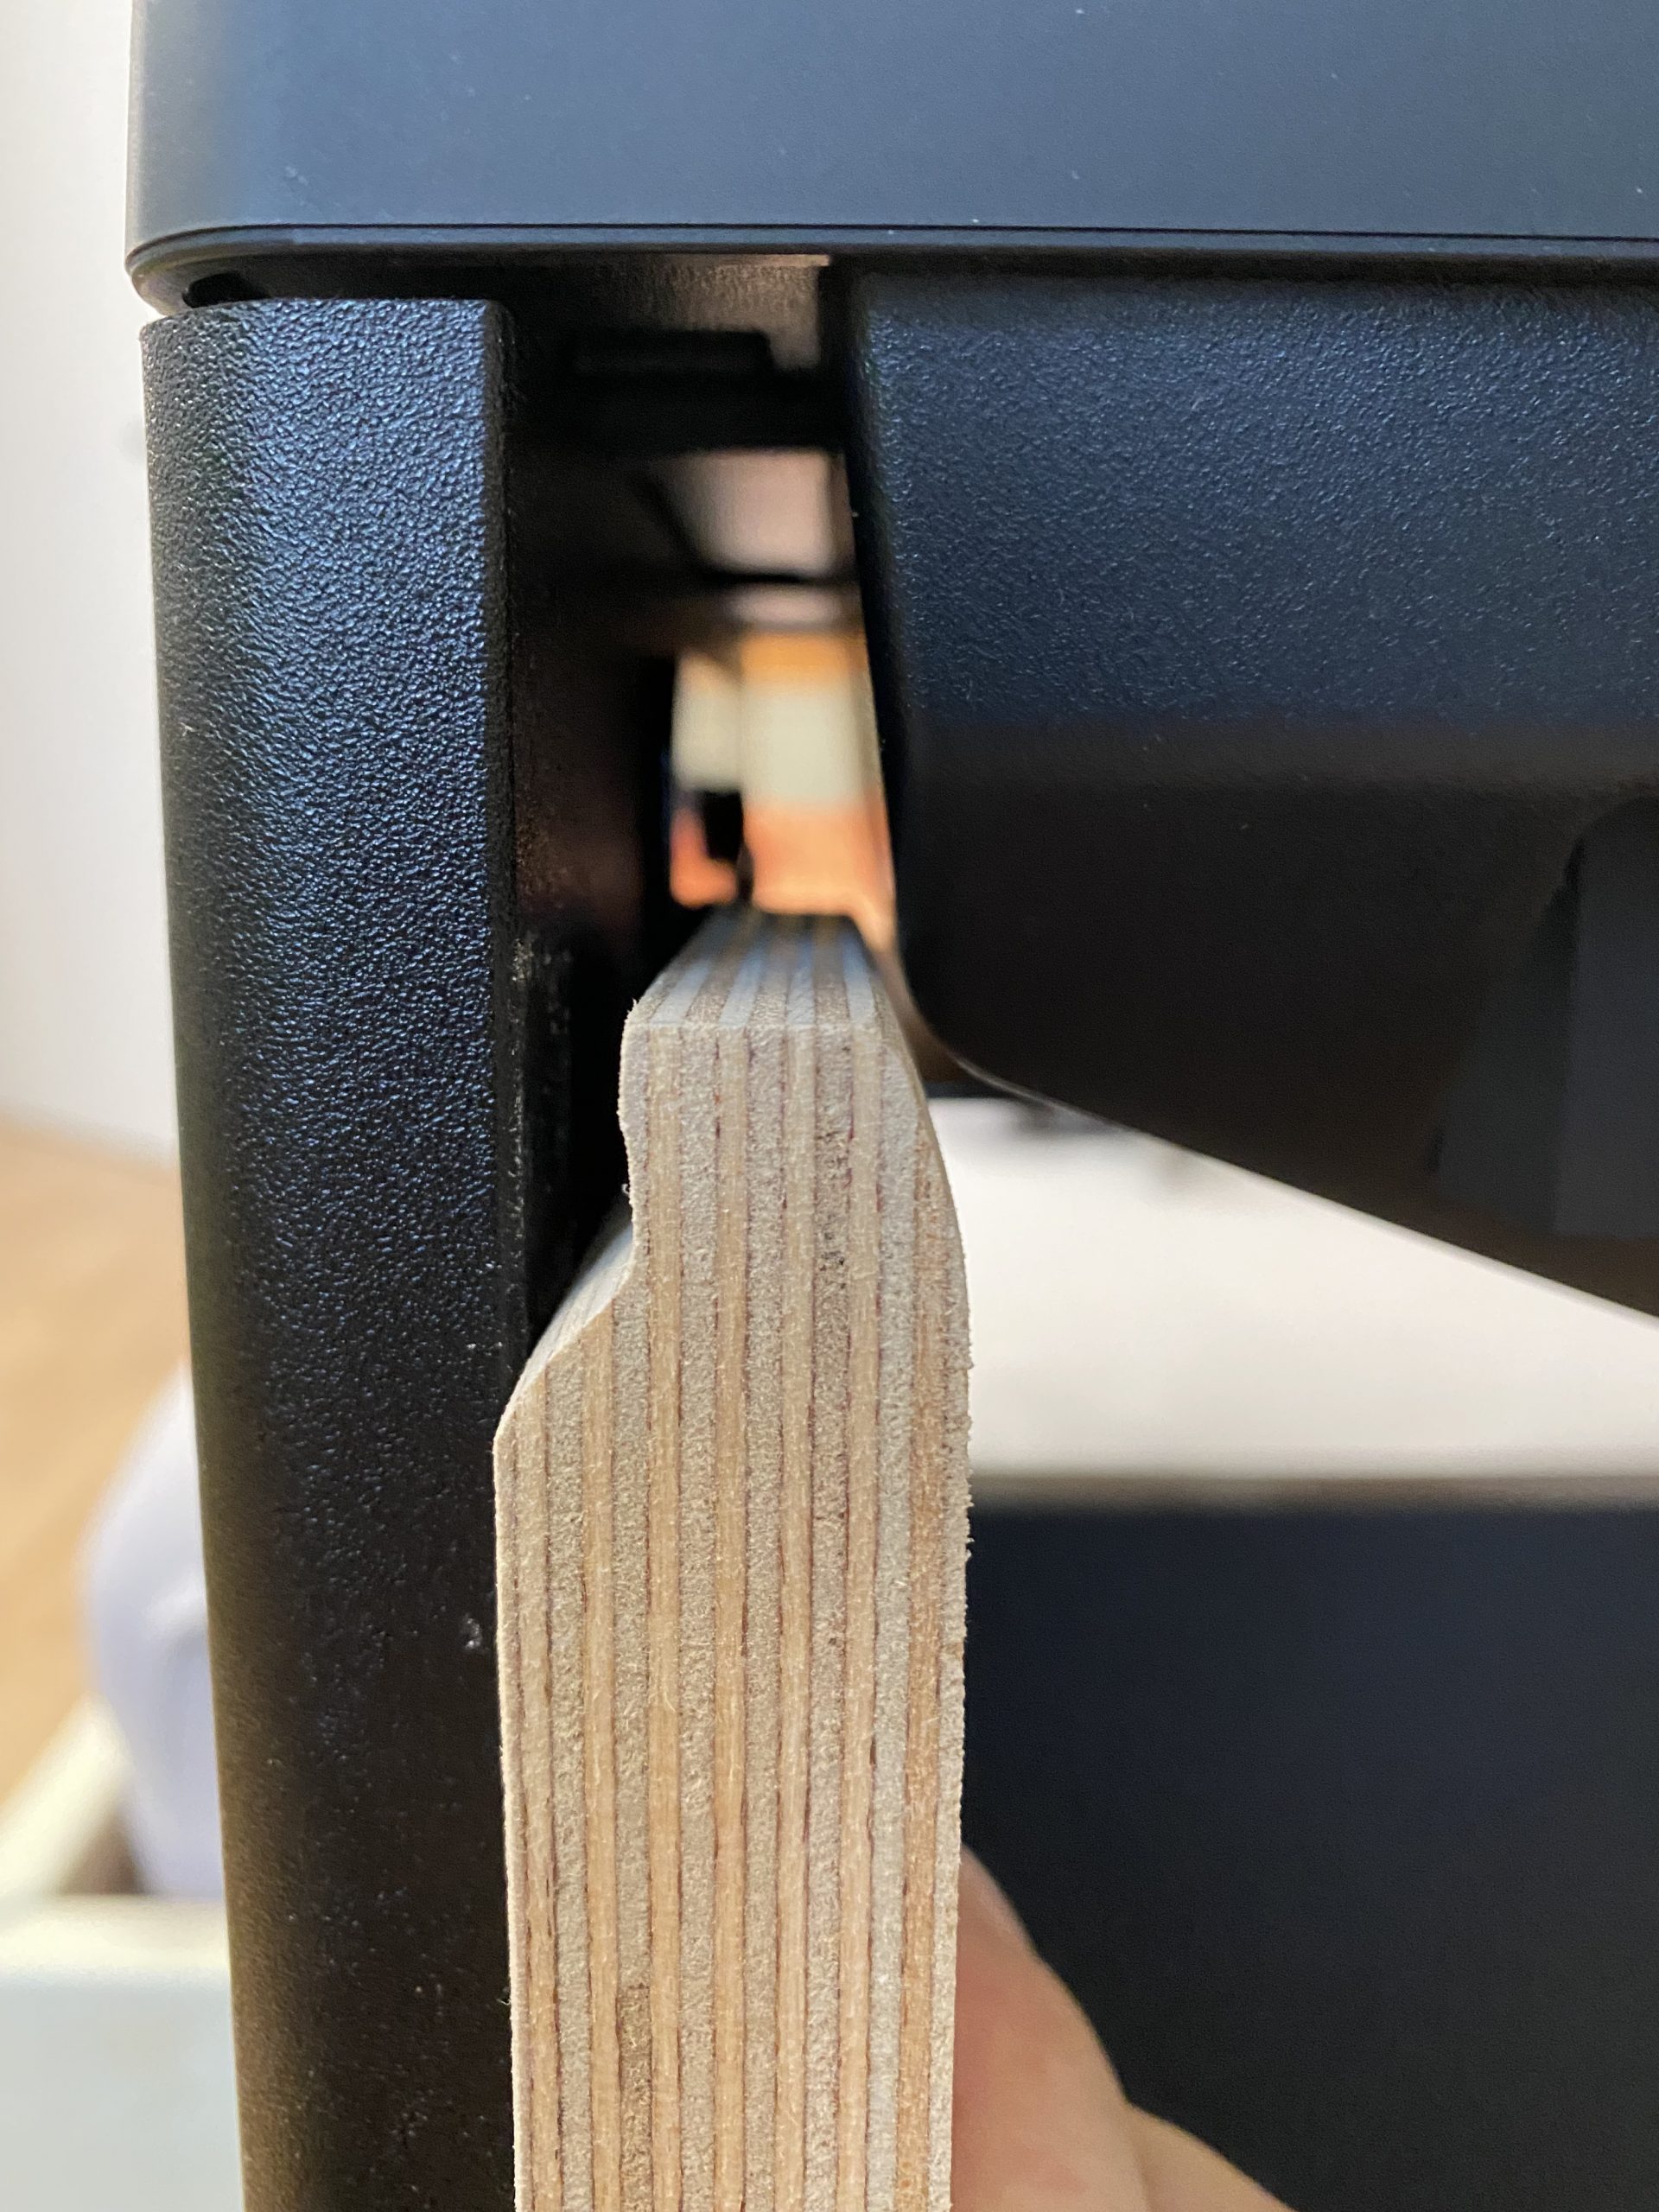
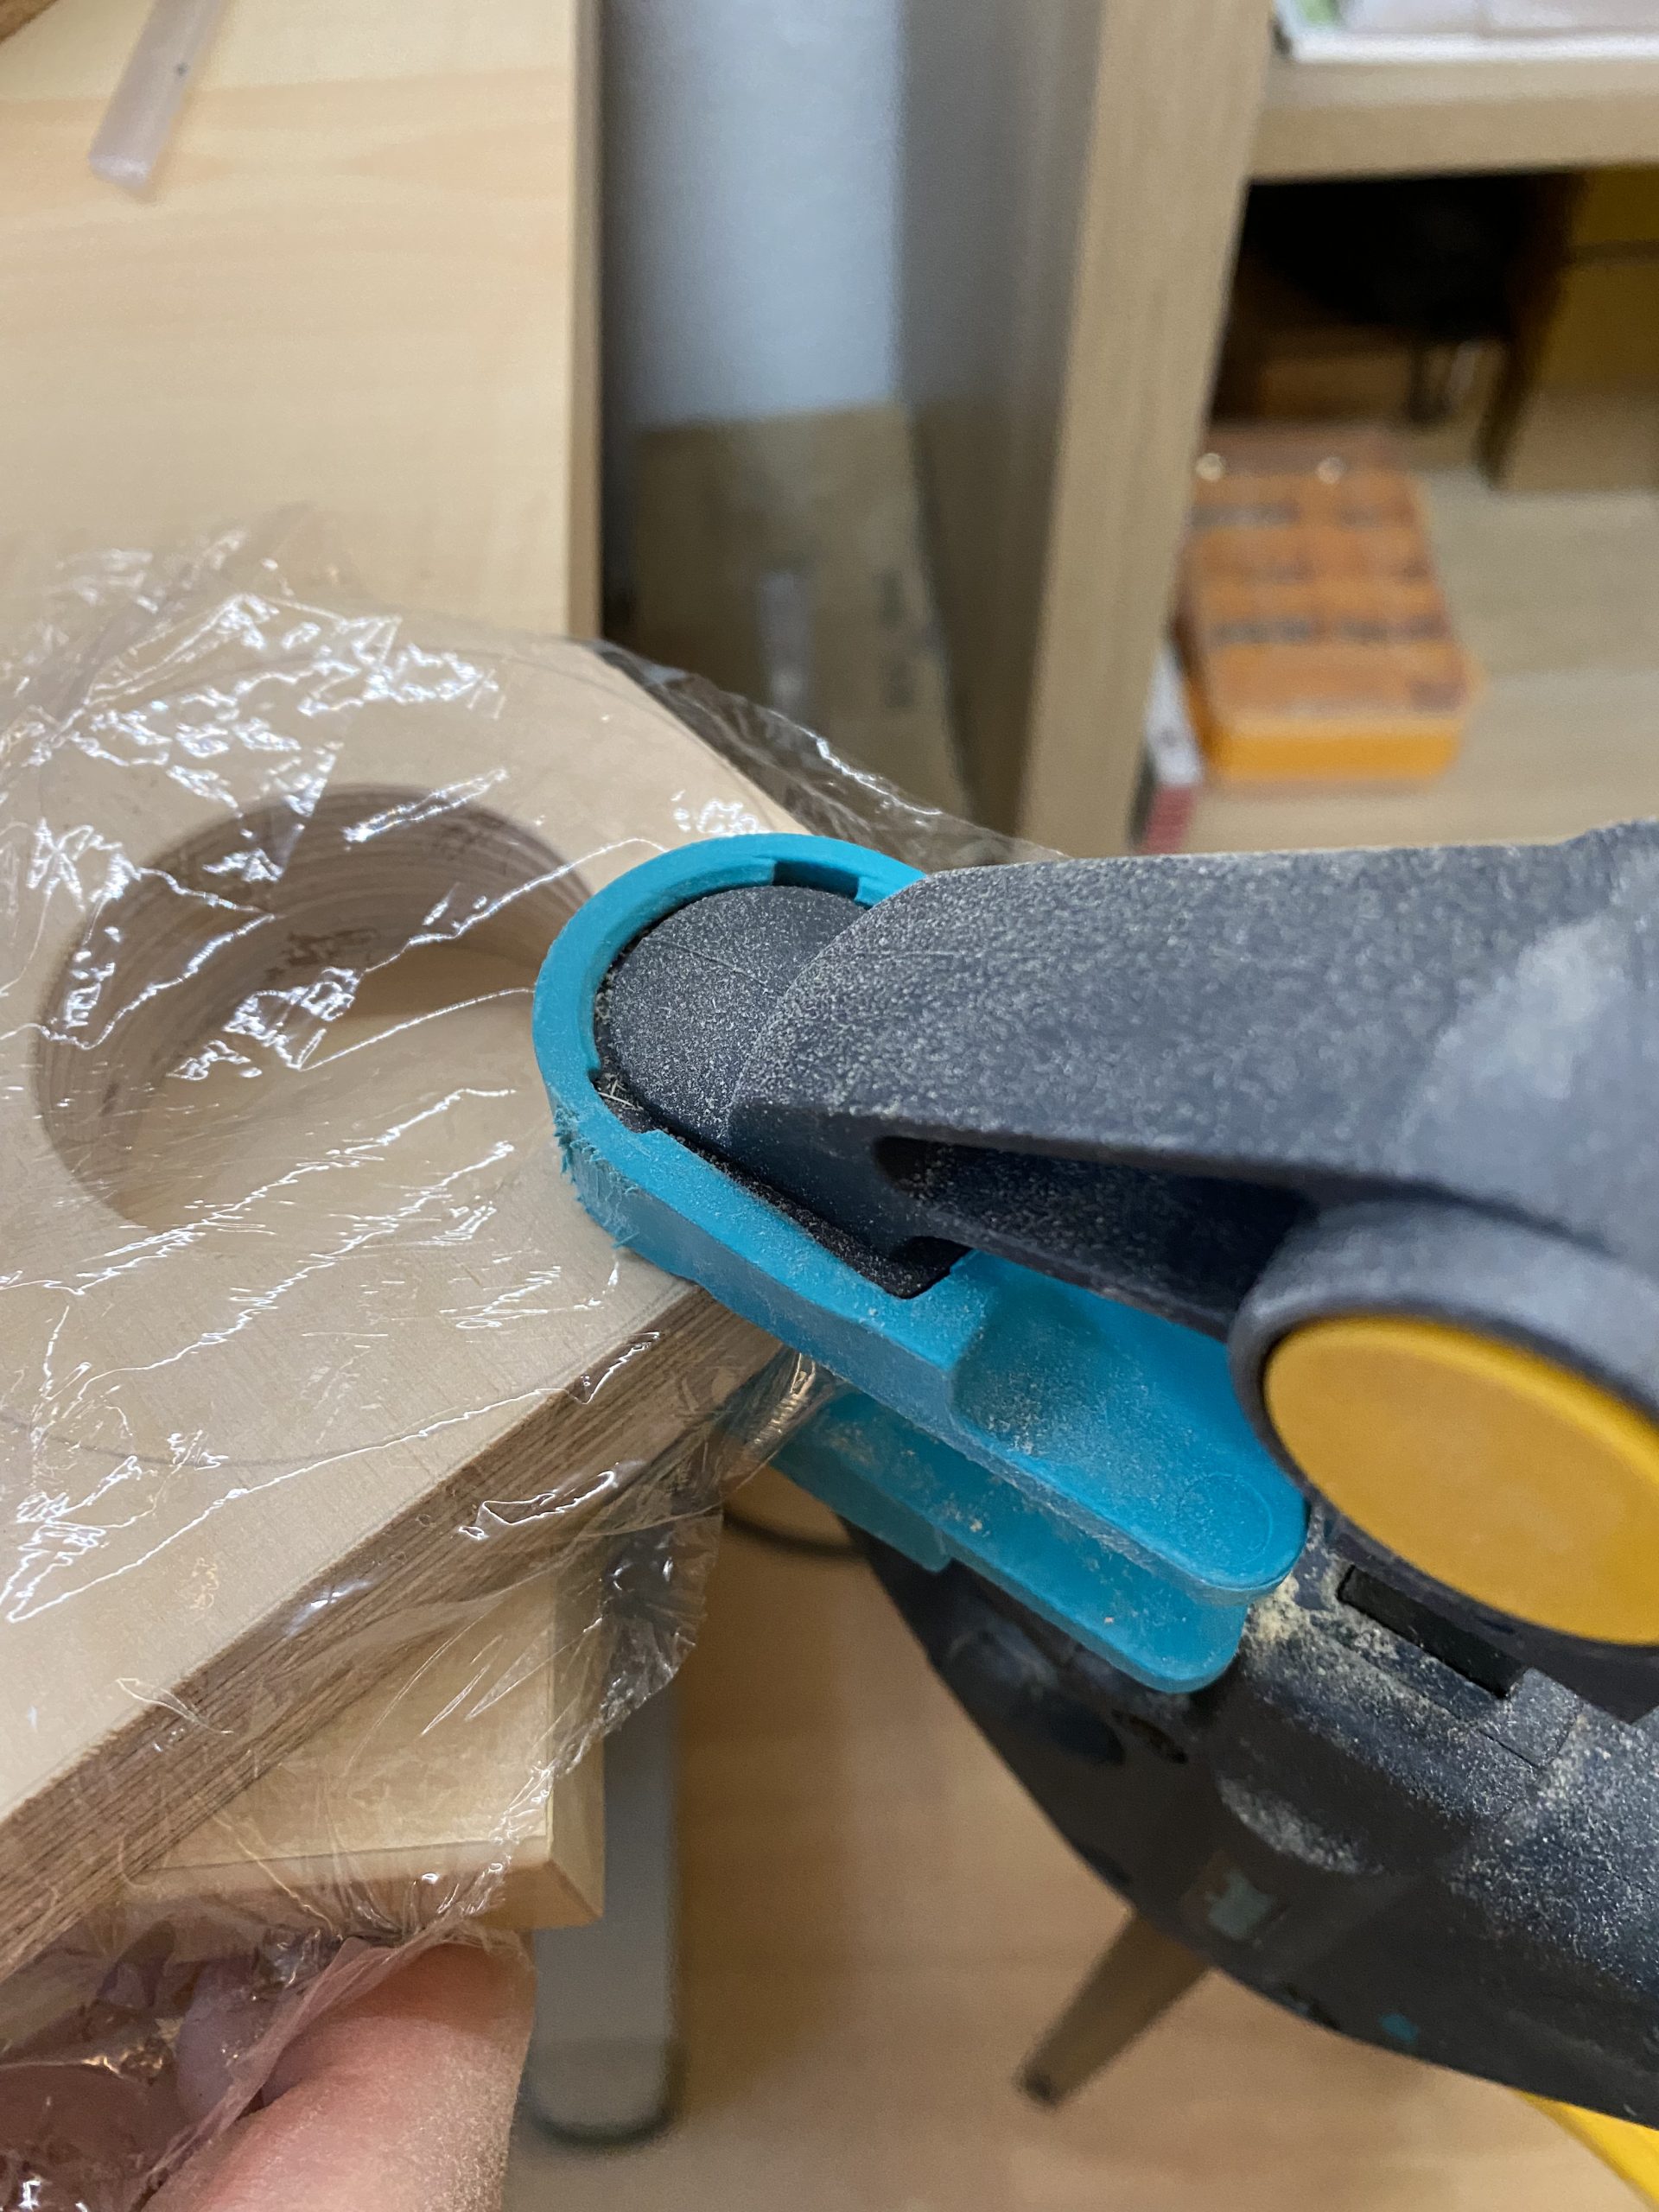
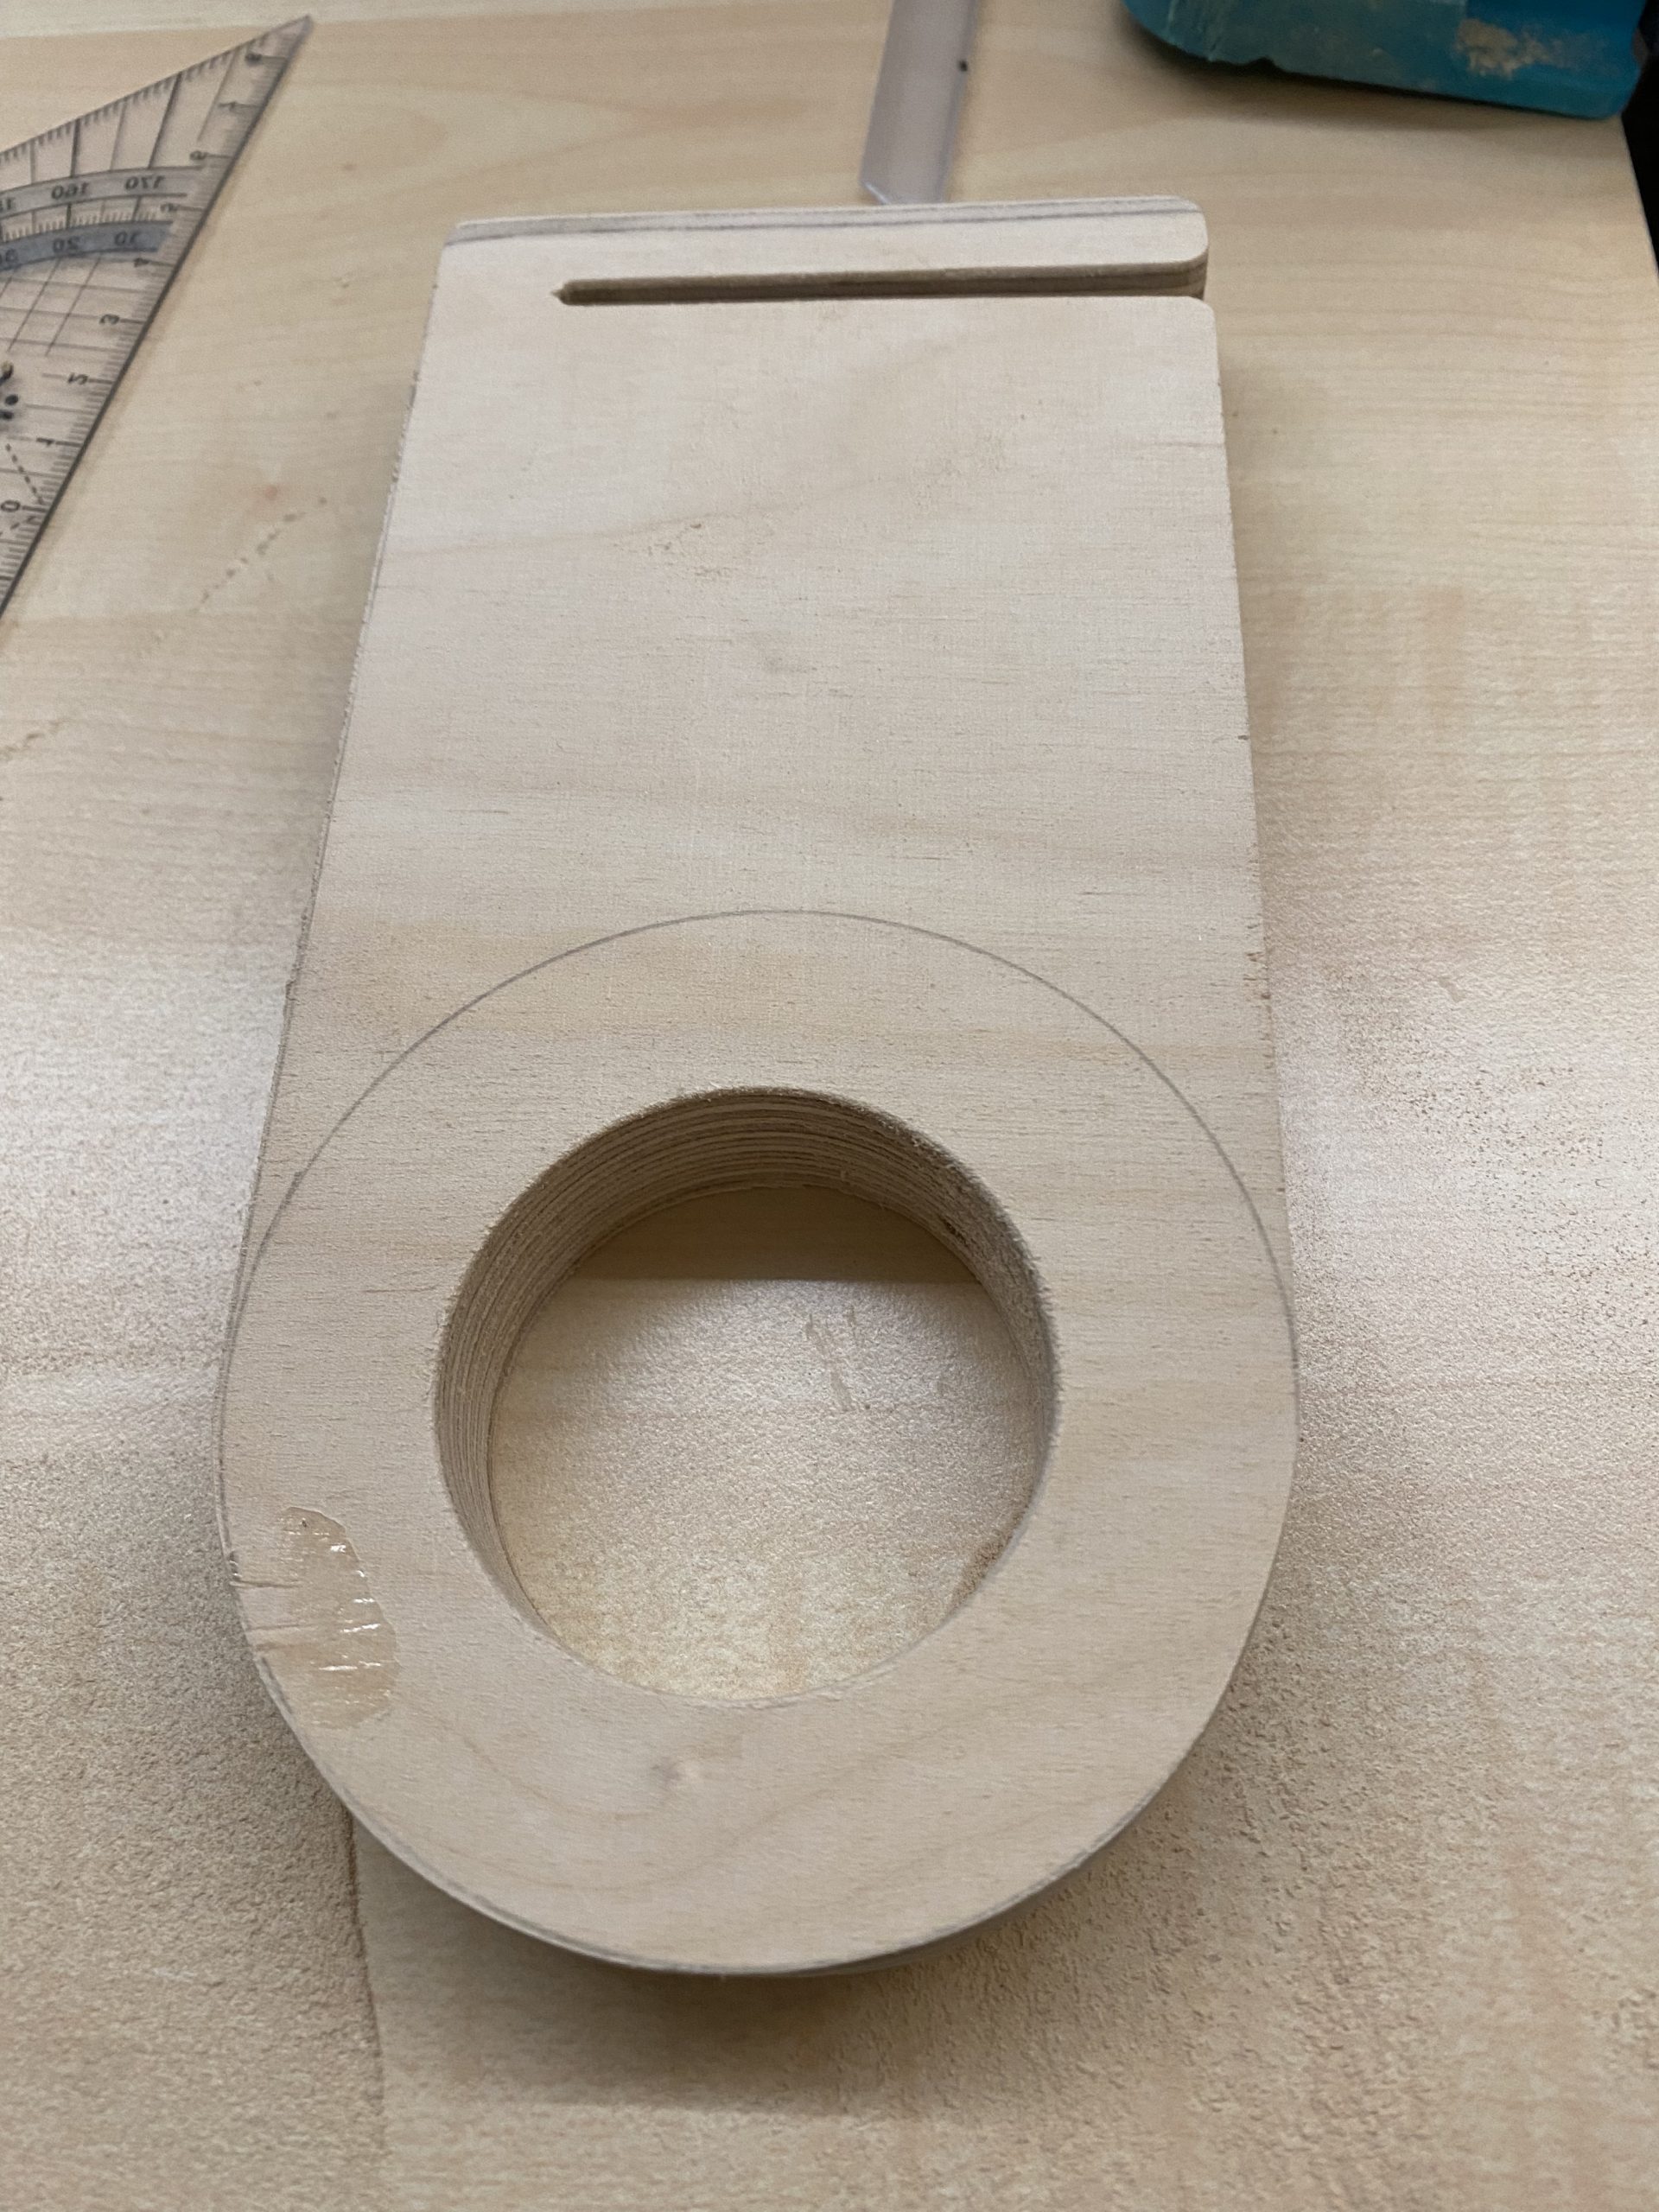
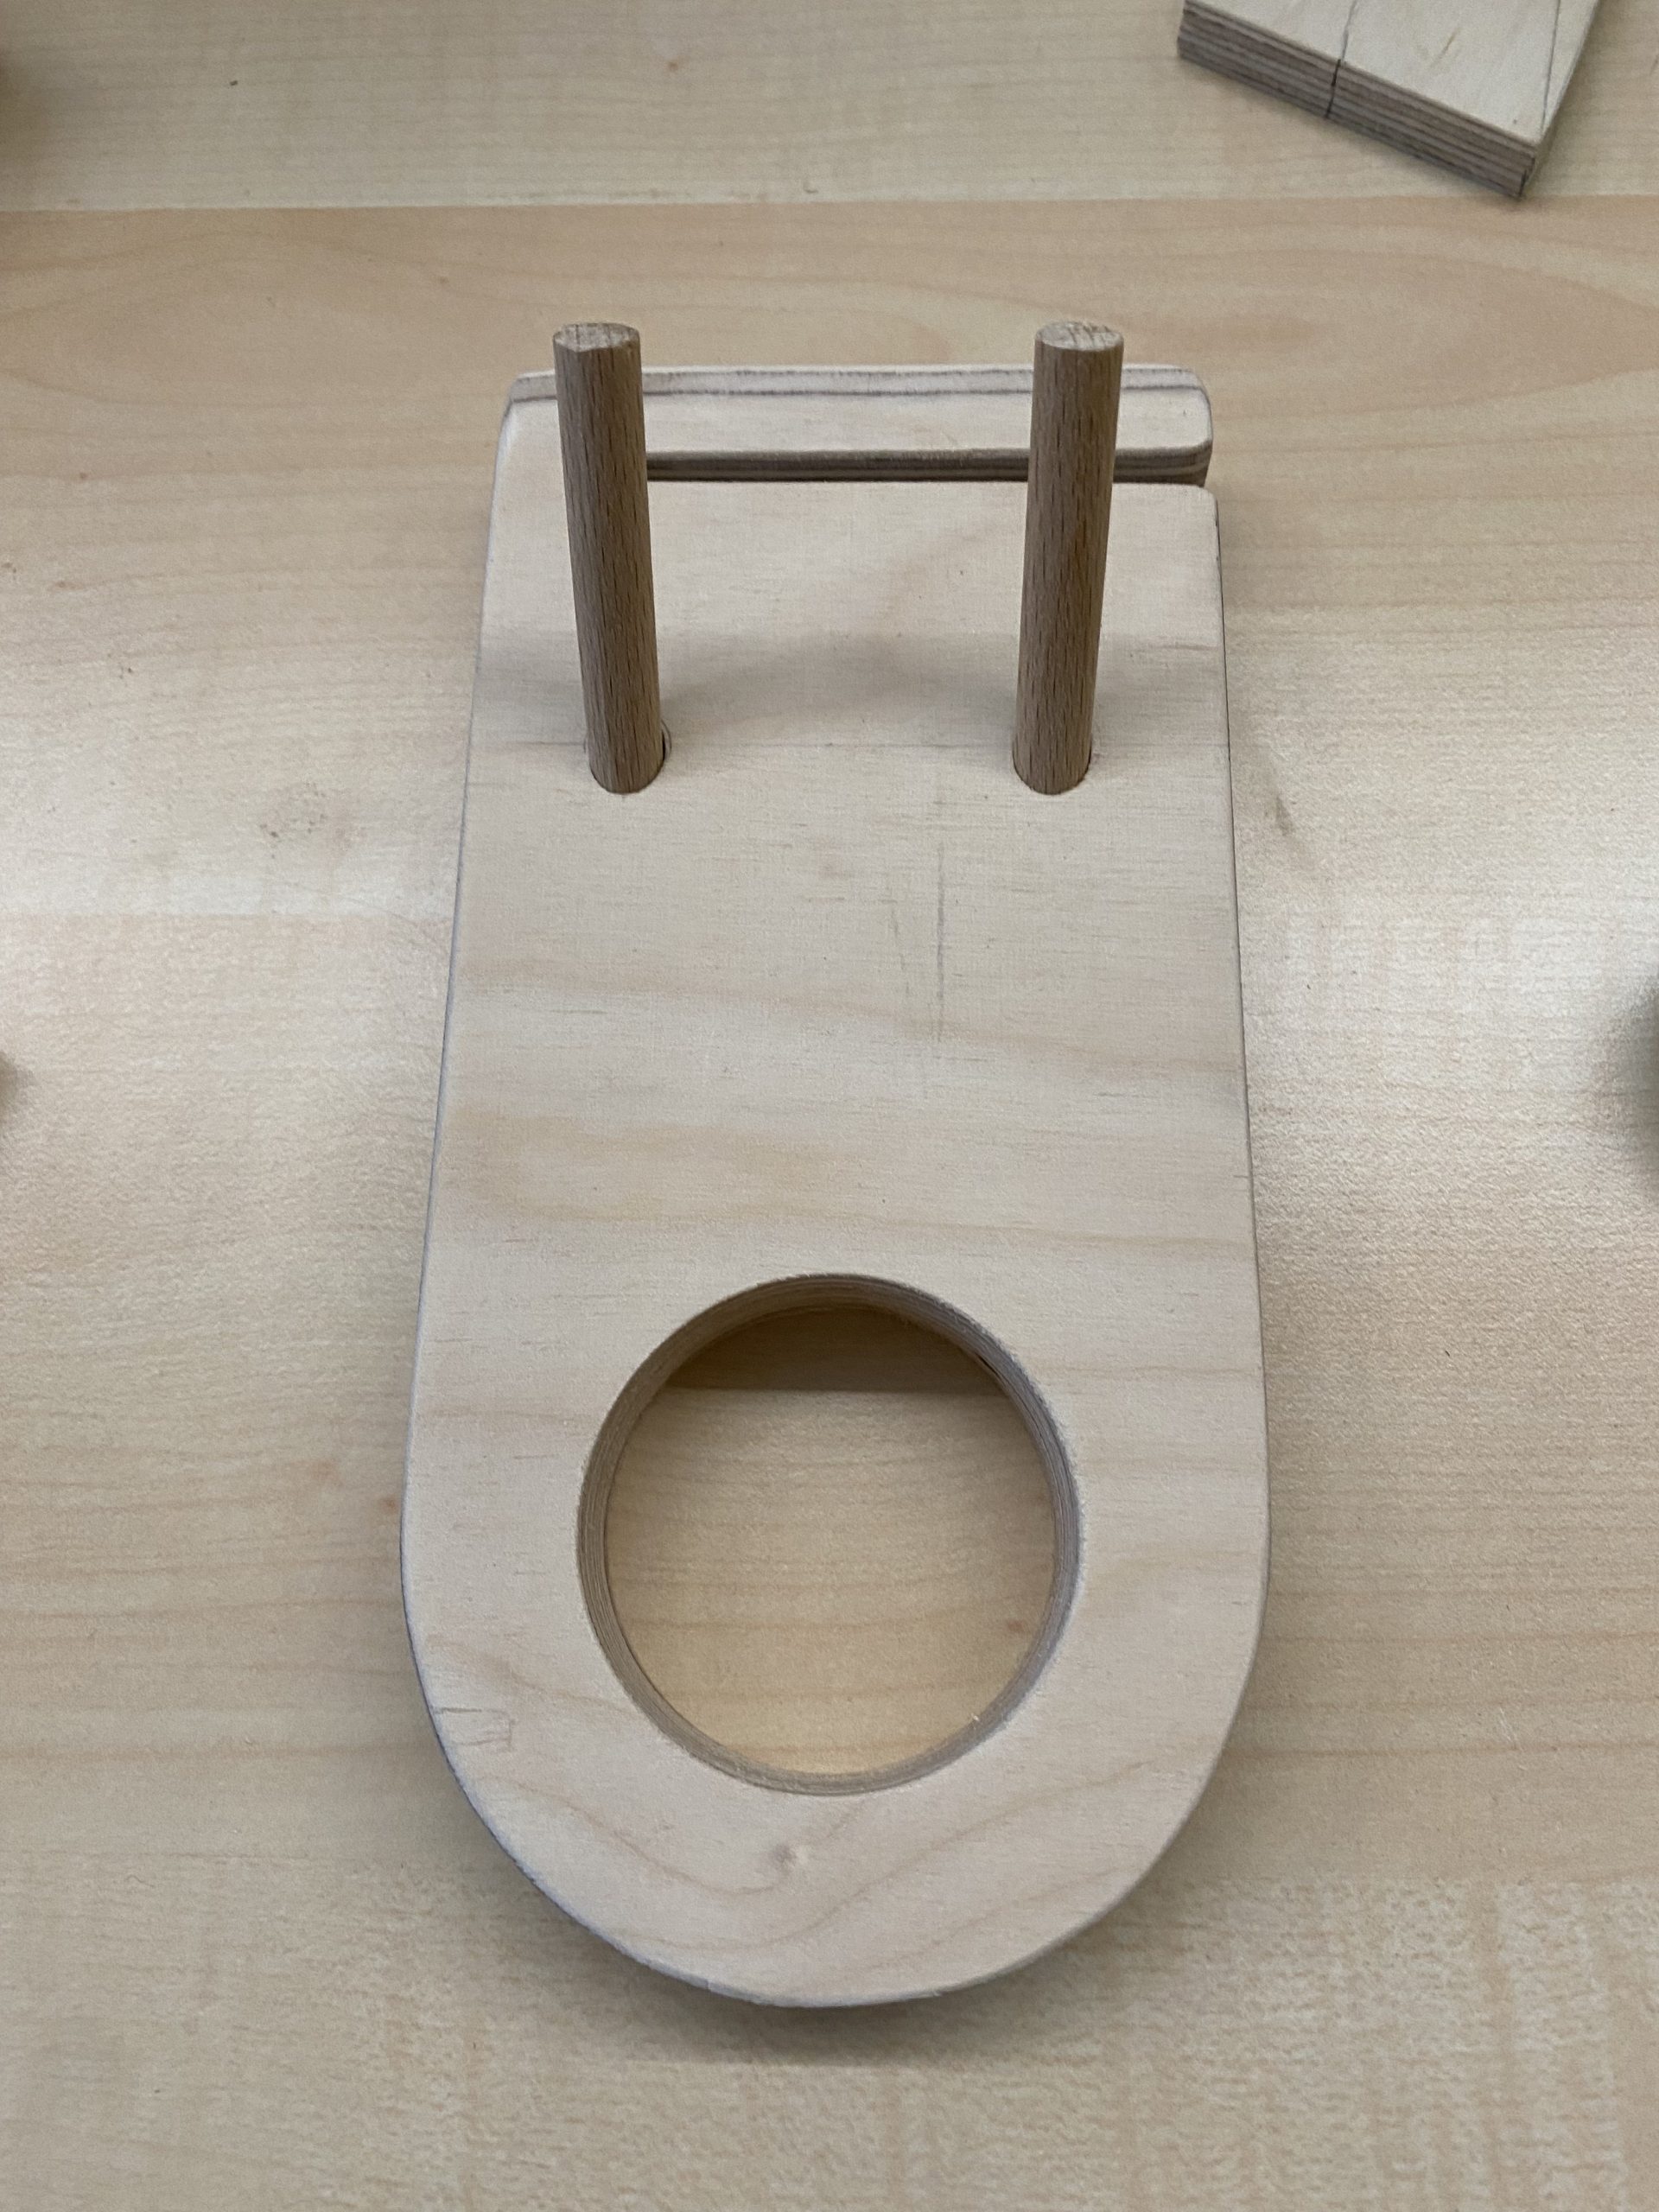
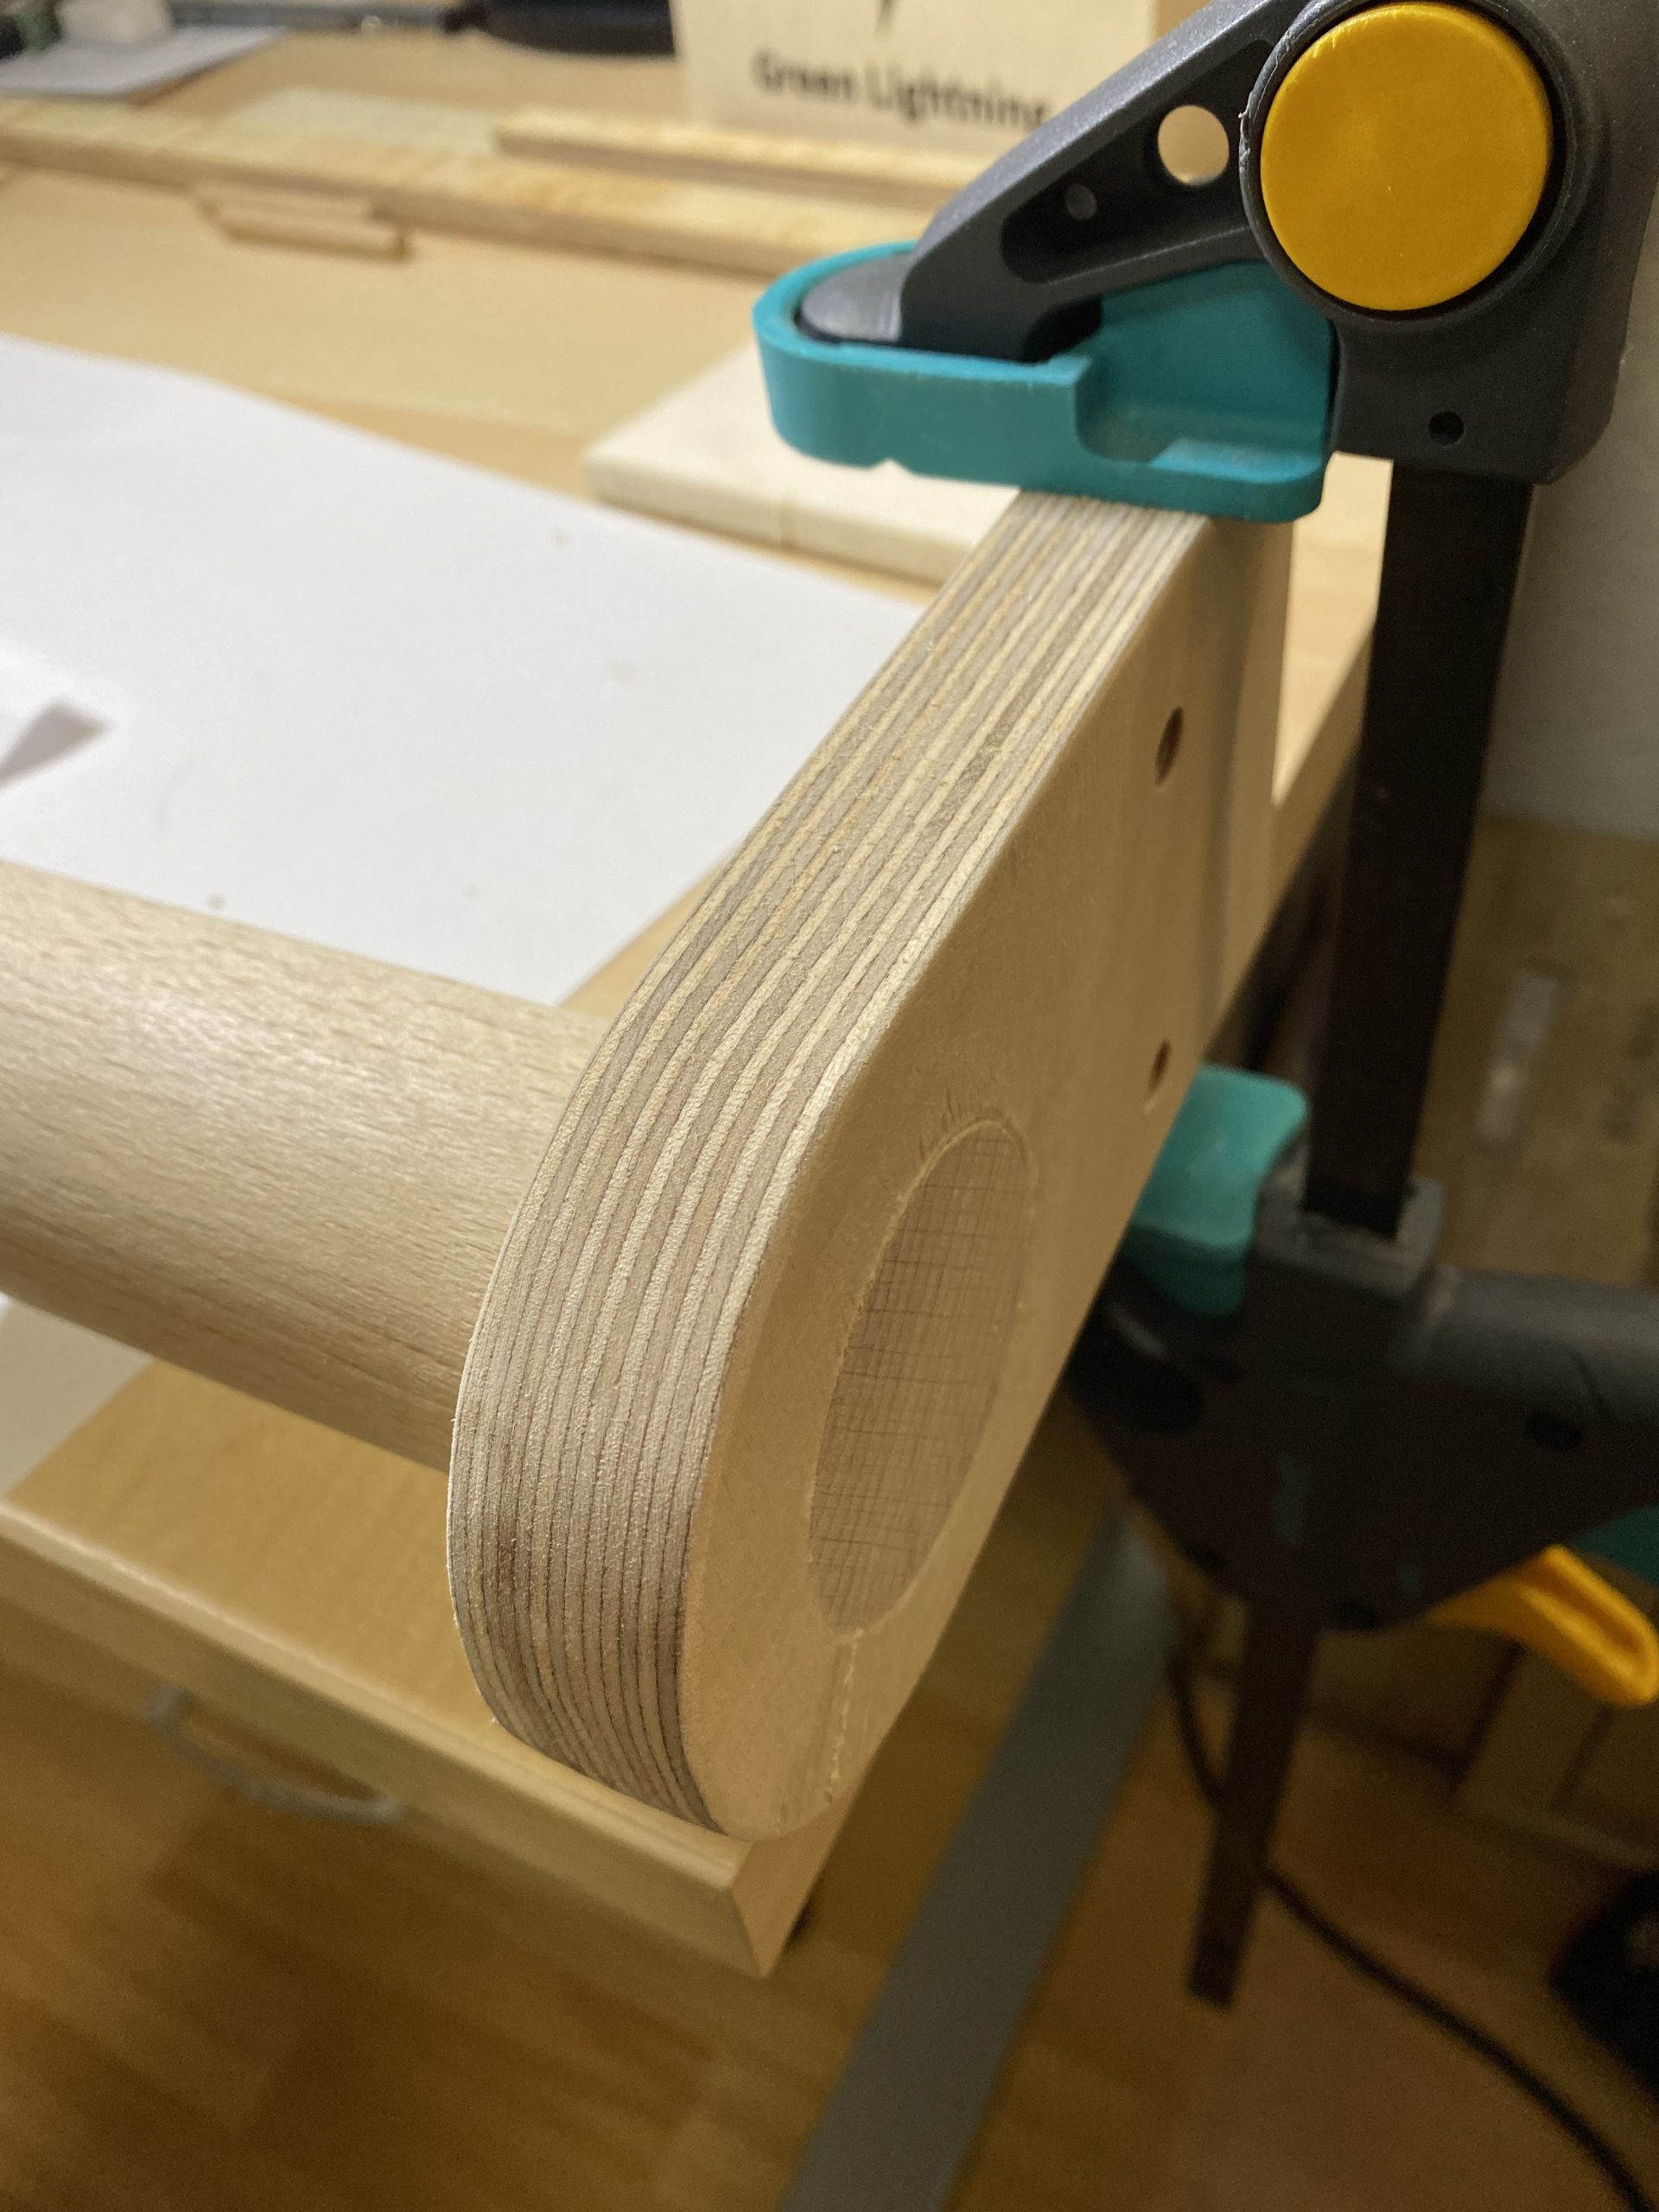
The goal is to slide the holder onto this metal bracket that connects the piano to its stand. For this, the top part of the holder has to clear the screws on the left and the piano itself on the right. I used a chisel to clear out a lot of material on the back of the holder and then some sandpaper to make everything smooth and round off the front side.
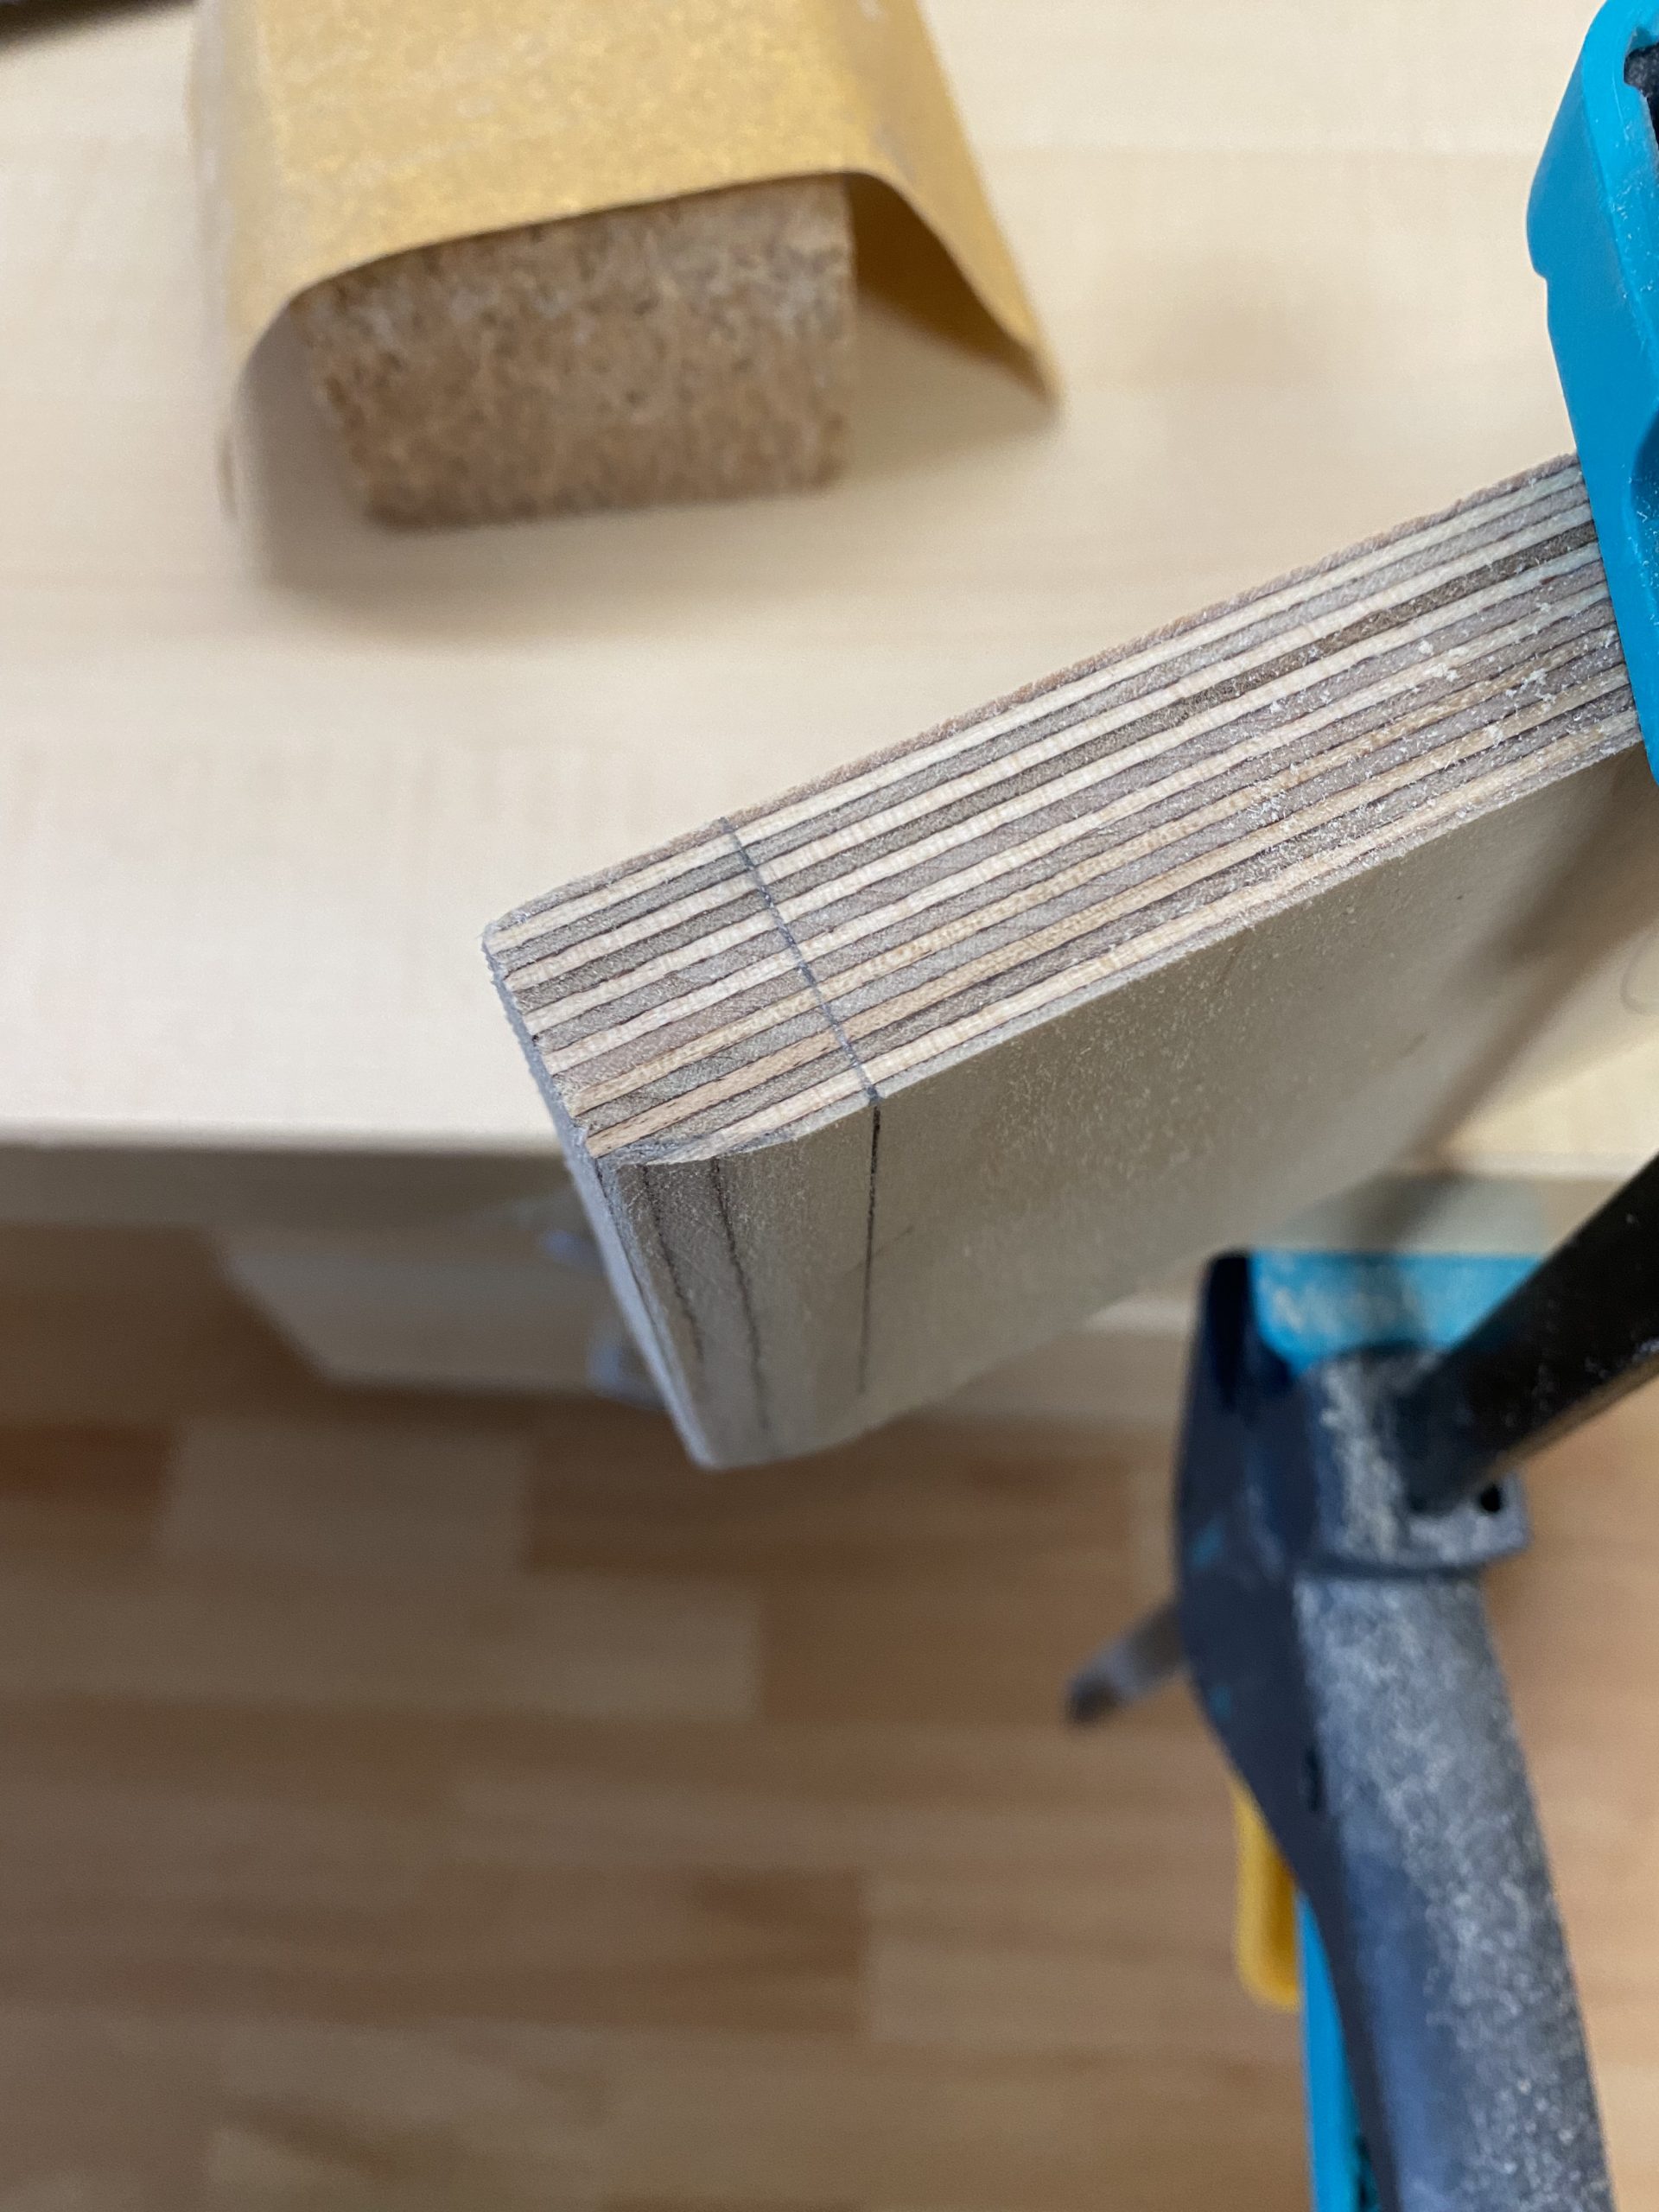
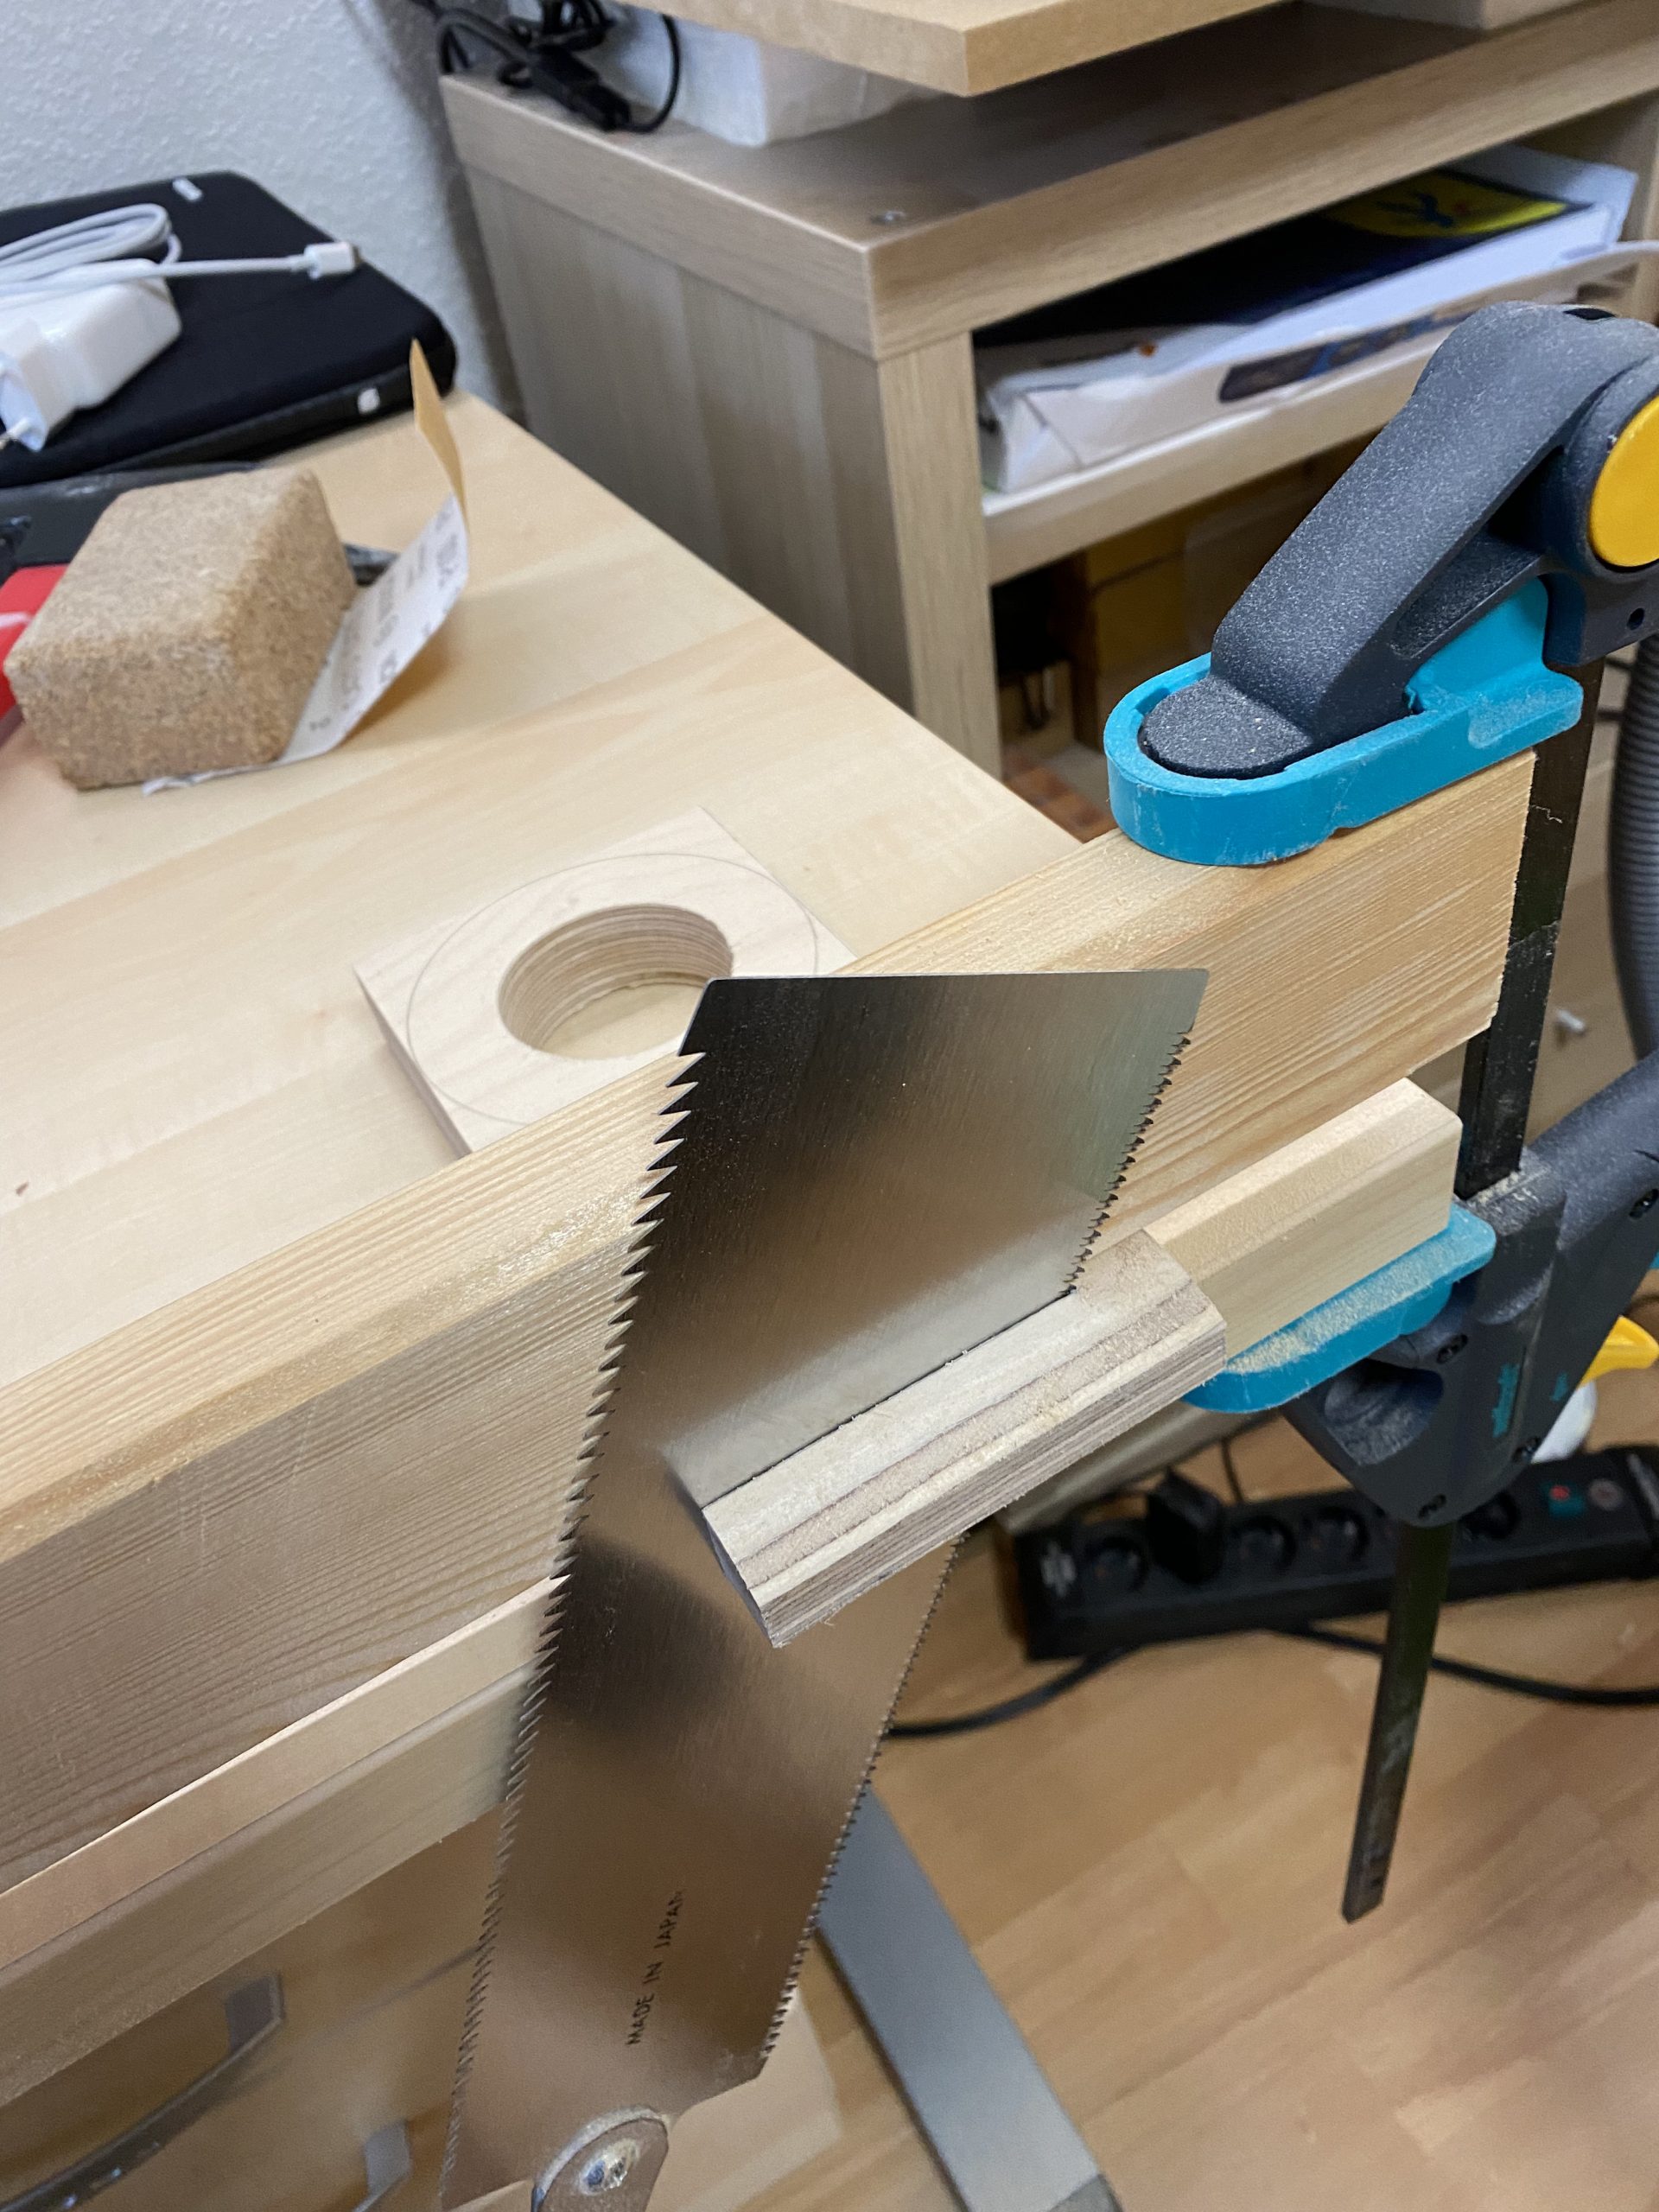
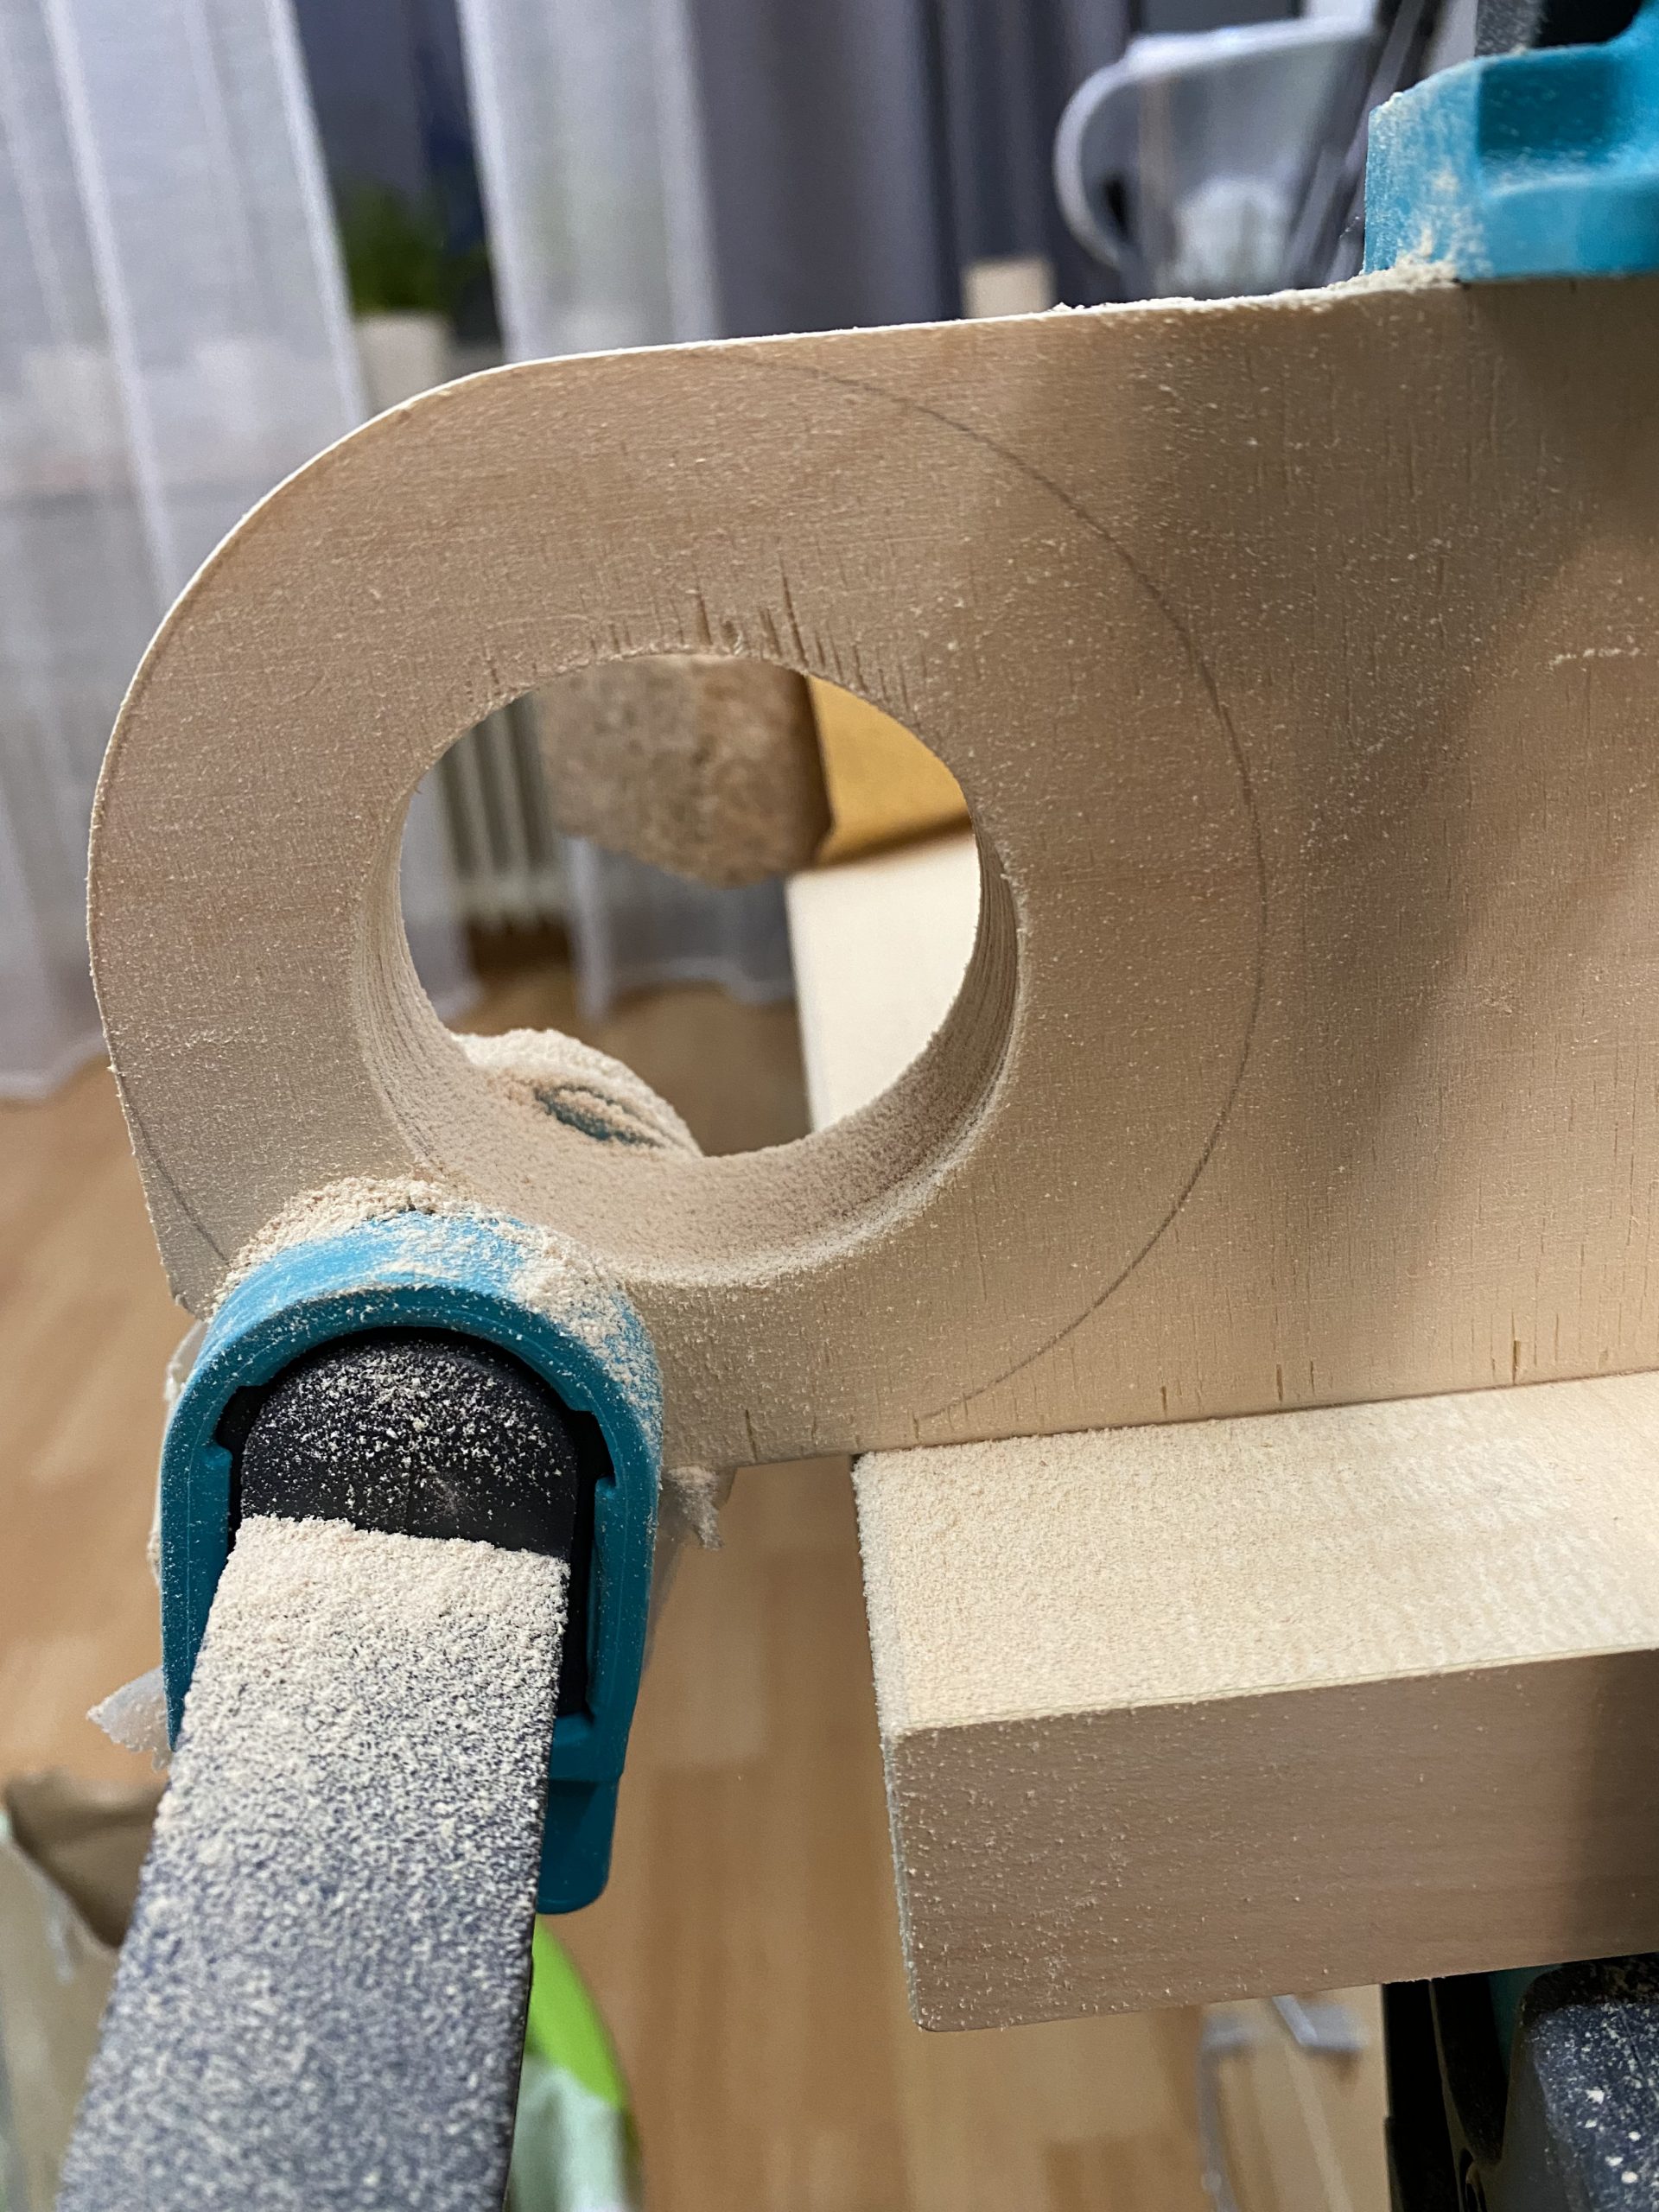
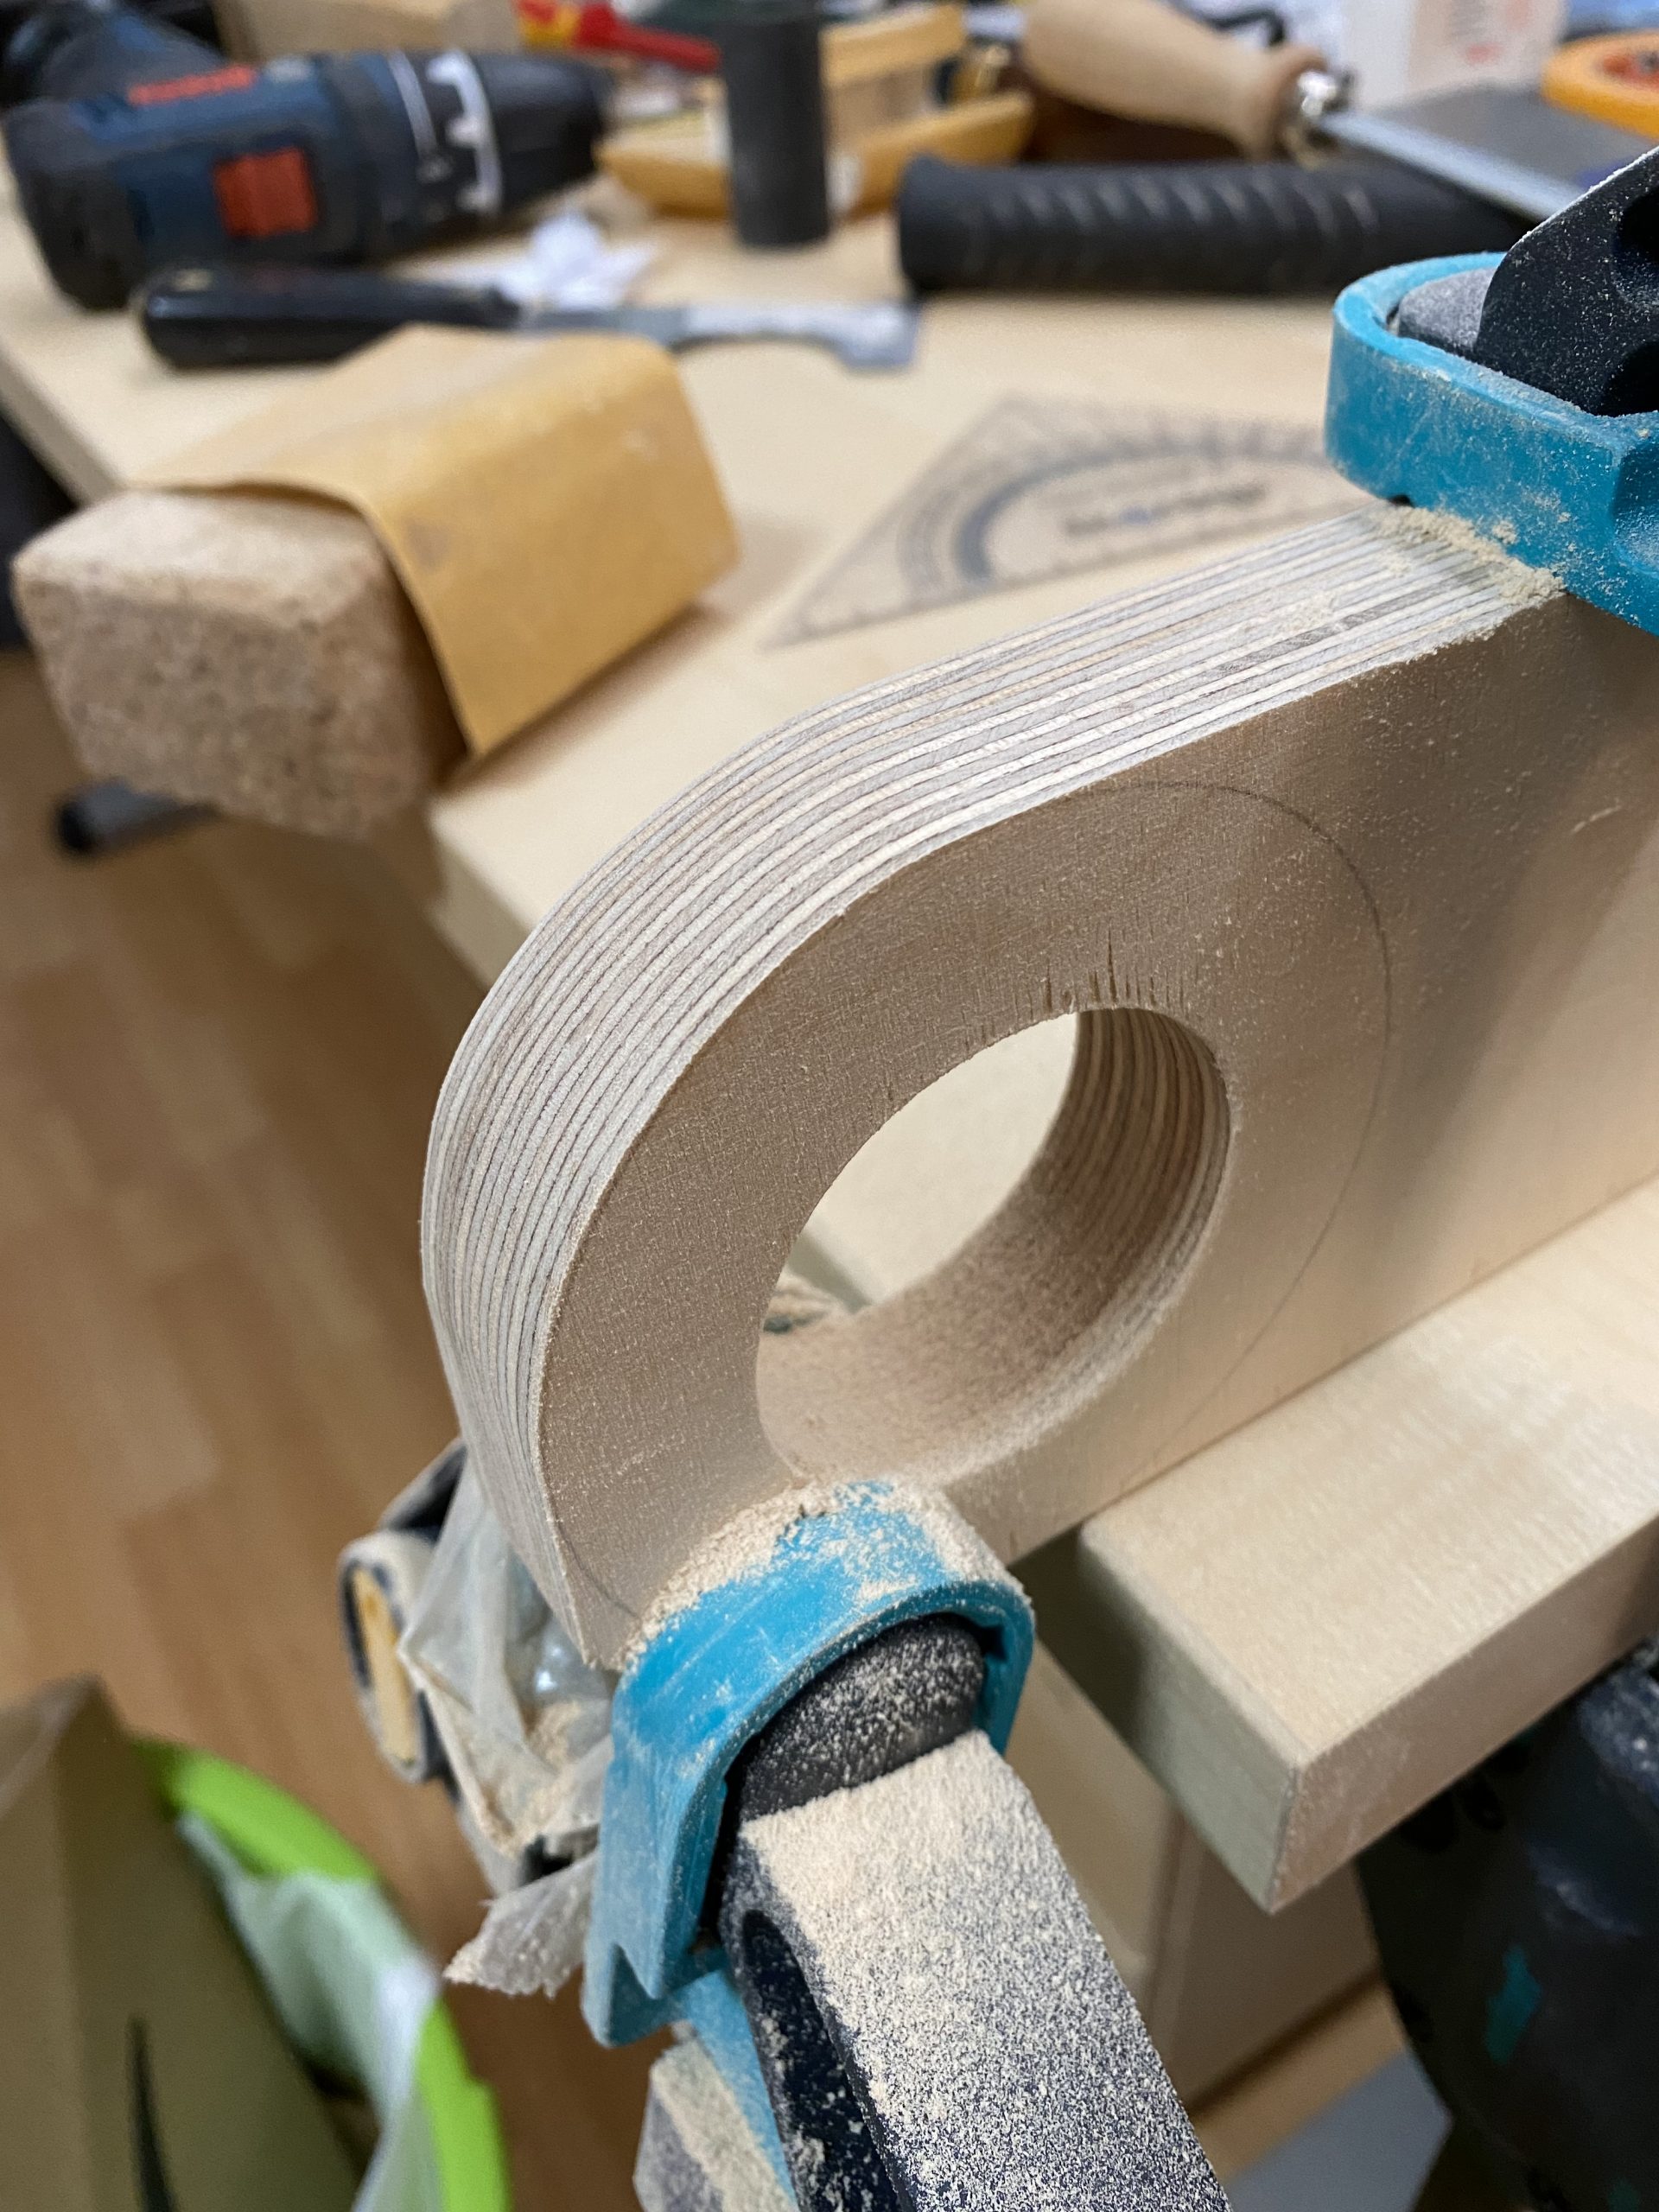
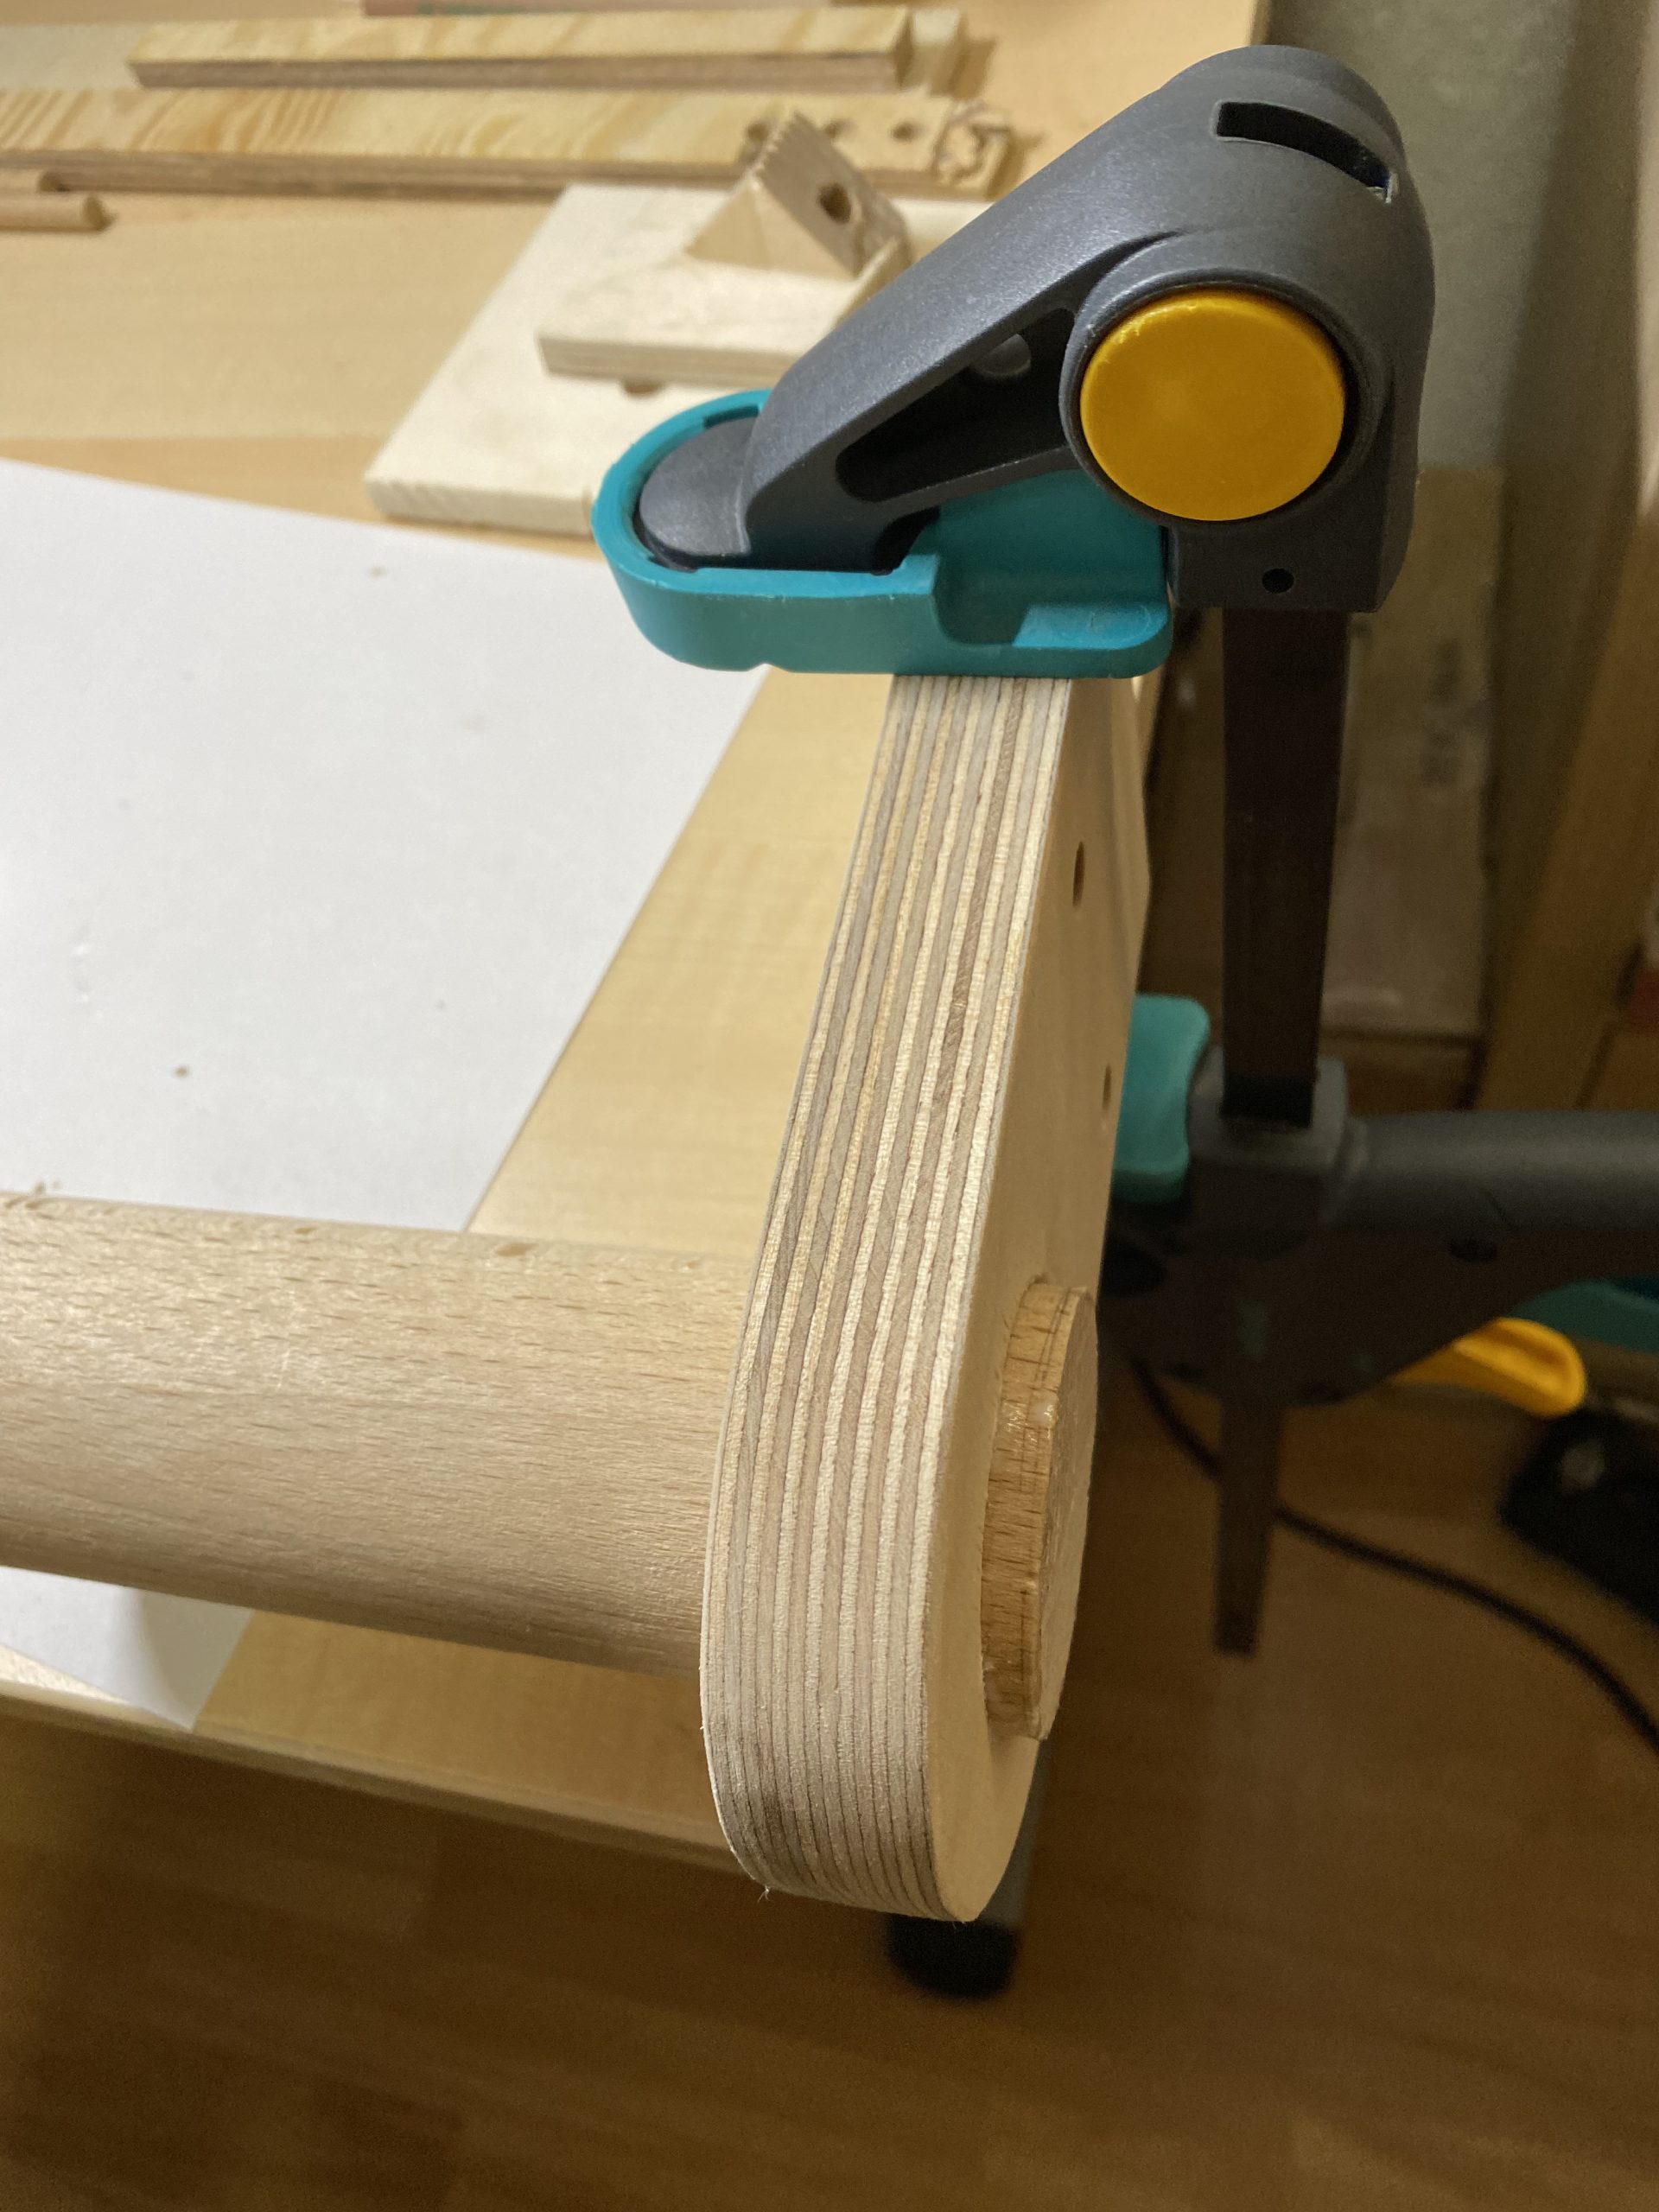
Next, I cut the slot for the metal bracket. You can see my sawing setup in the picture. I am using a Japanese Ryoba saw and another piece of wood to guide the blade. Combined this results in extremely straight cuts.
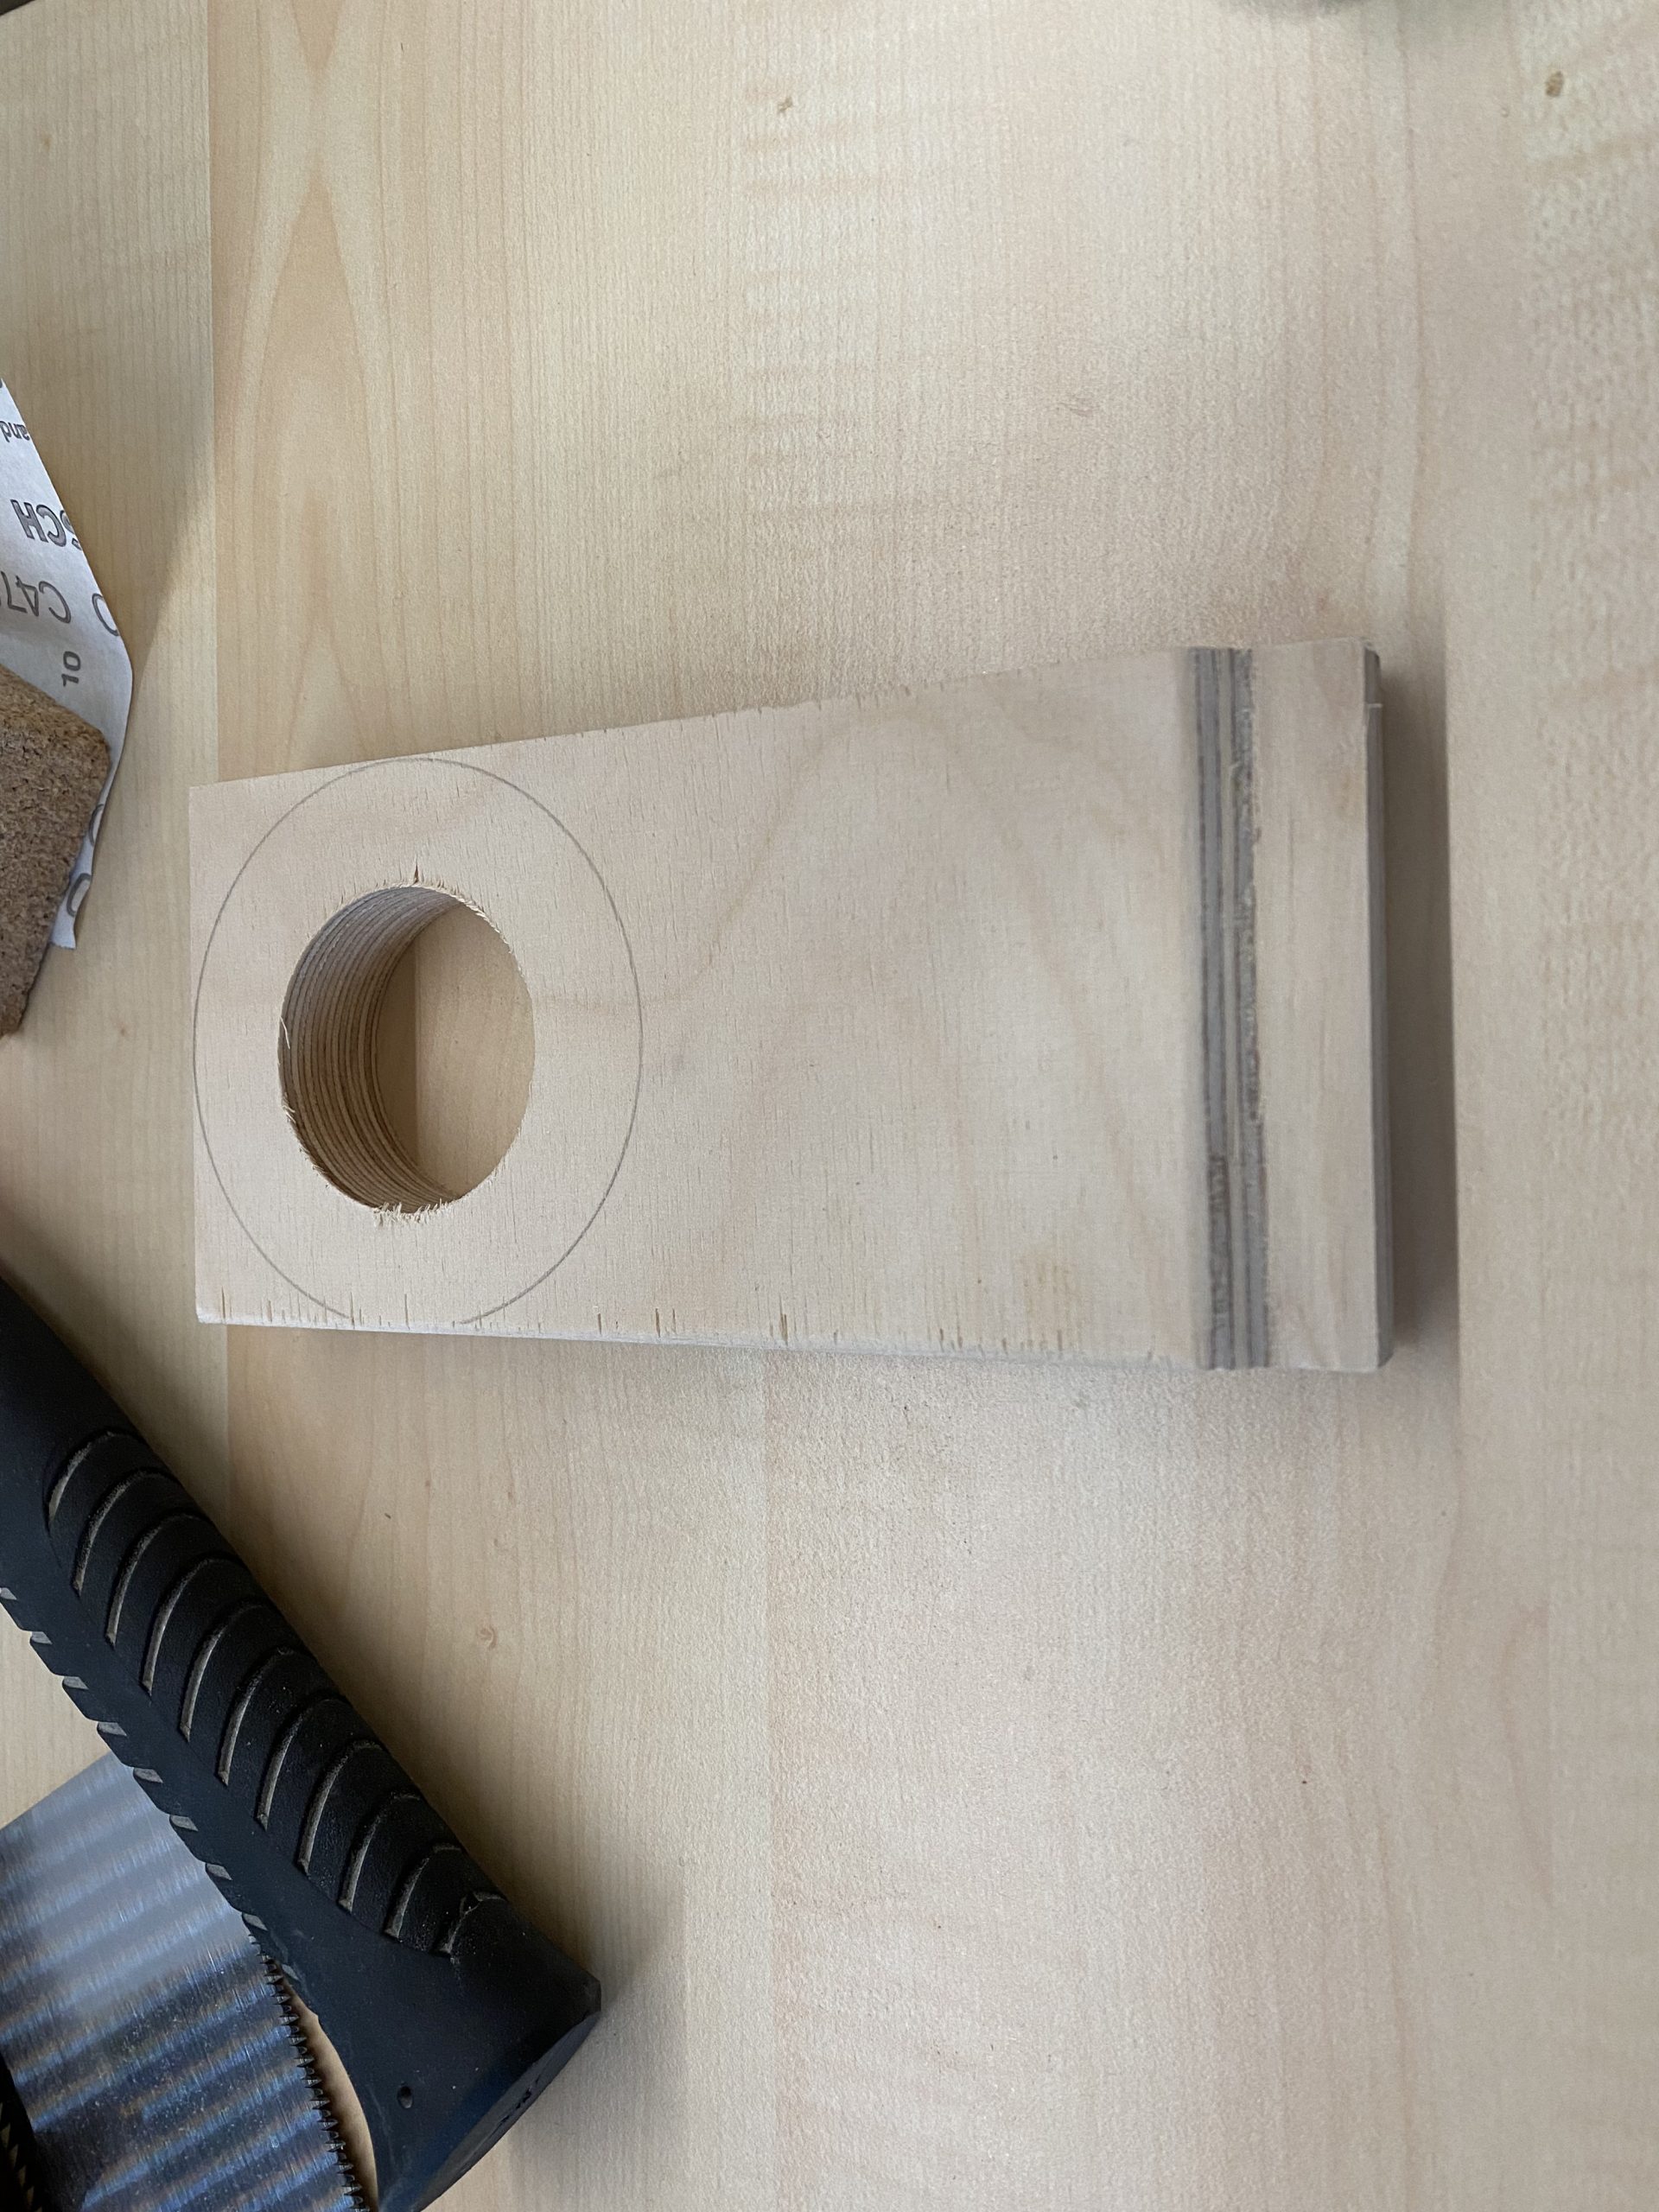
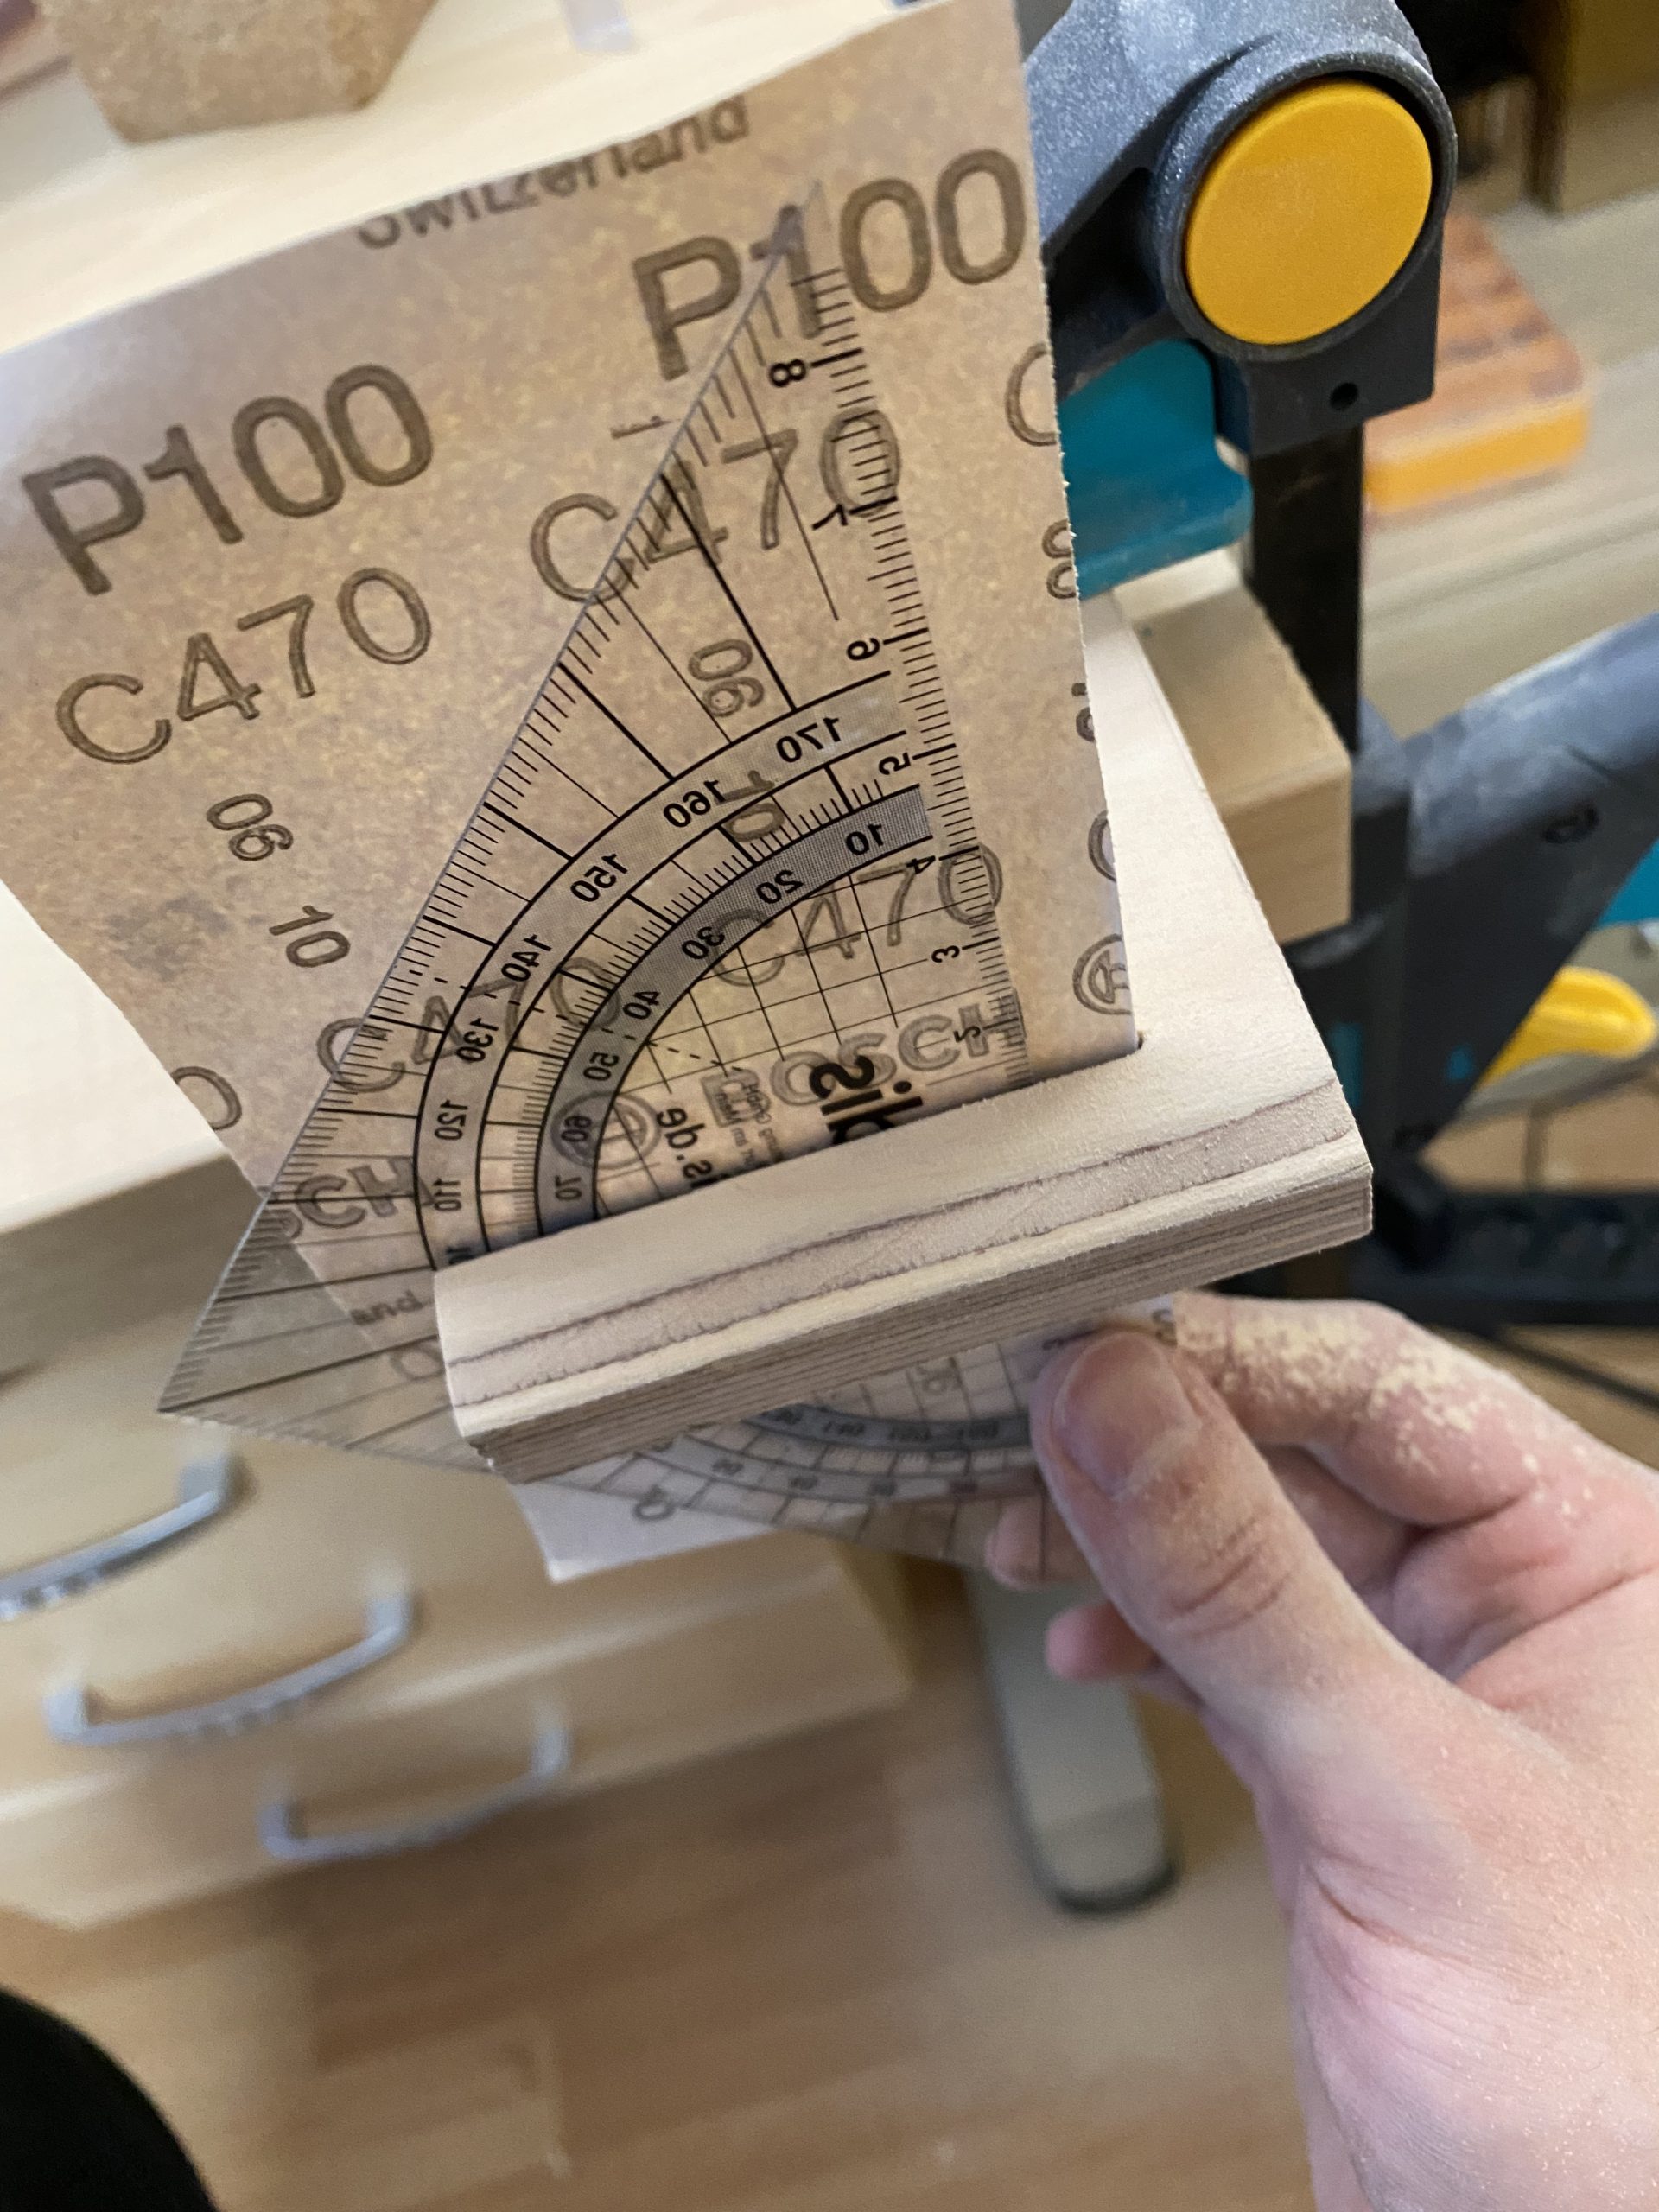
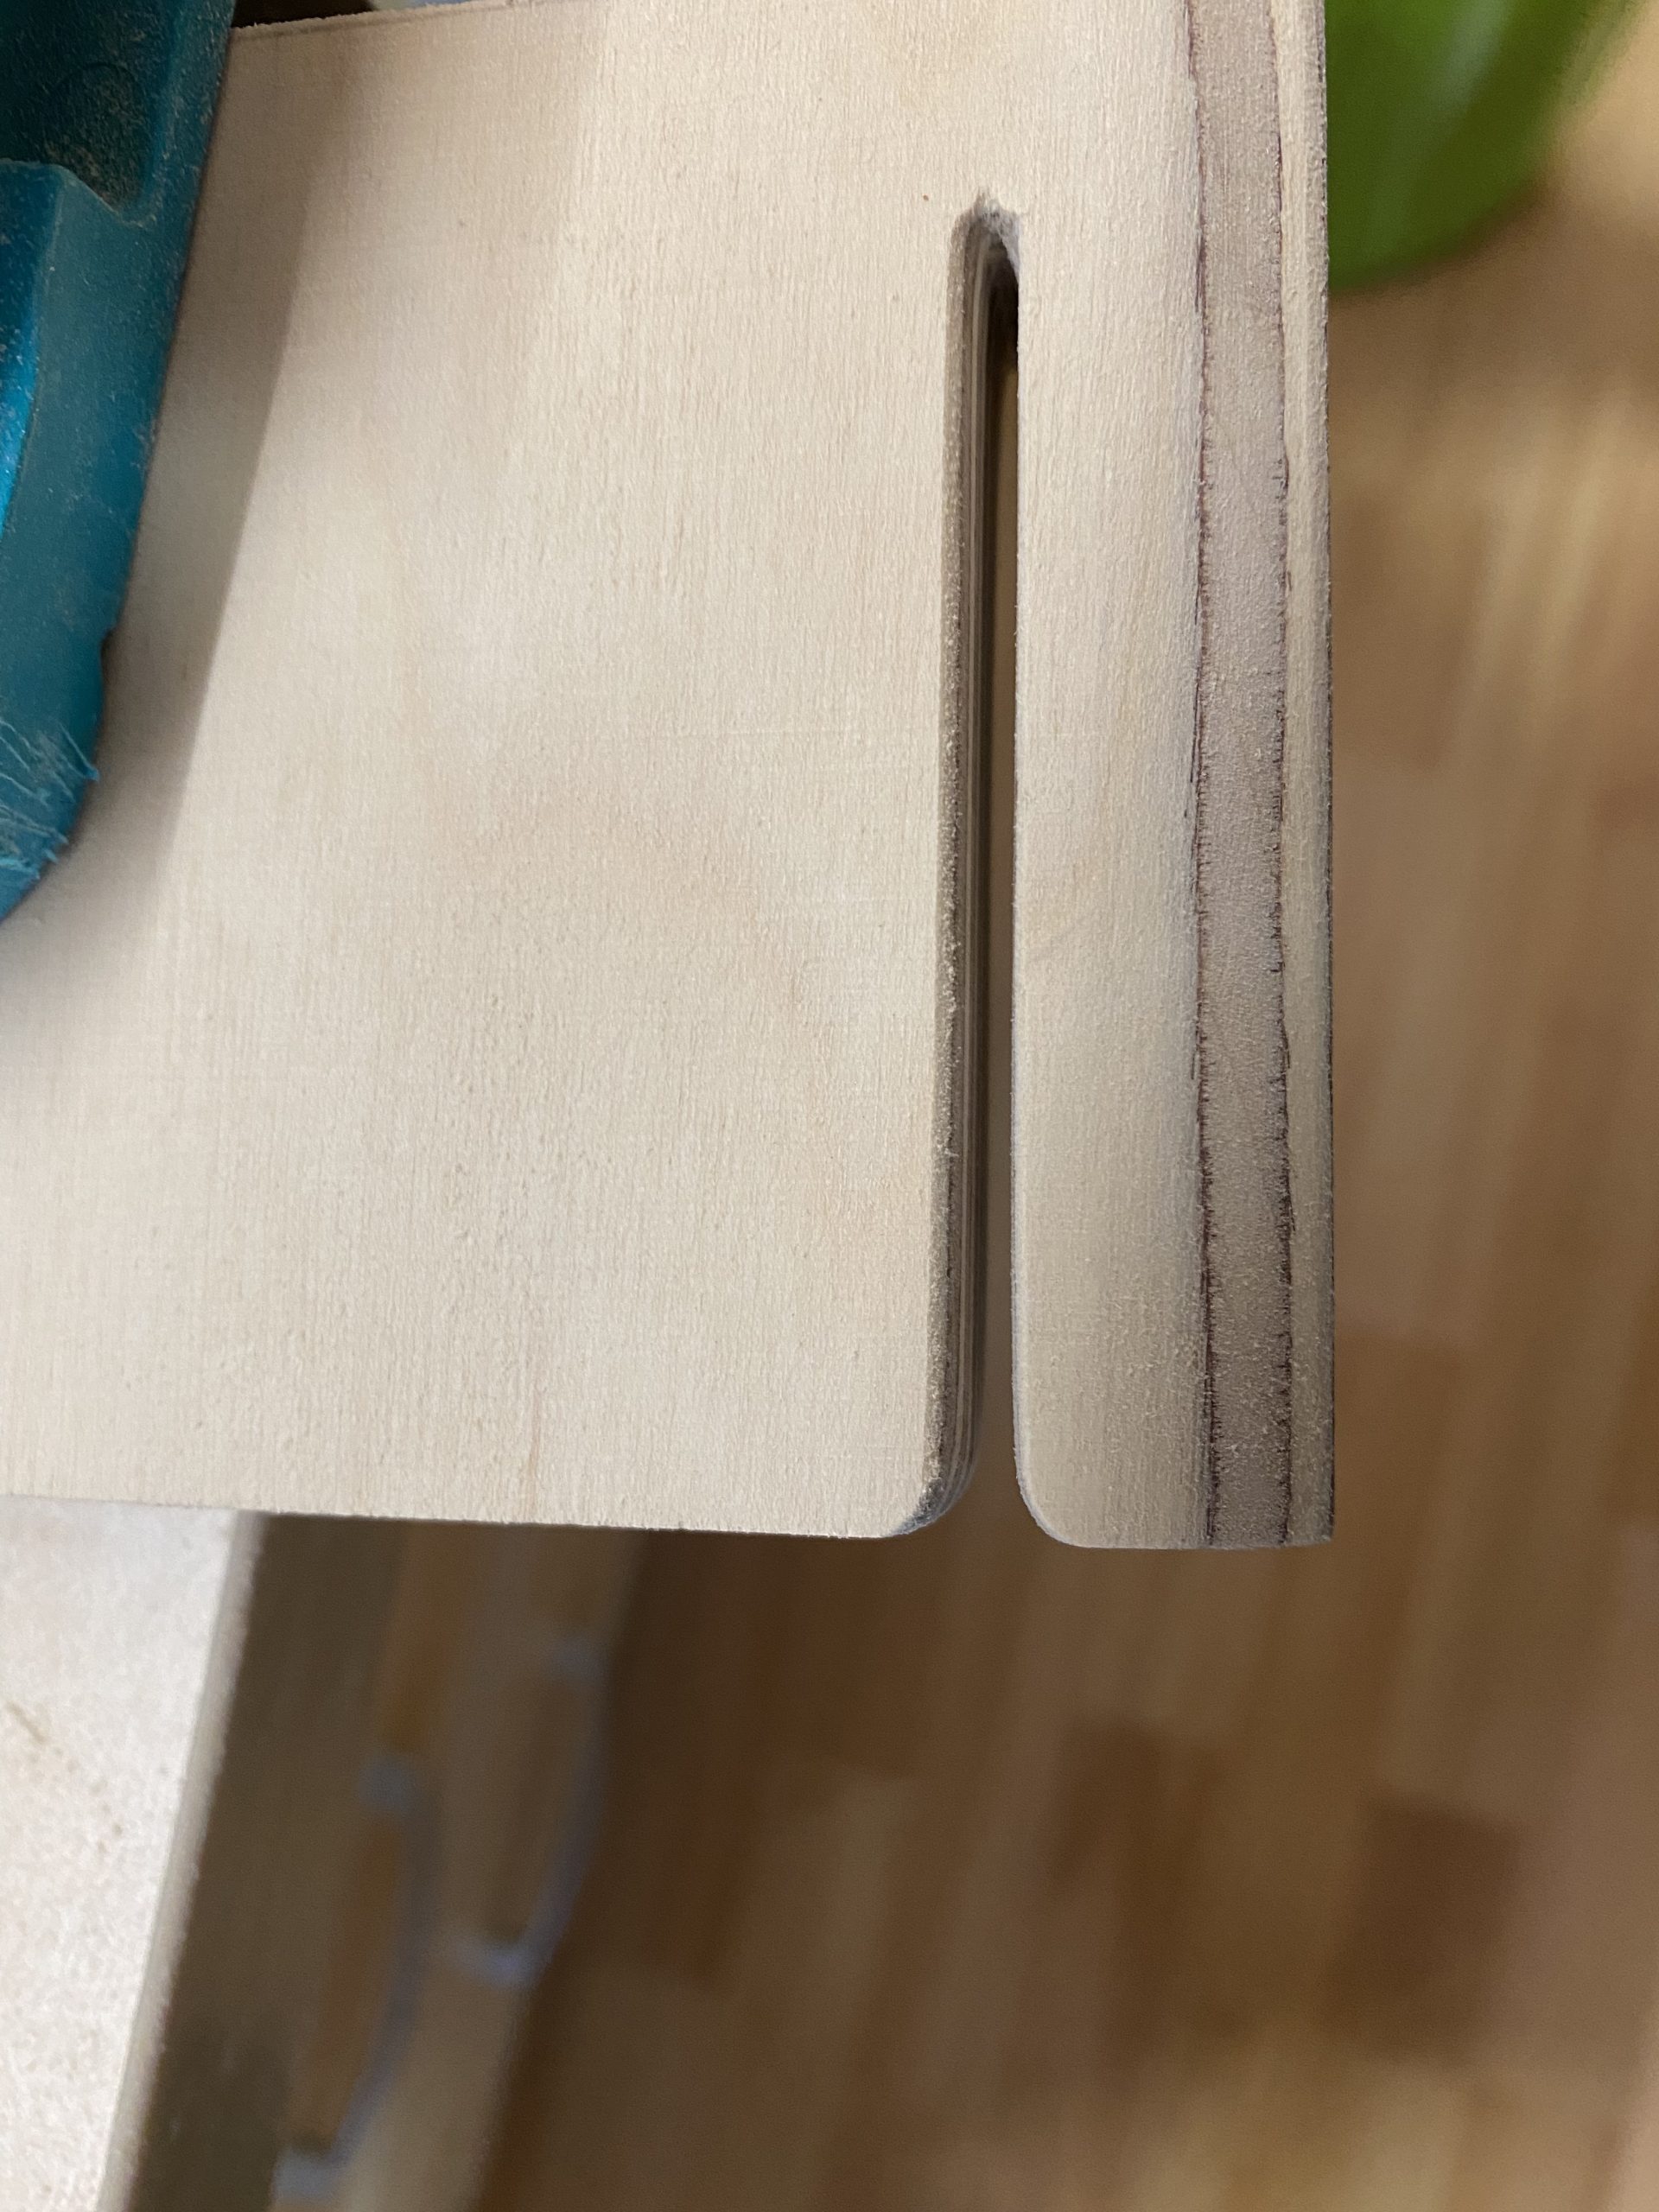
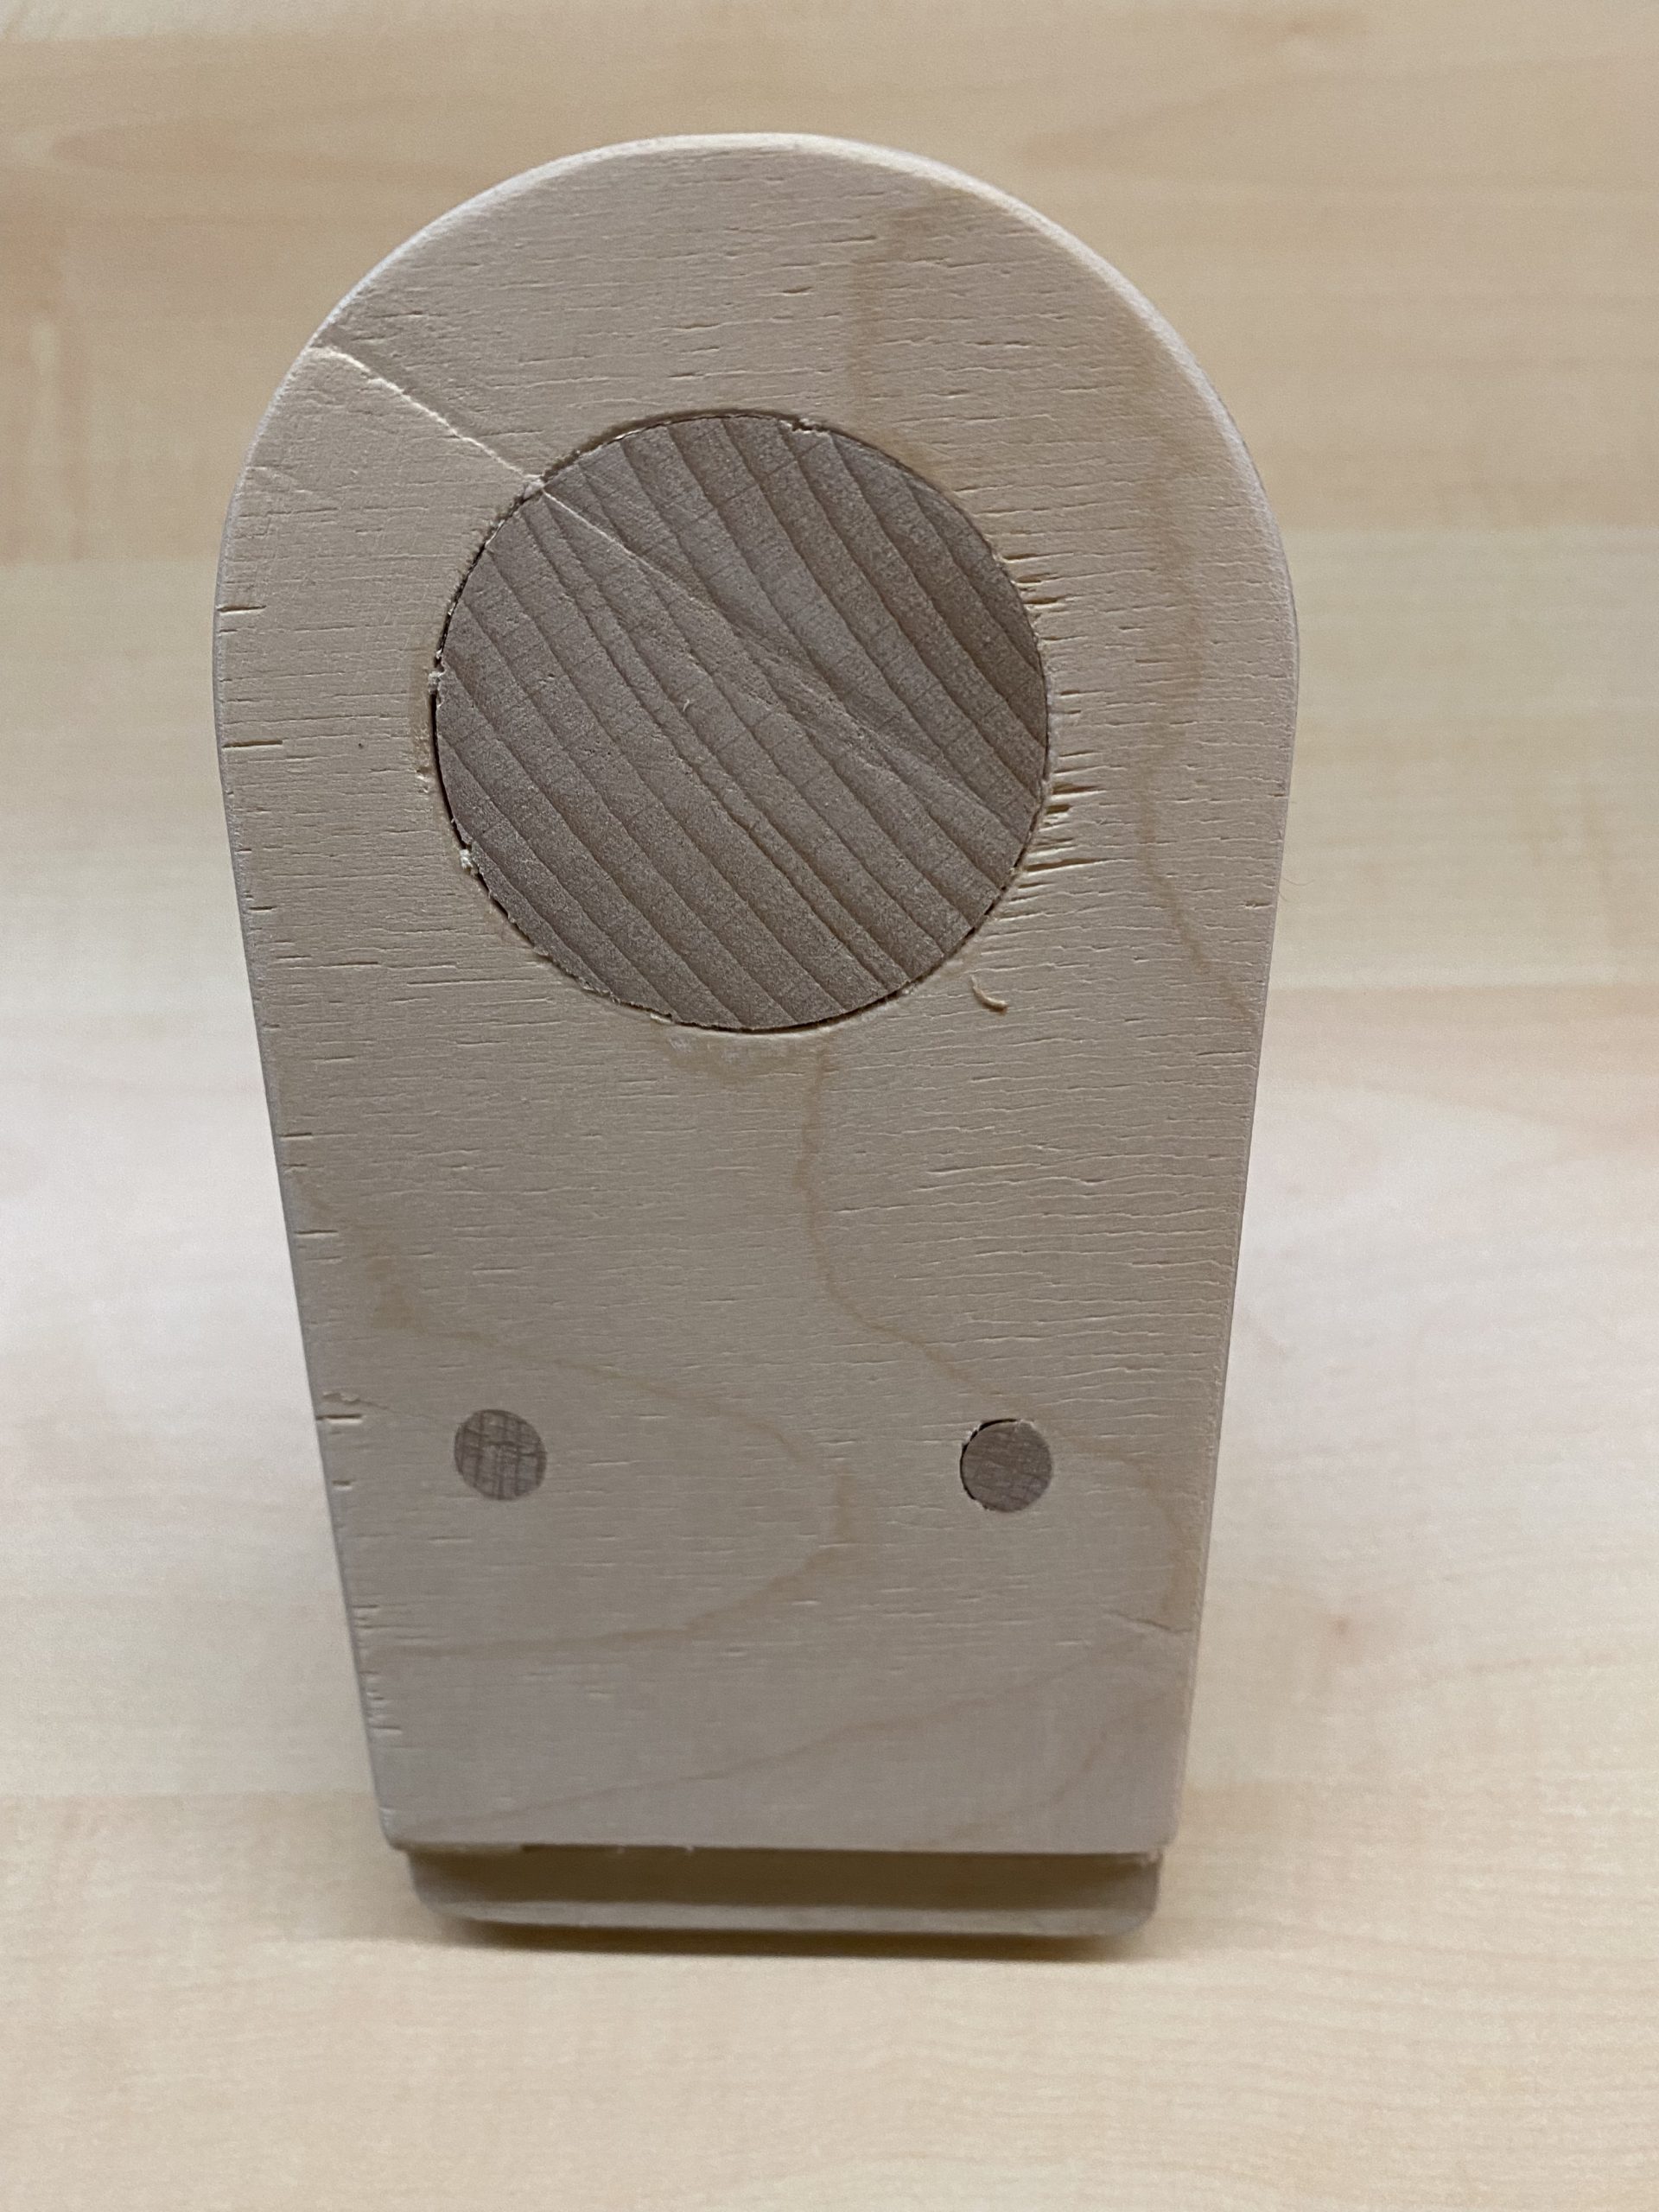
I finished the slot with sandpaper, using a plastic square to apply pressure from inside the slot.
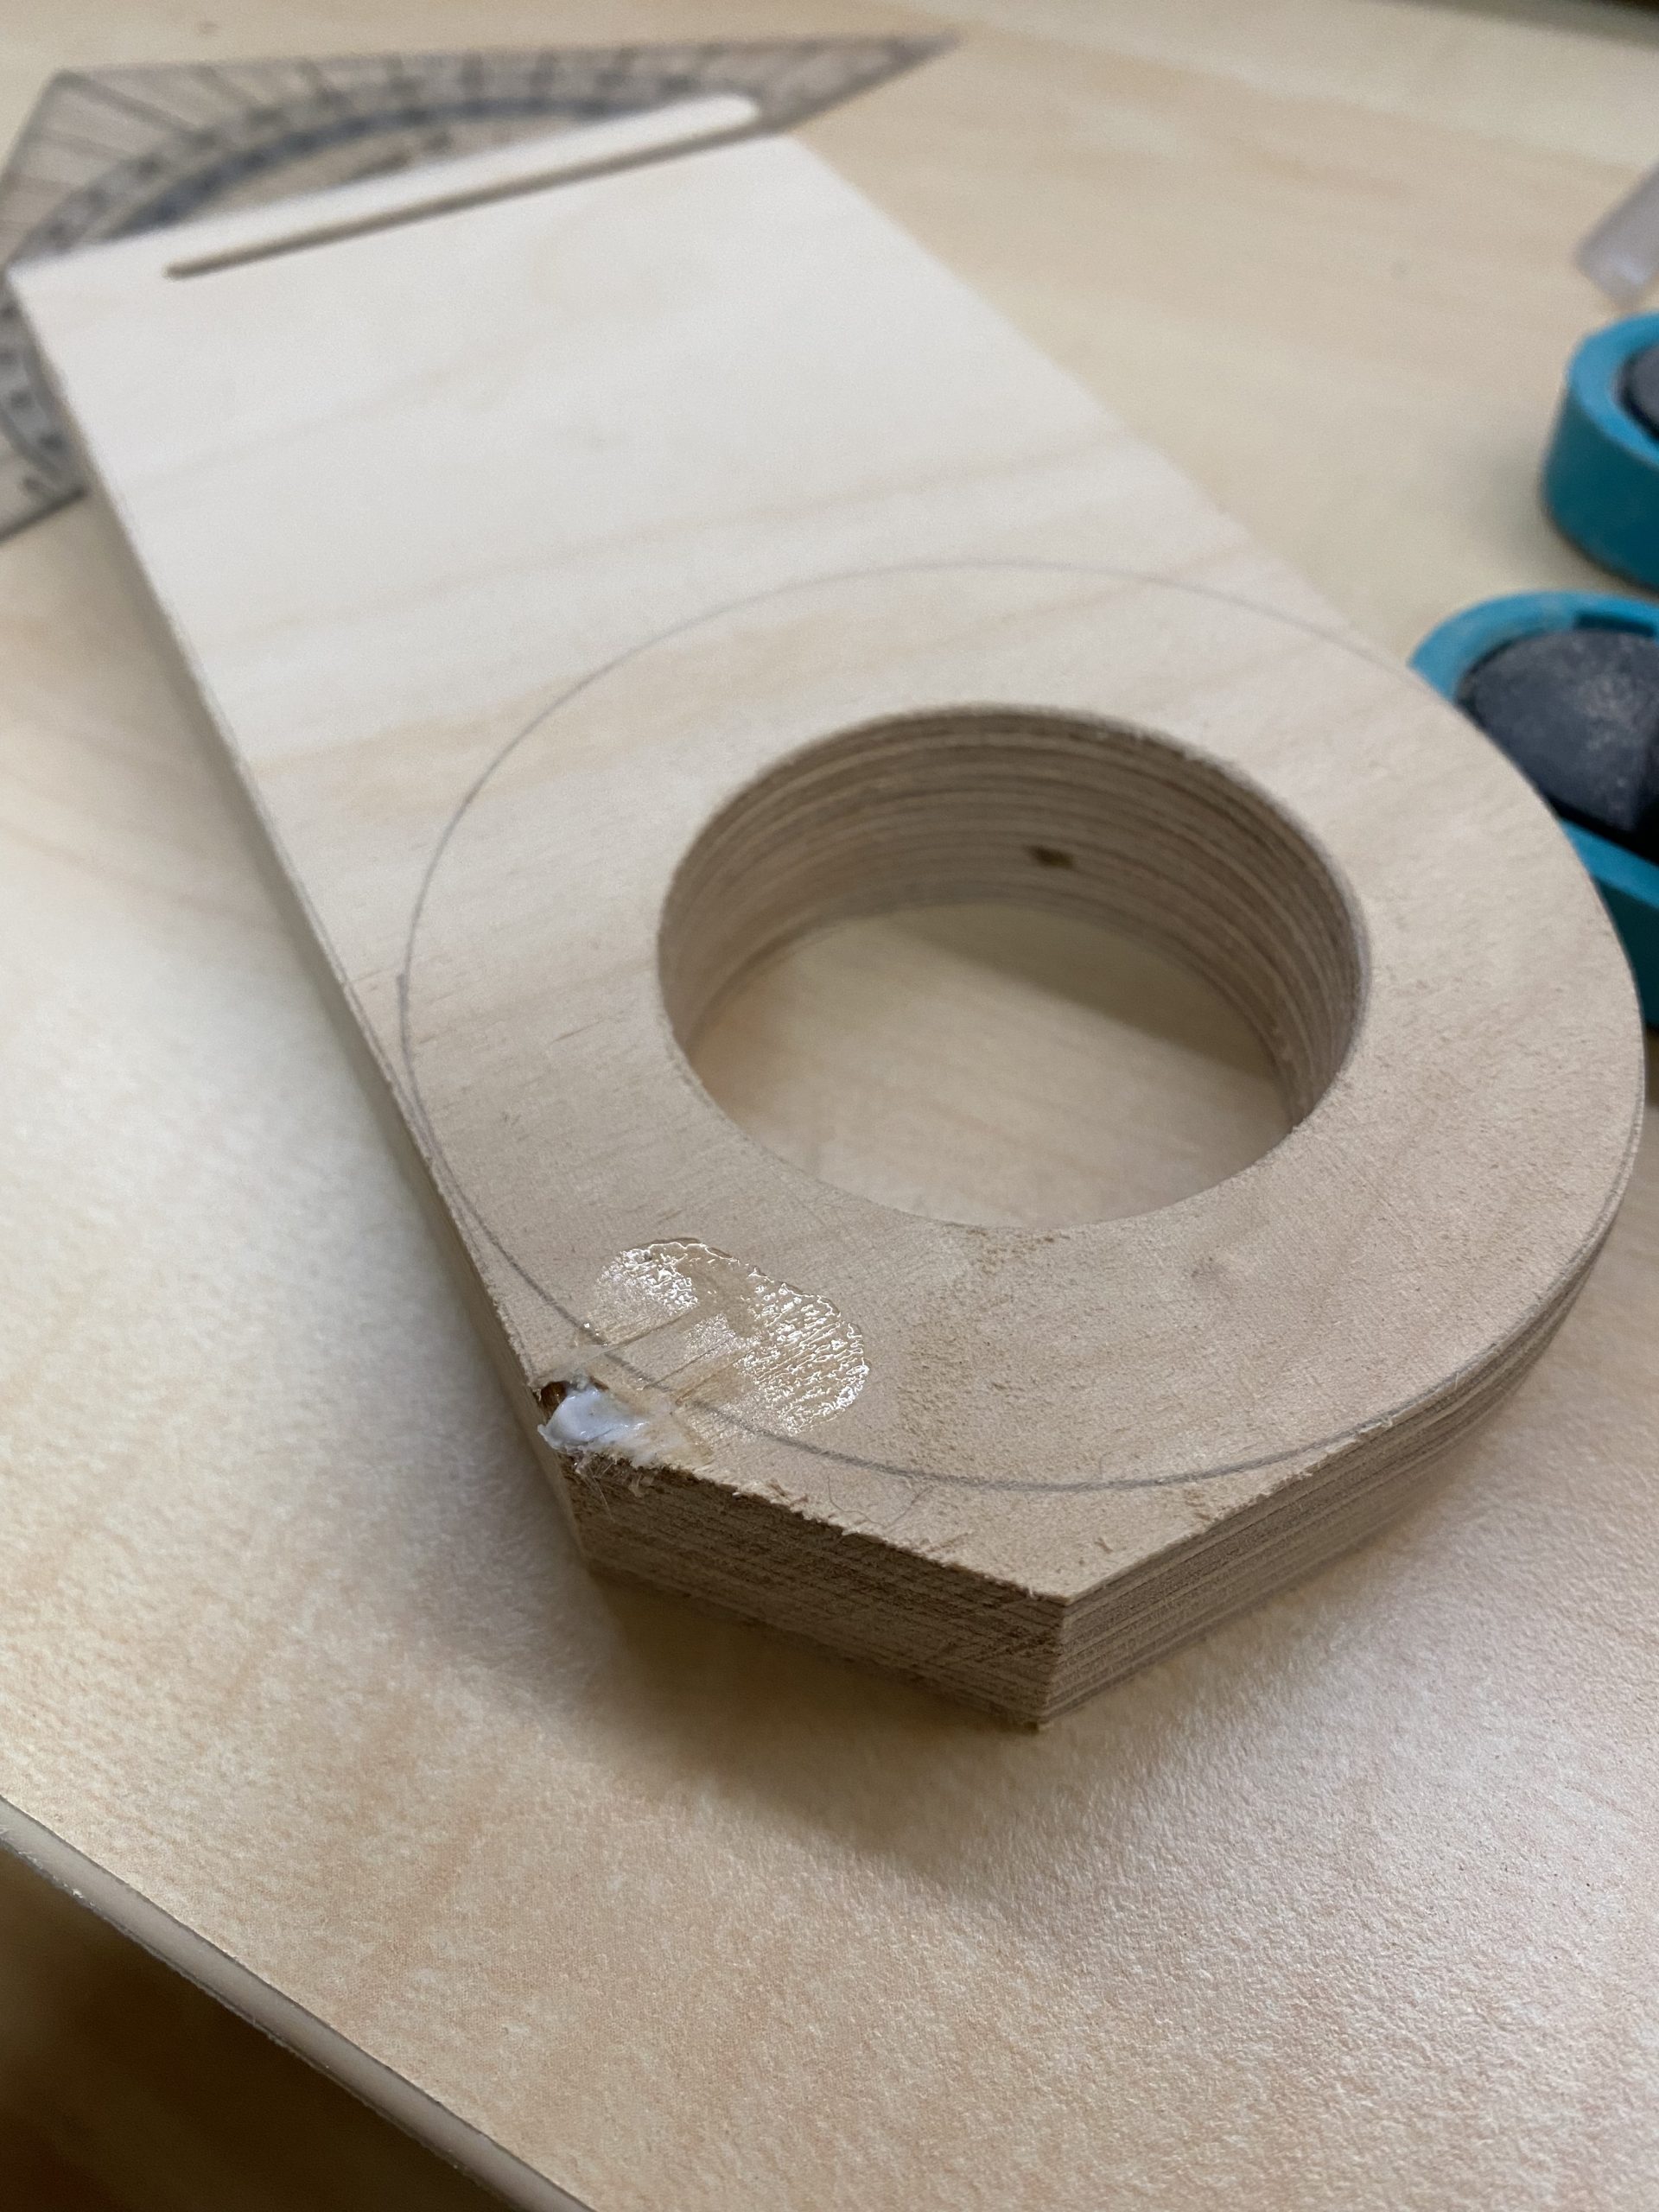
I cut off the corners at the bottom, but I was a little too aggressive while sawing, so a small piece of wood broke off. To fix this, I put an excessive amount of wood glue under it and then clamped it in place (using some plastic wrap so the glue does not stick to the clamp).


After an exhausting amount of sanding, one of the corners was done.
After rounding over the other corner and sanding off the excess glue, the fix looks quite decent. After the final sanding and finishing it will not be noticeable anymore.

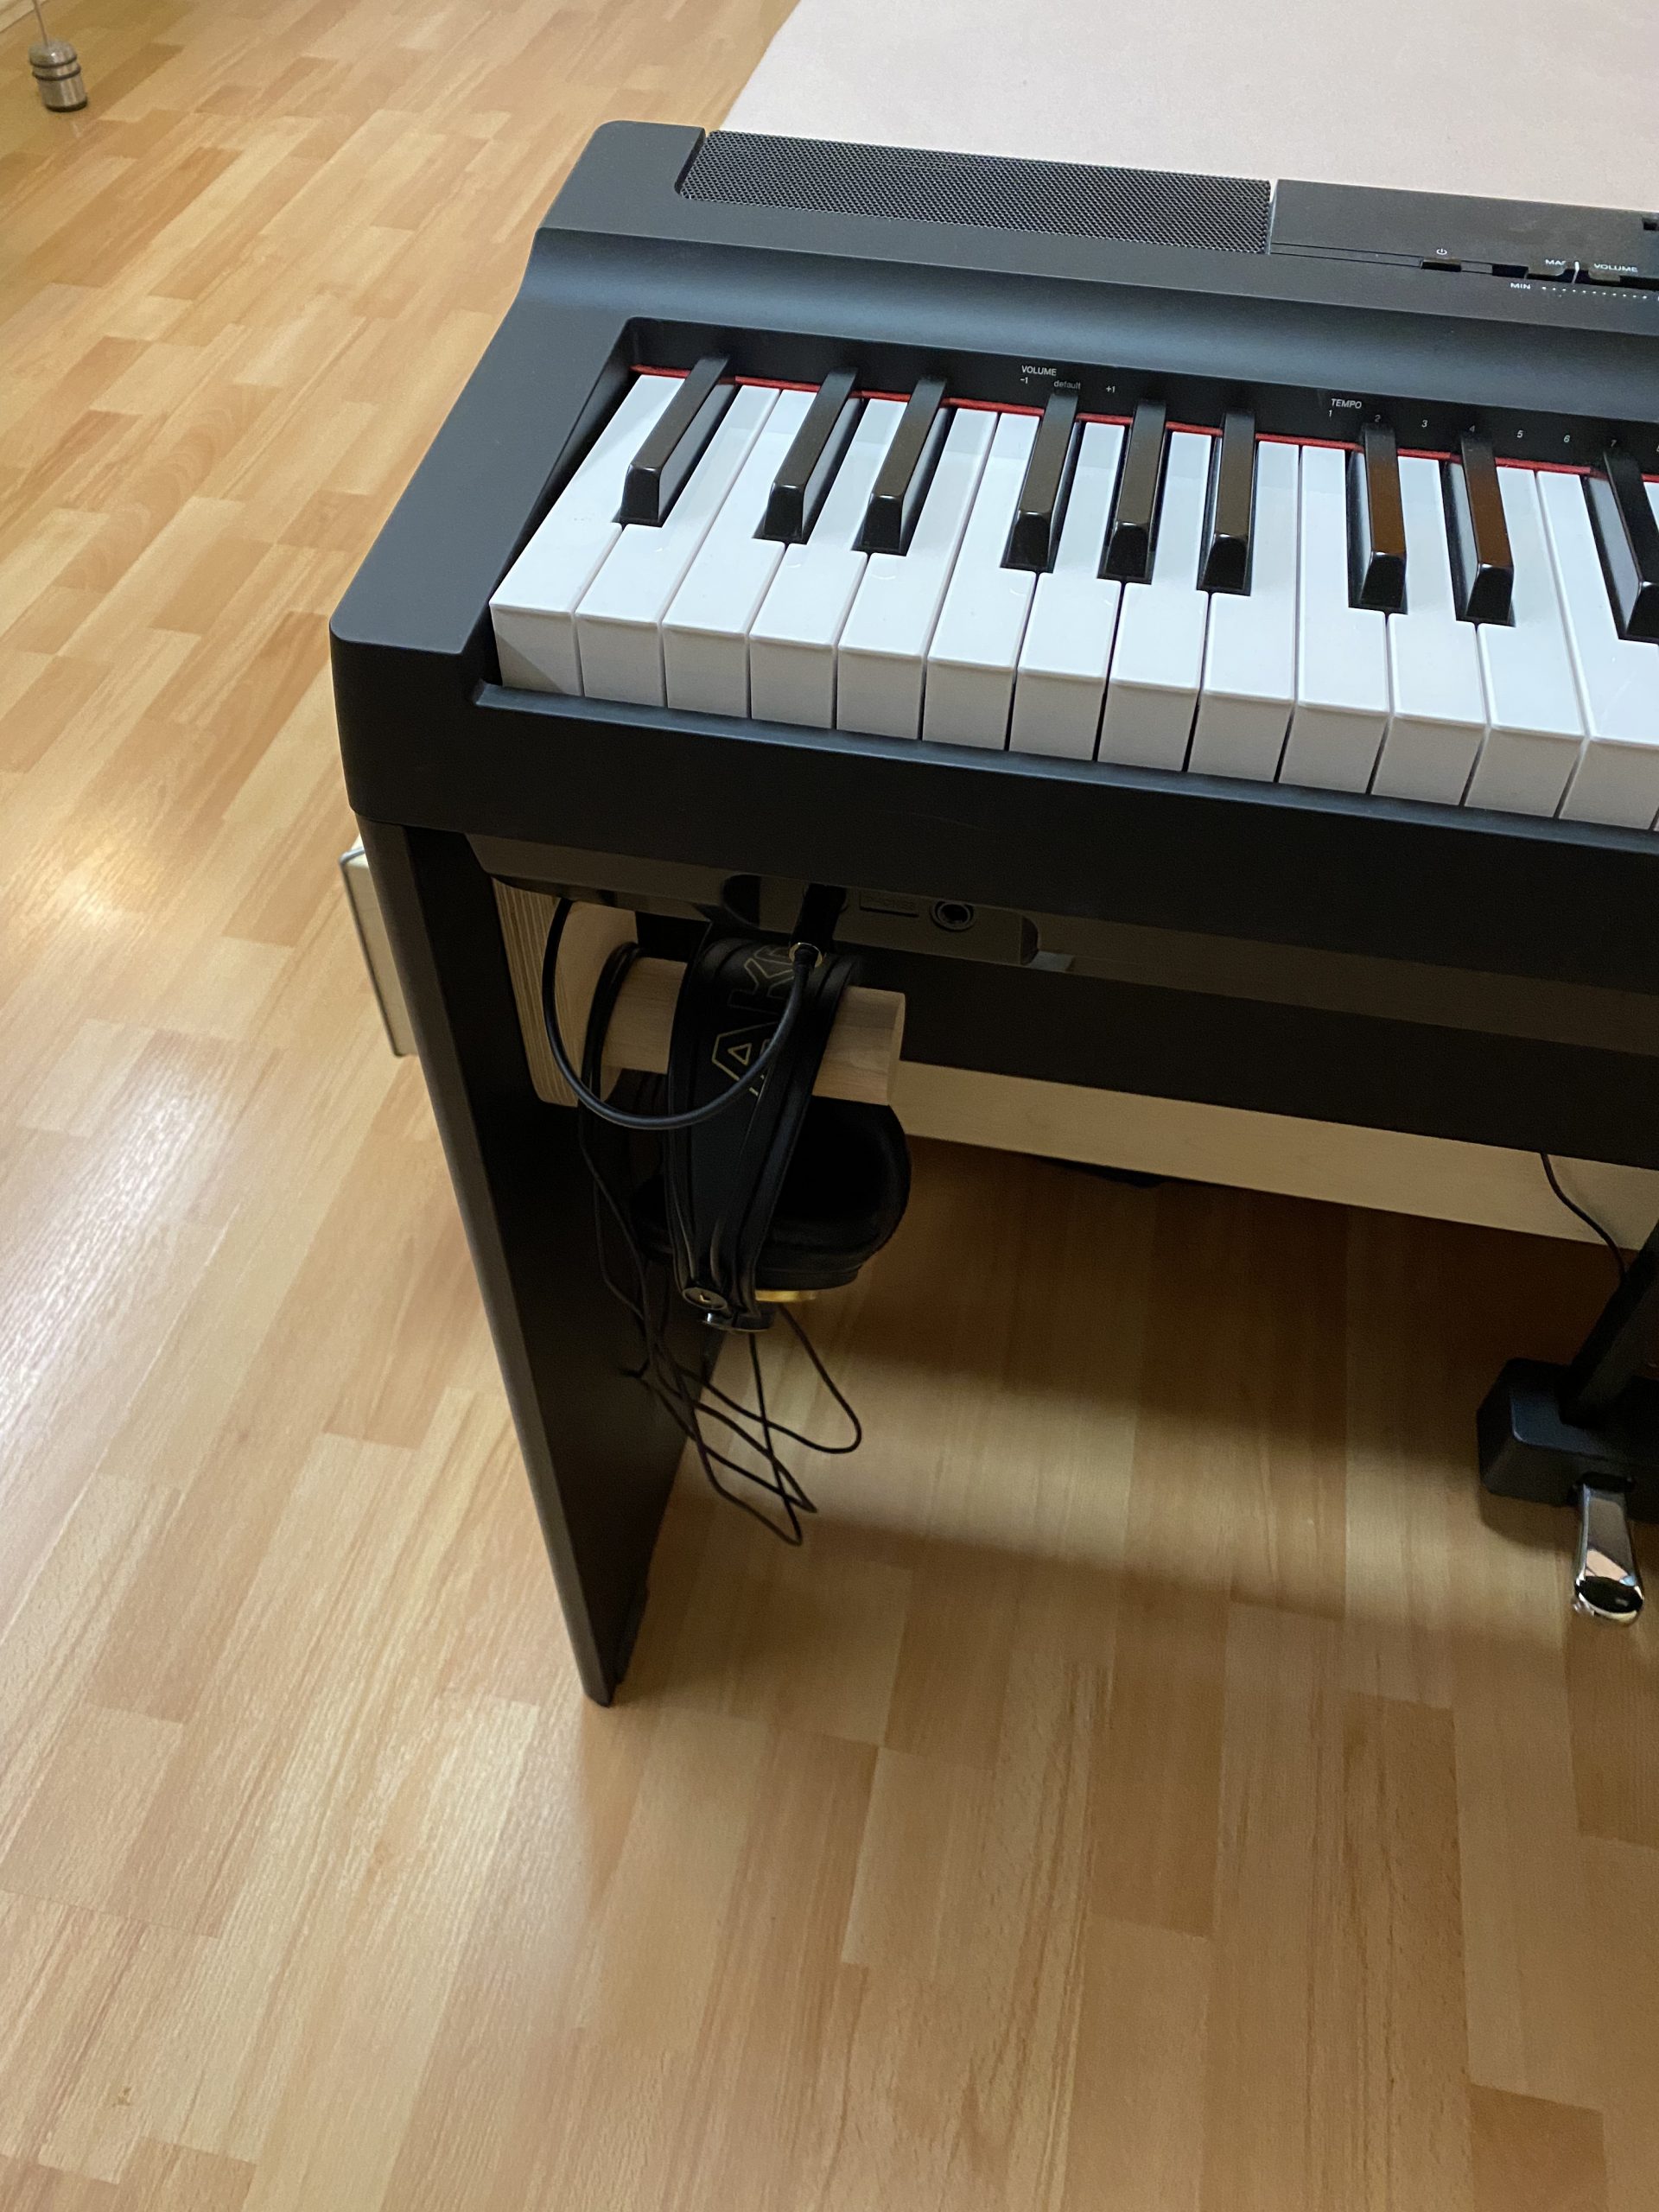
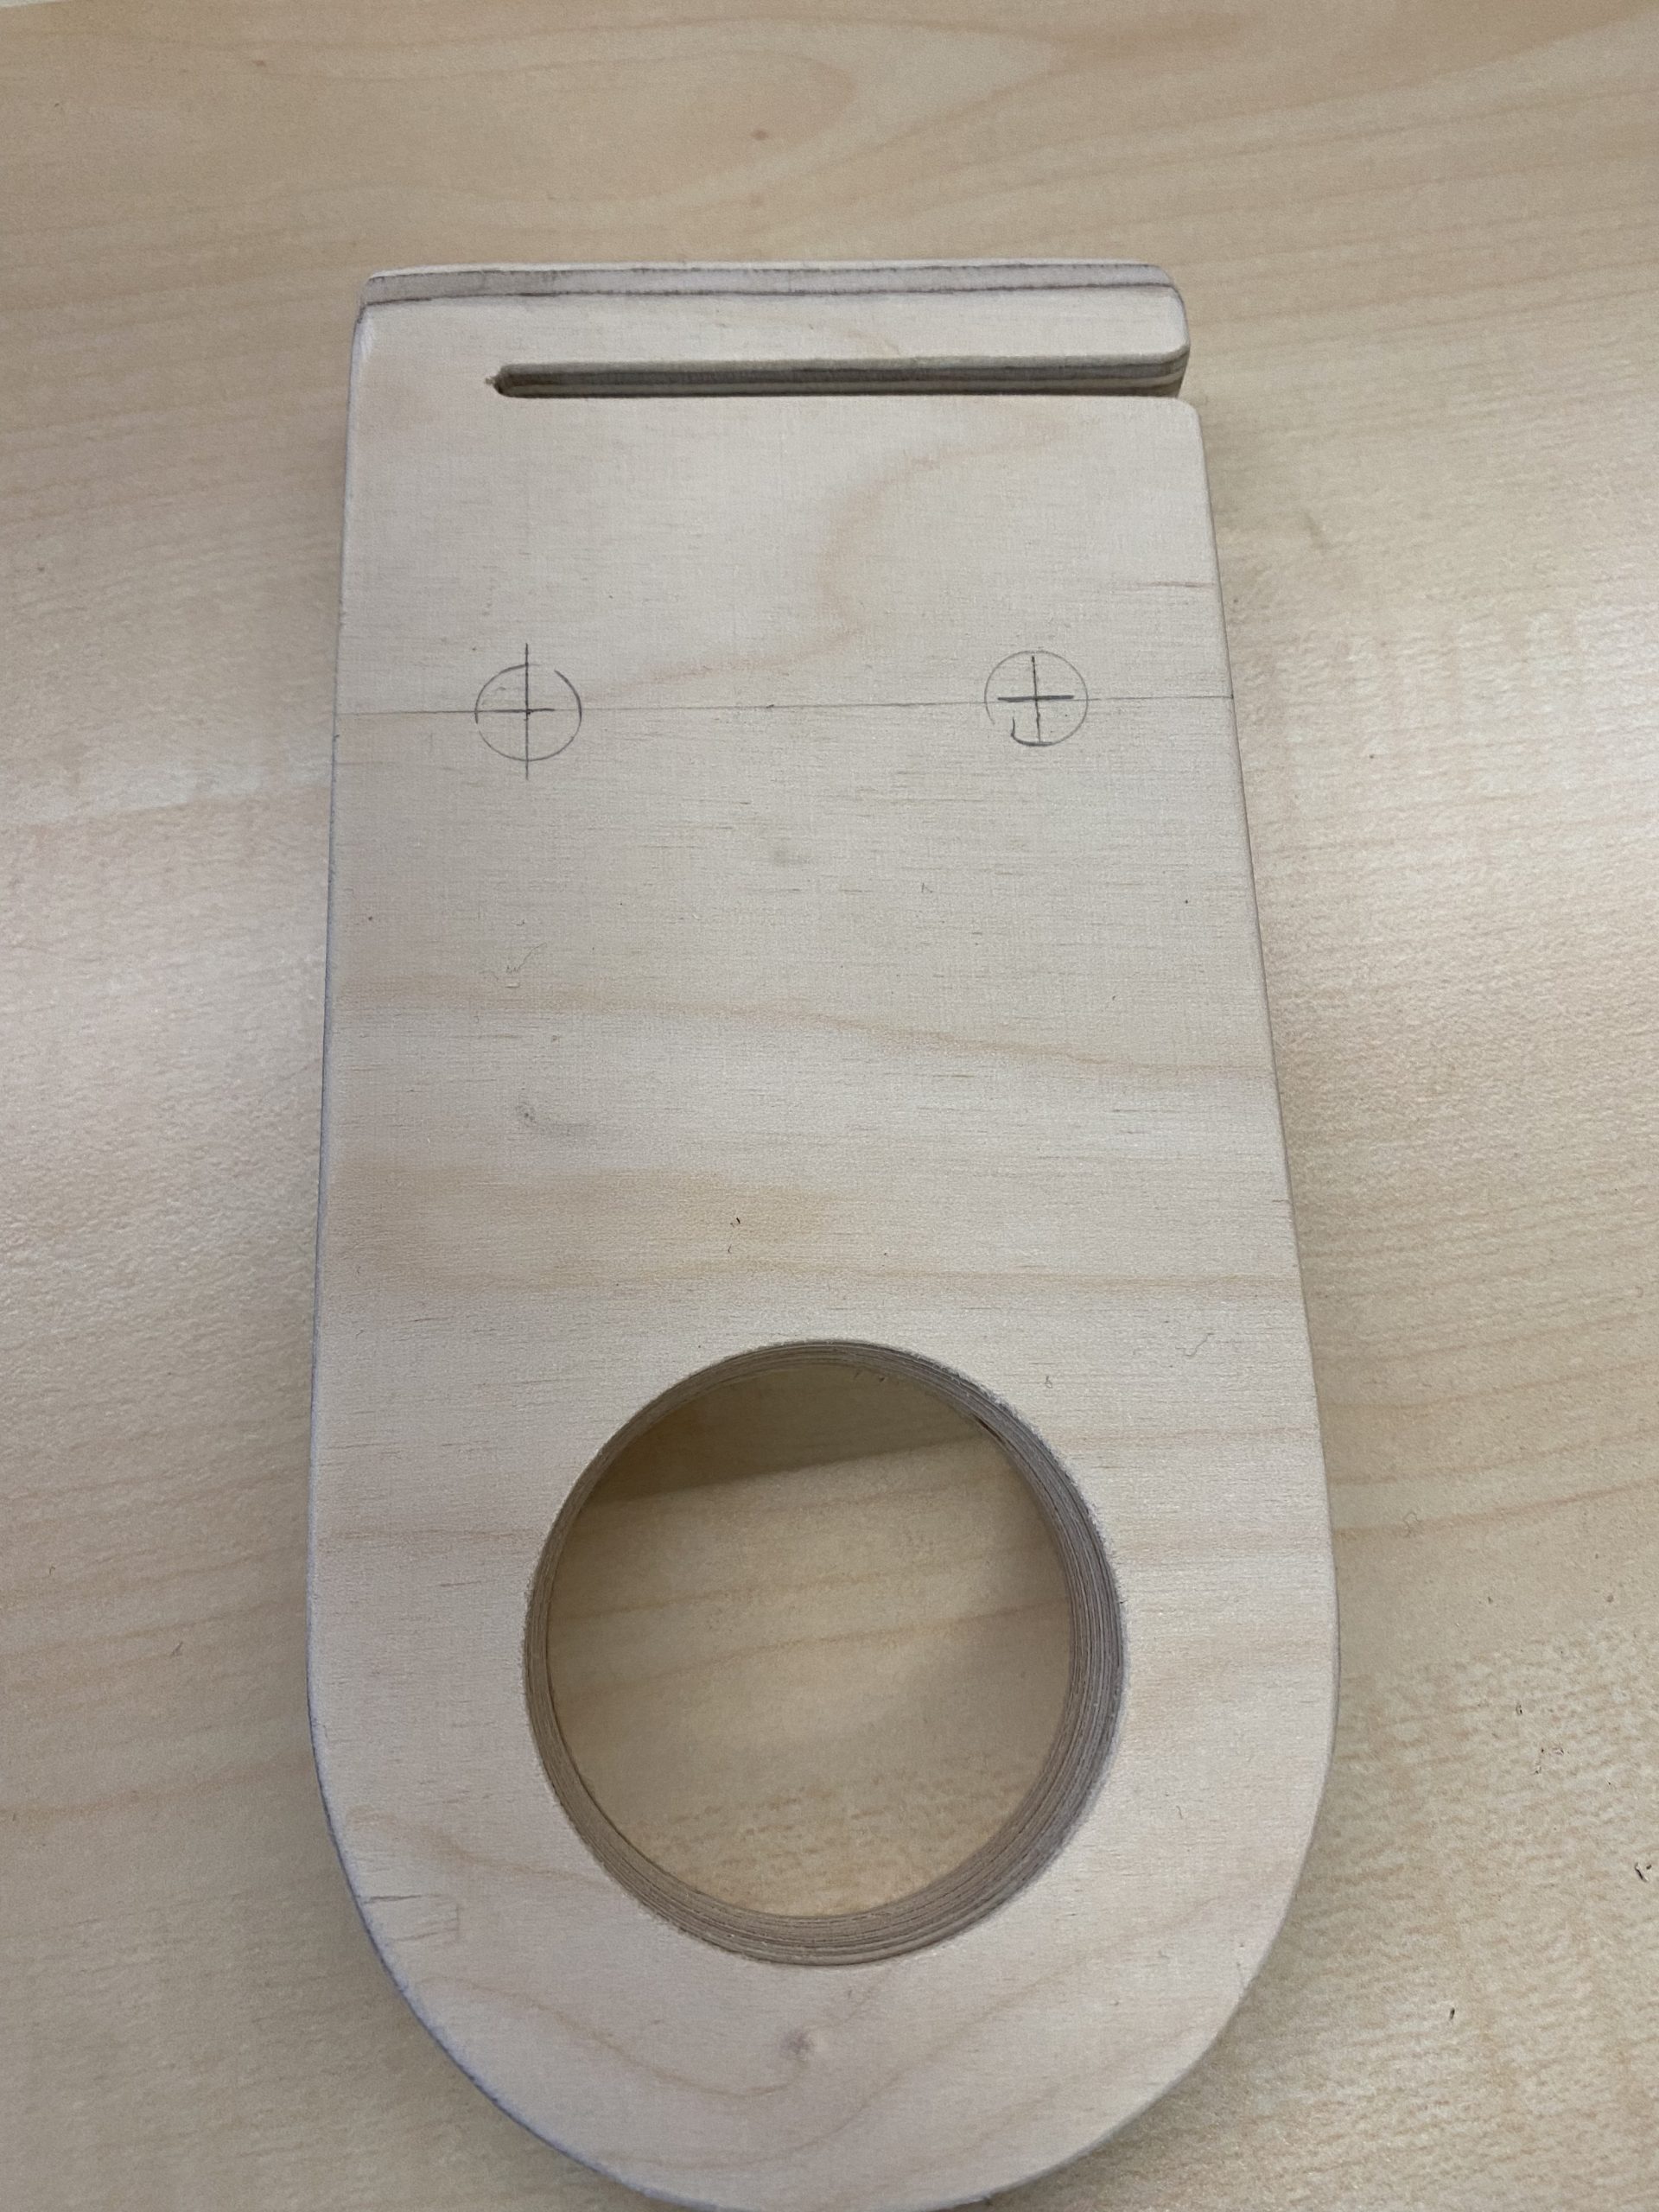
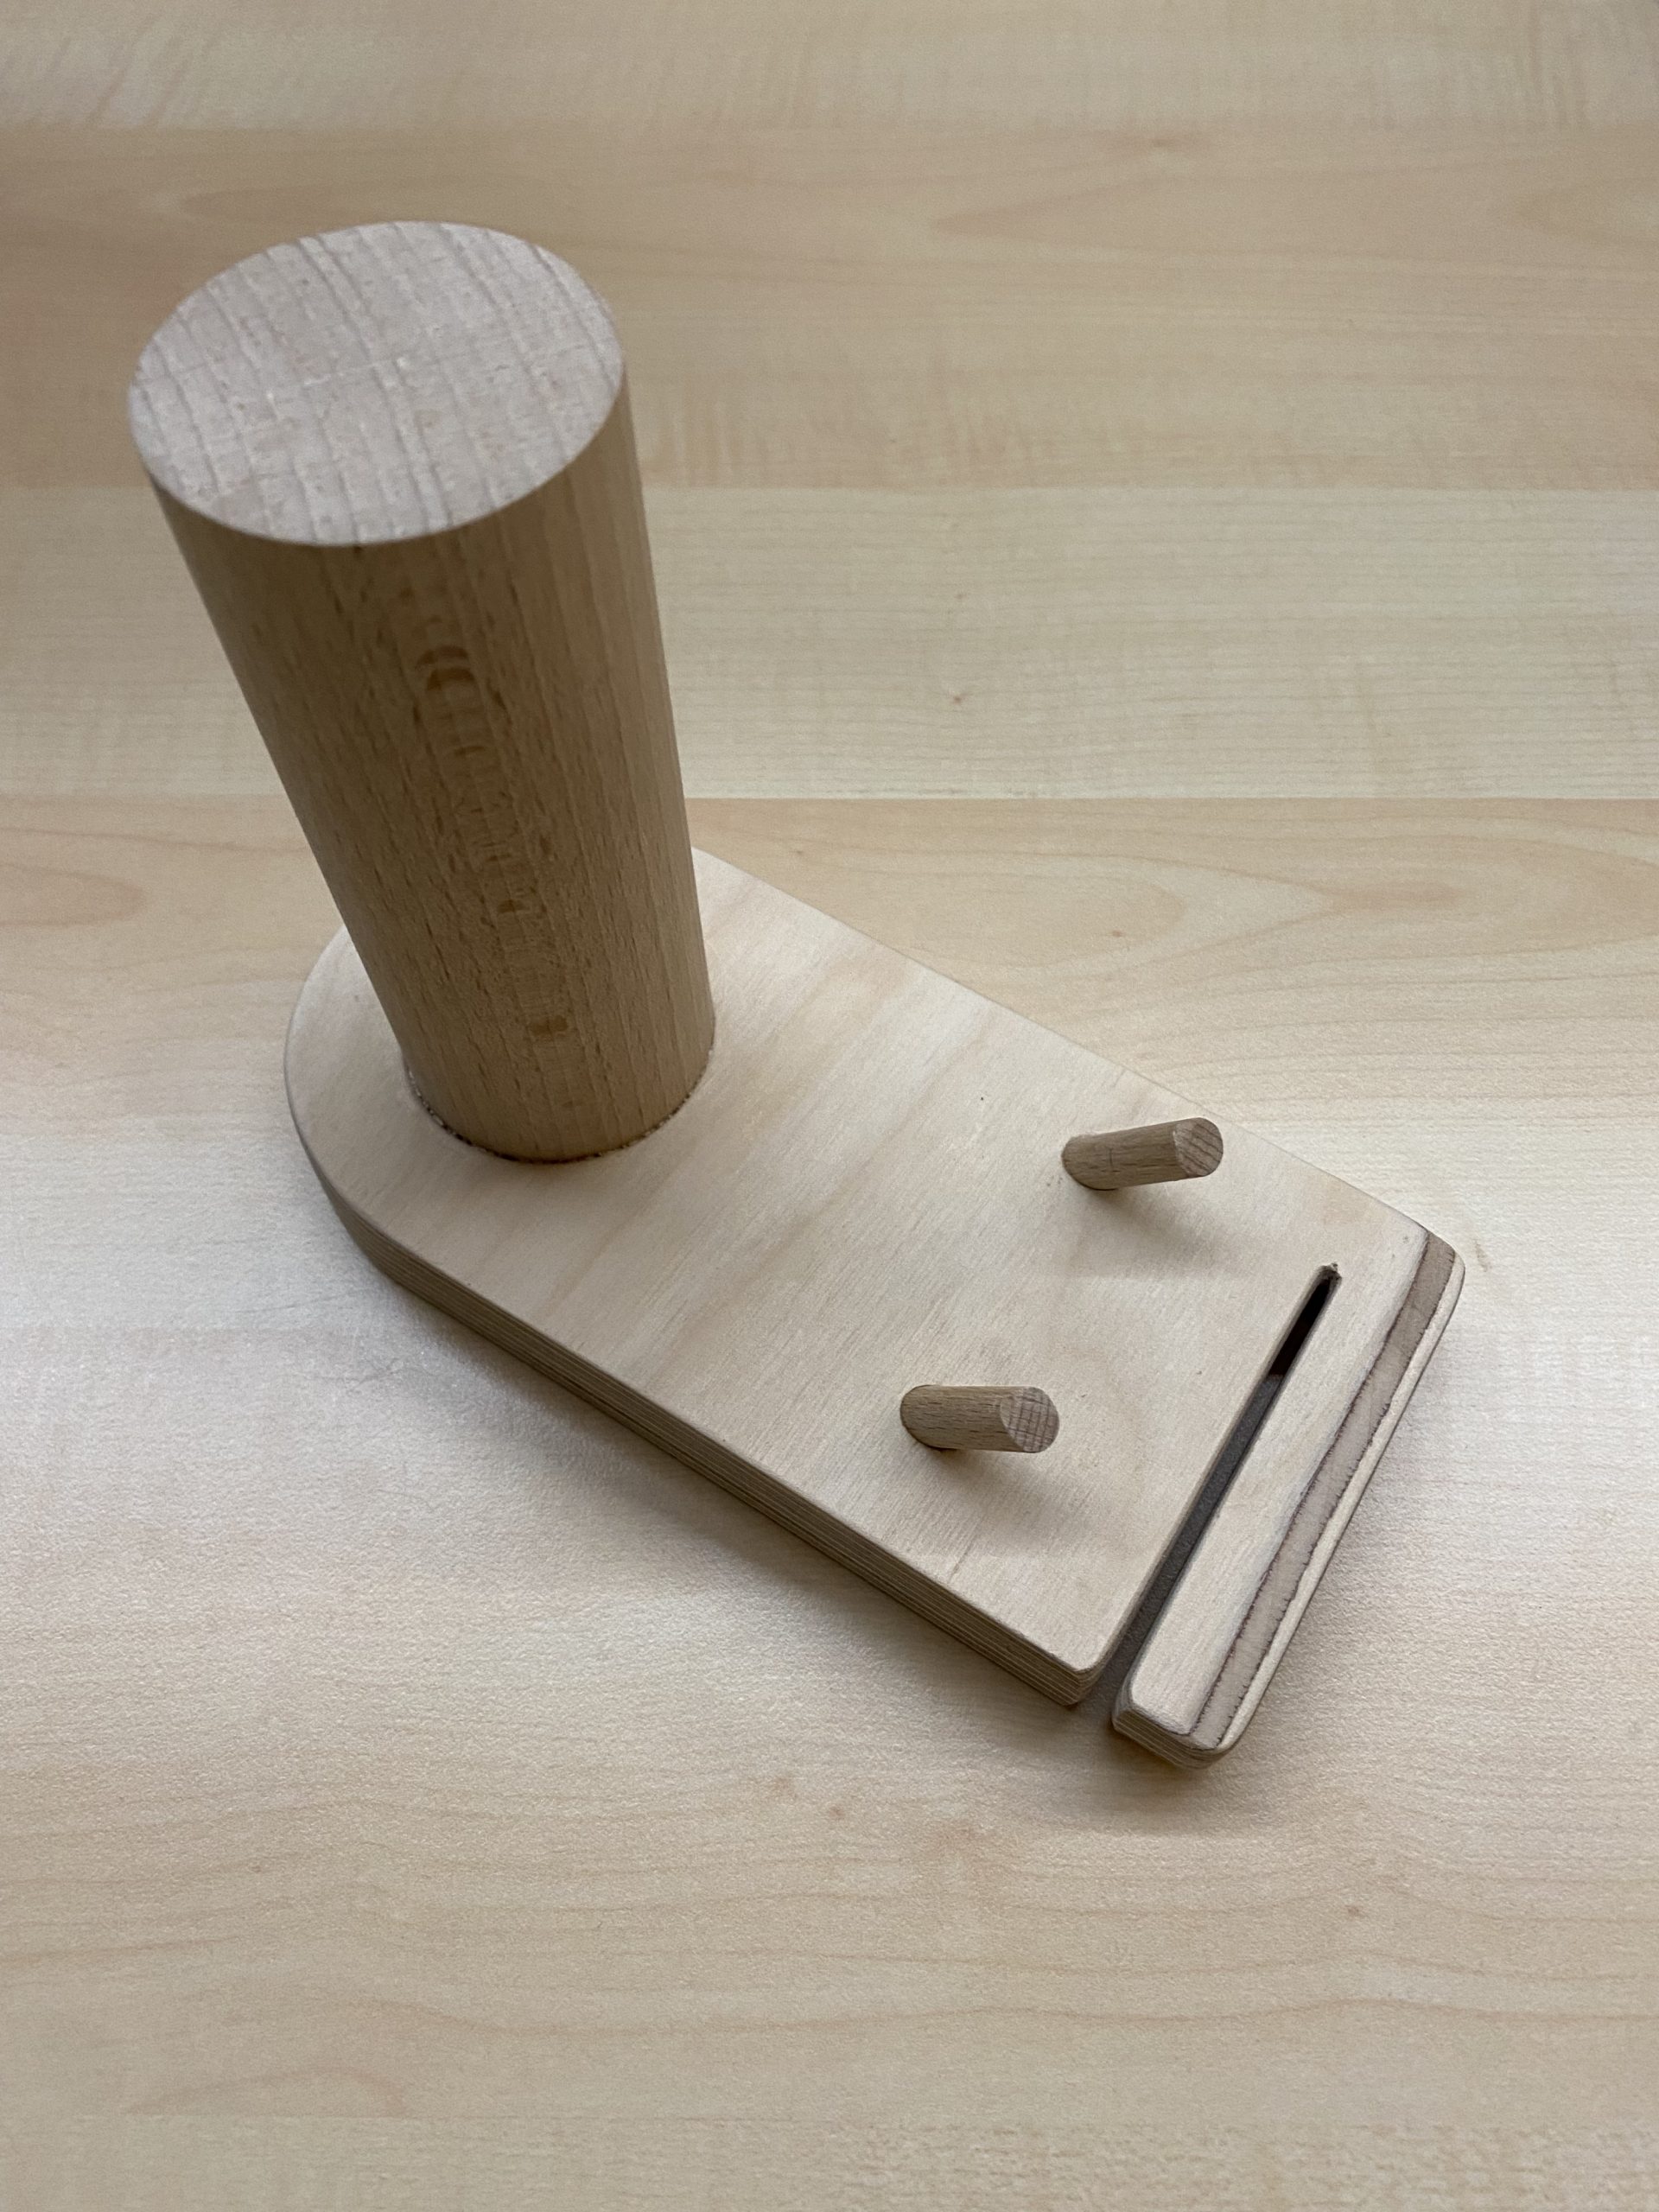
I wanted a tray or something to hold the connection of the 6.5mm to 3.5mm adapter cable to the headphones plug and decided on two dowel pins. I made a jig to drill the holes for the two pins at an angle.
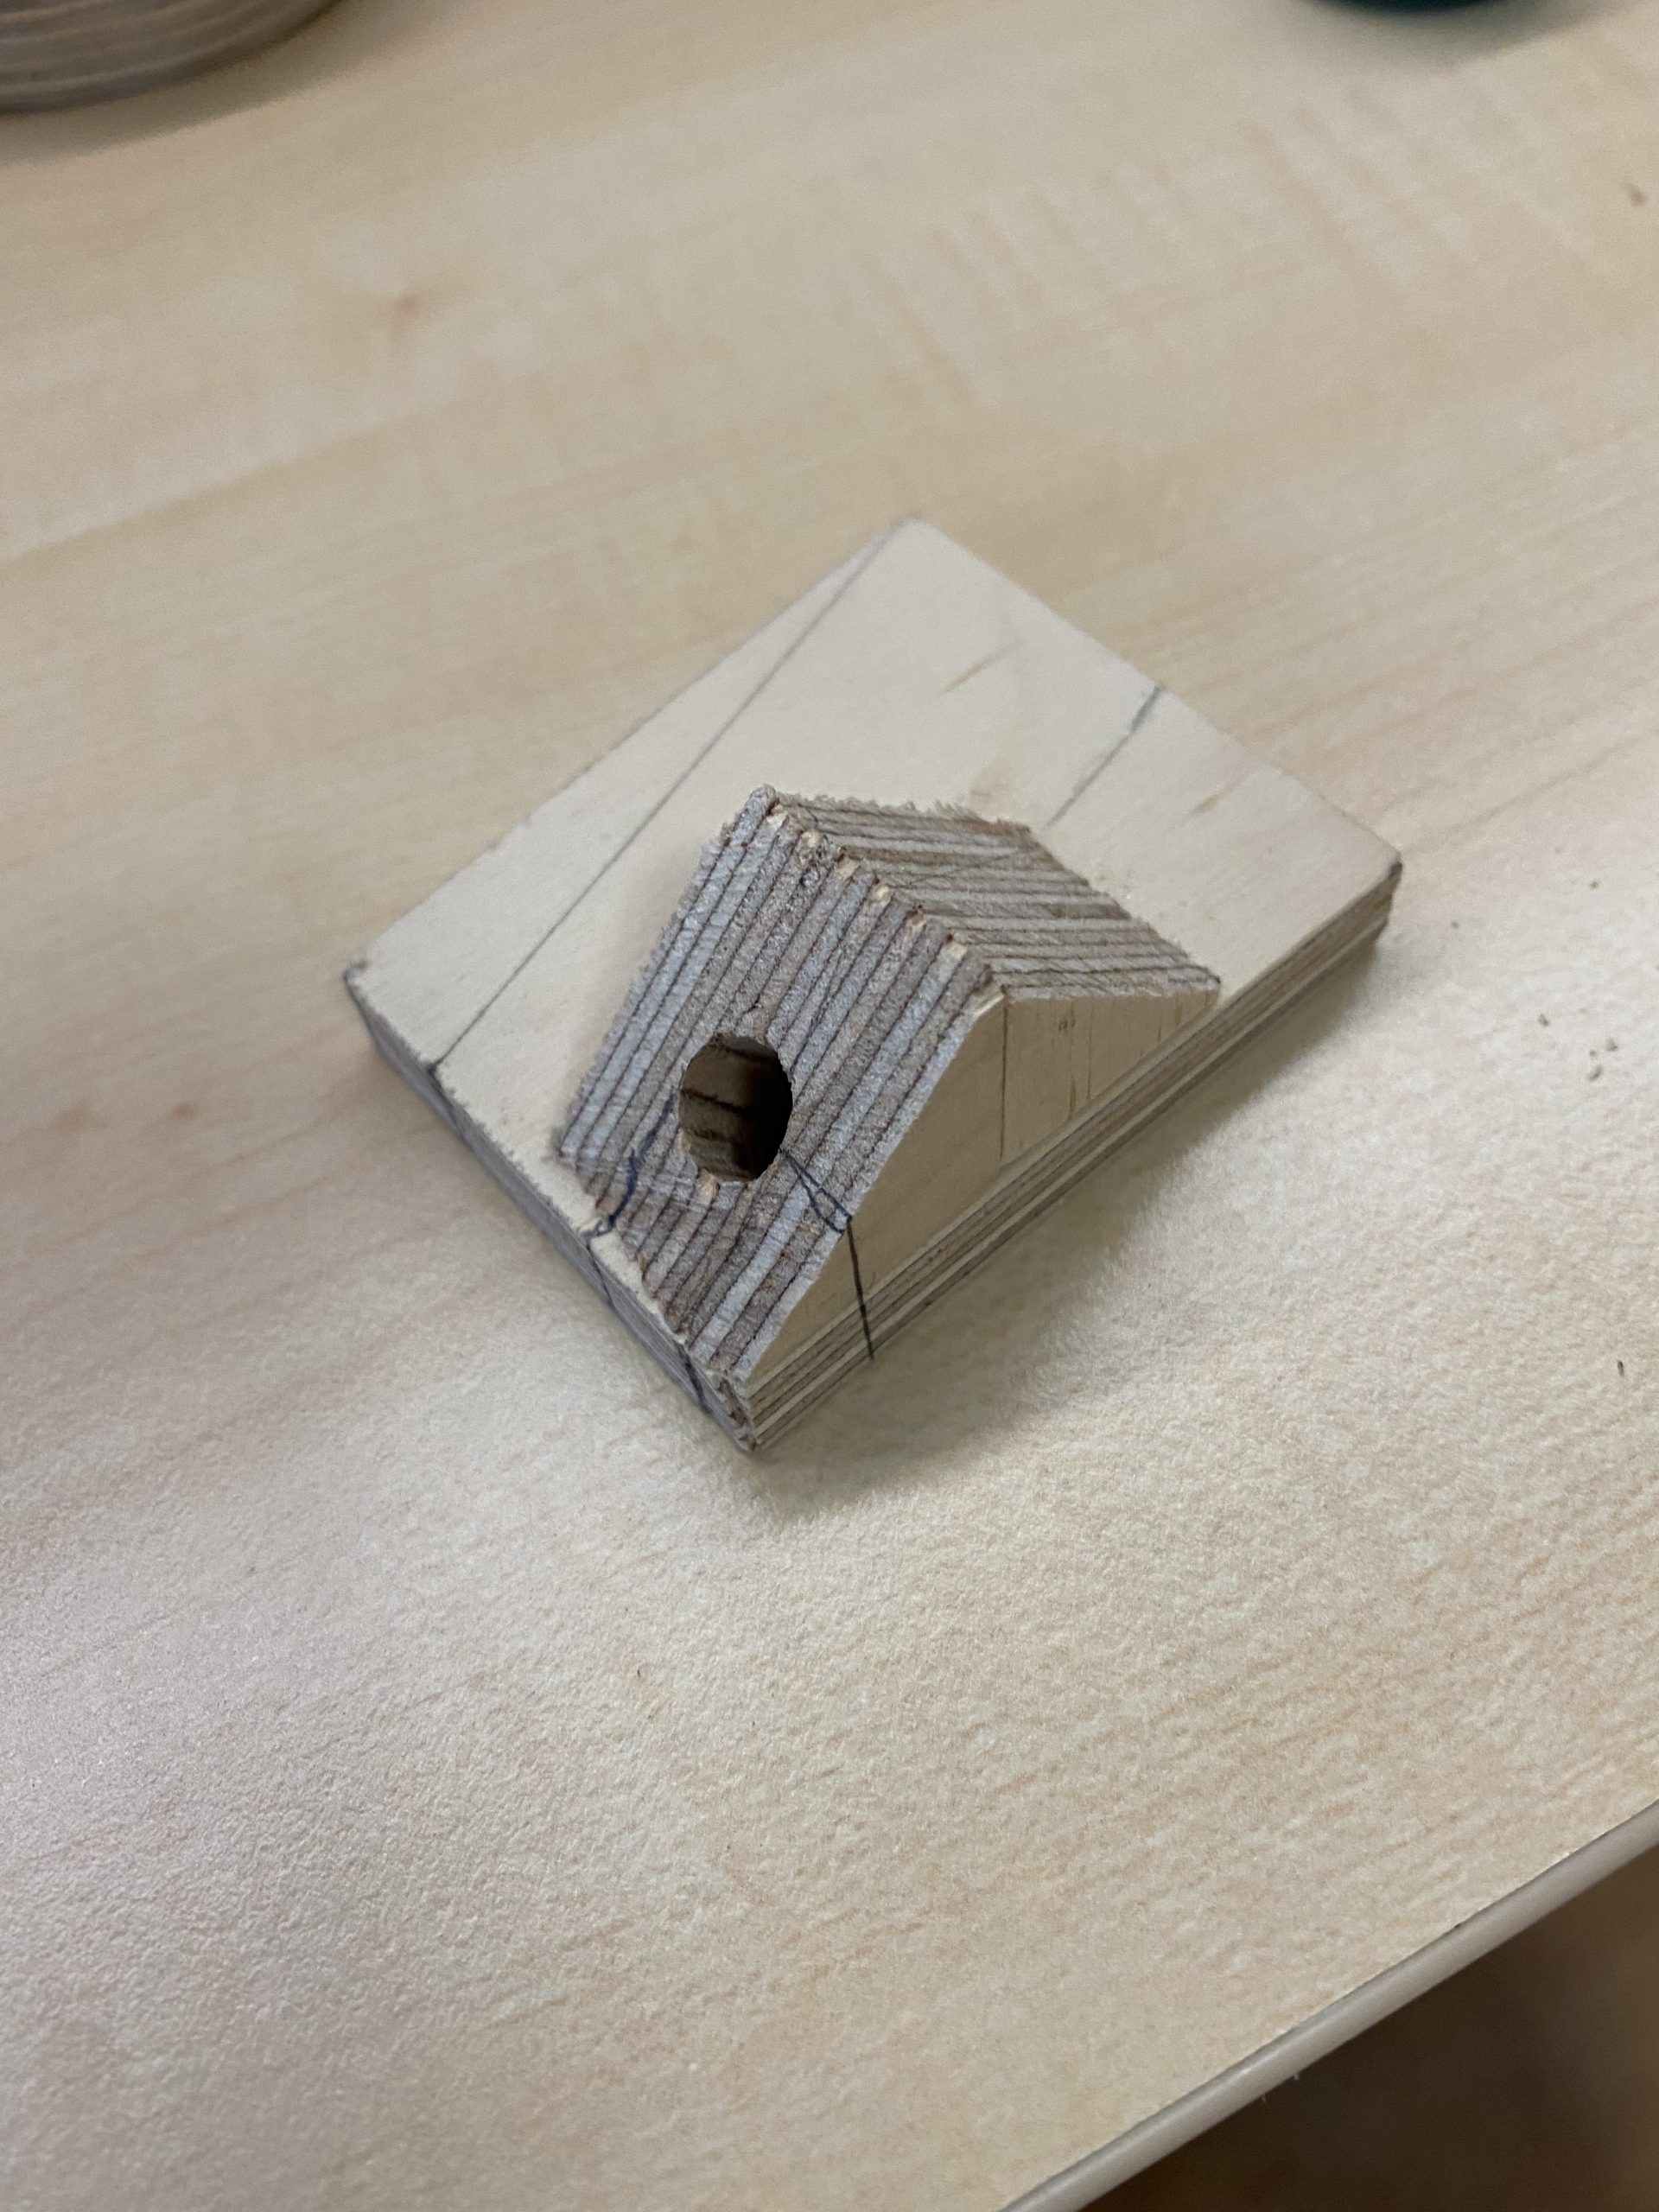
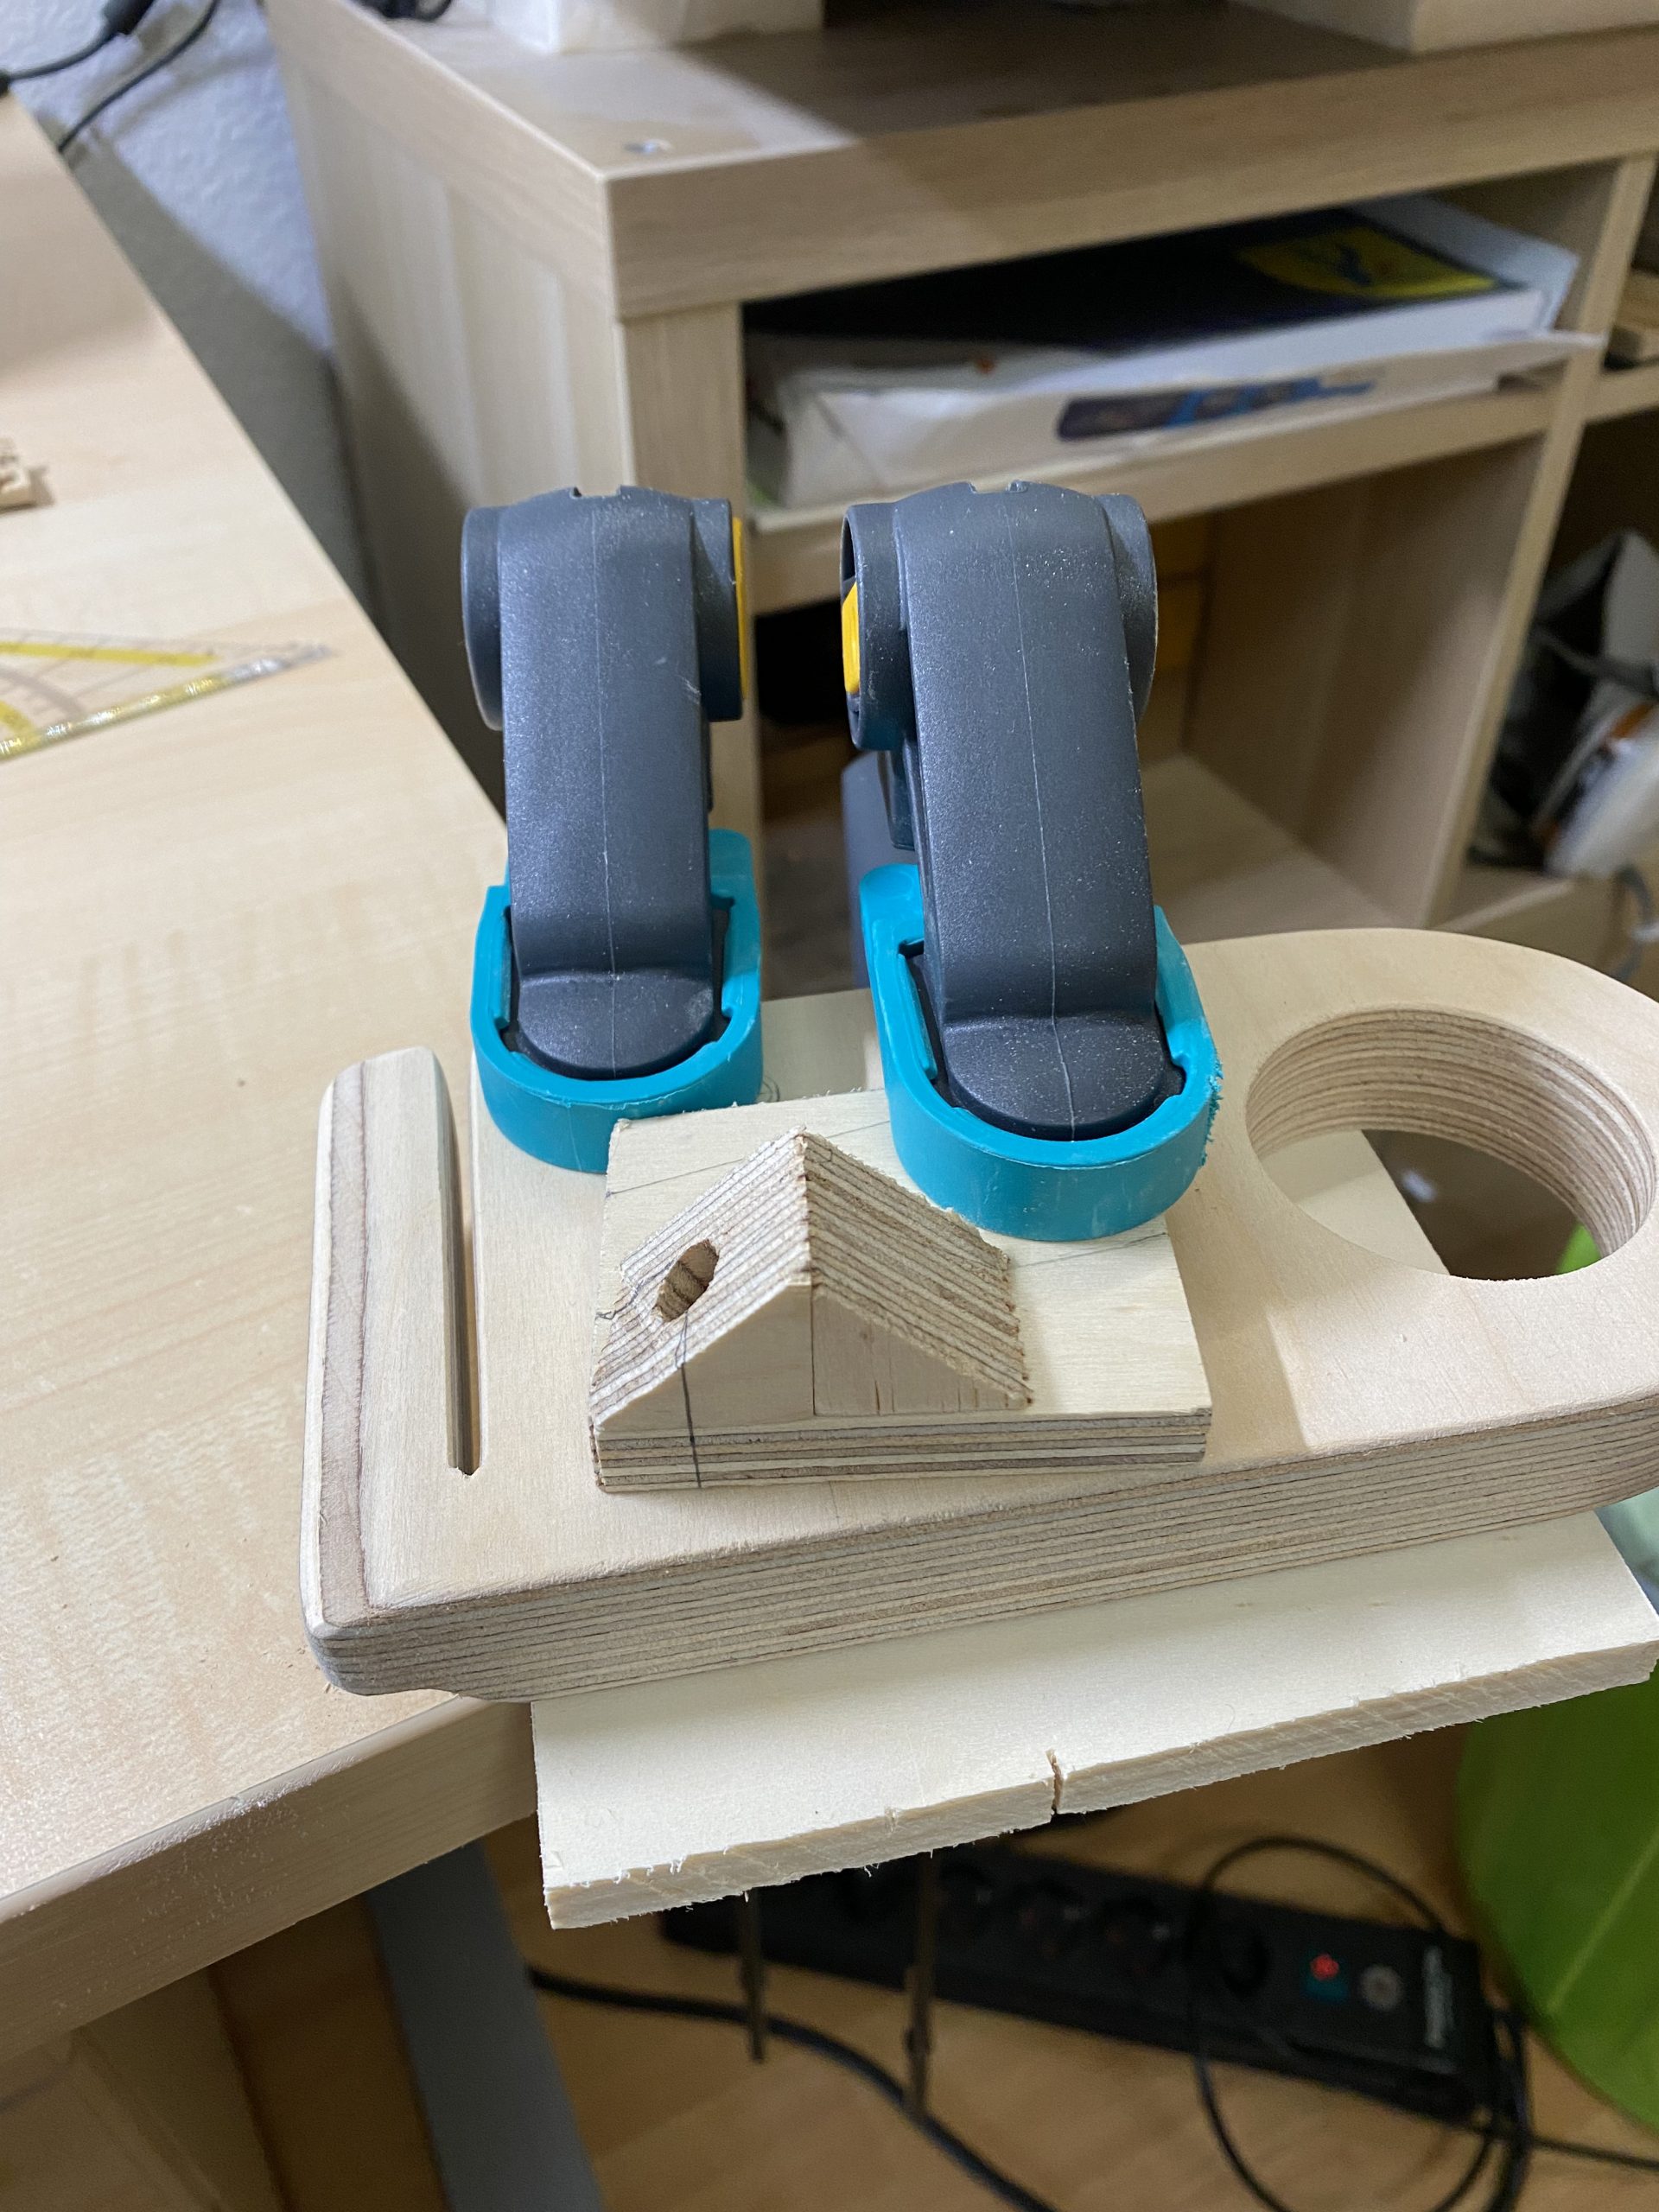

Here is a picture of a test fitting of the two dowel pins.
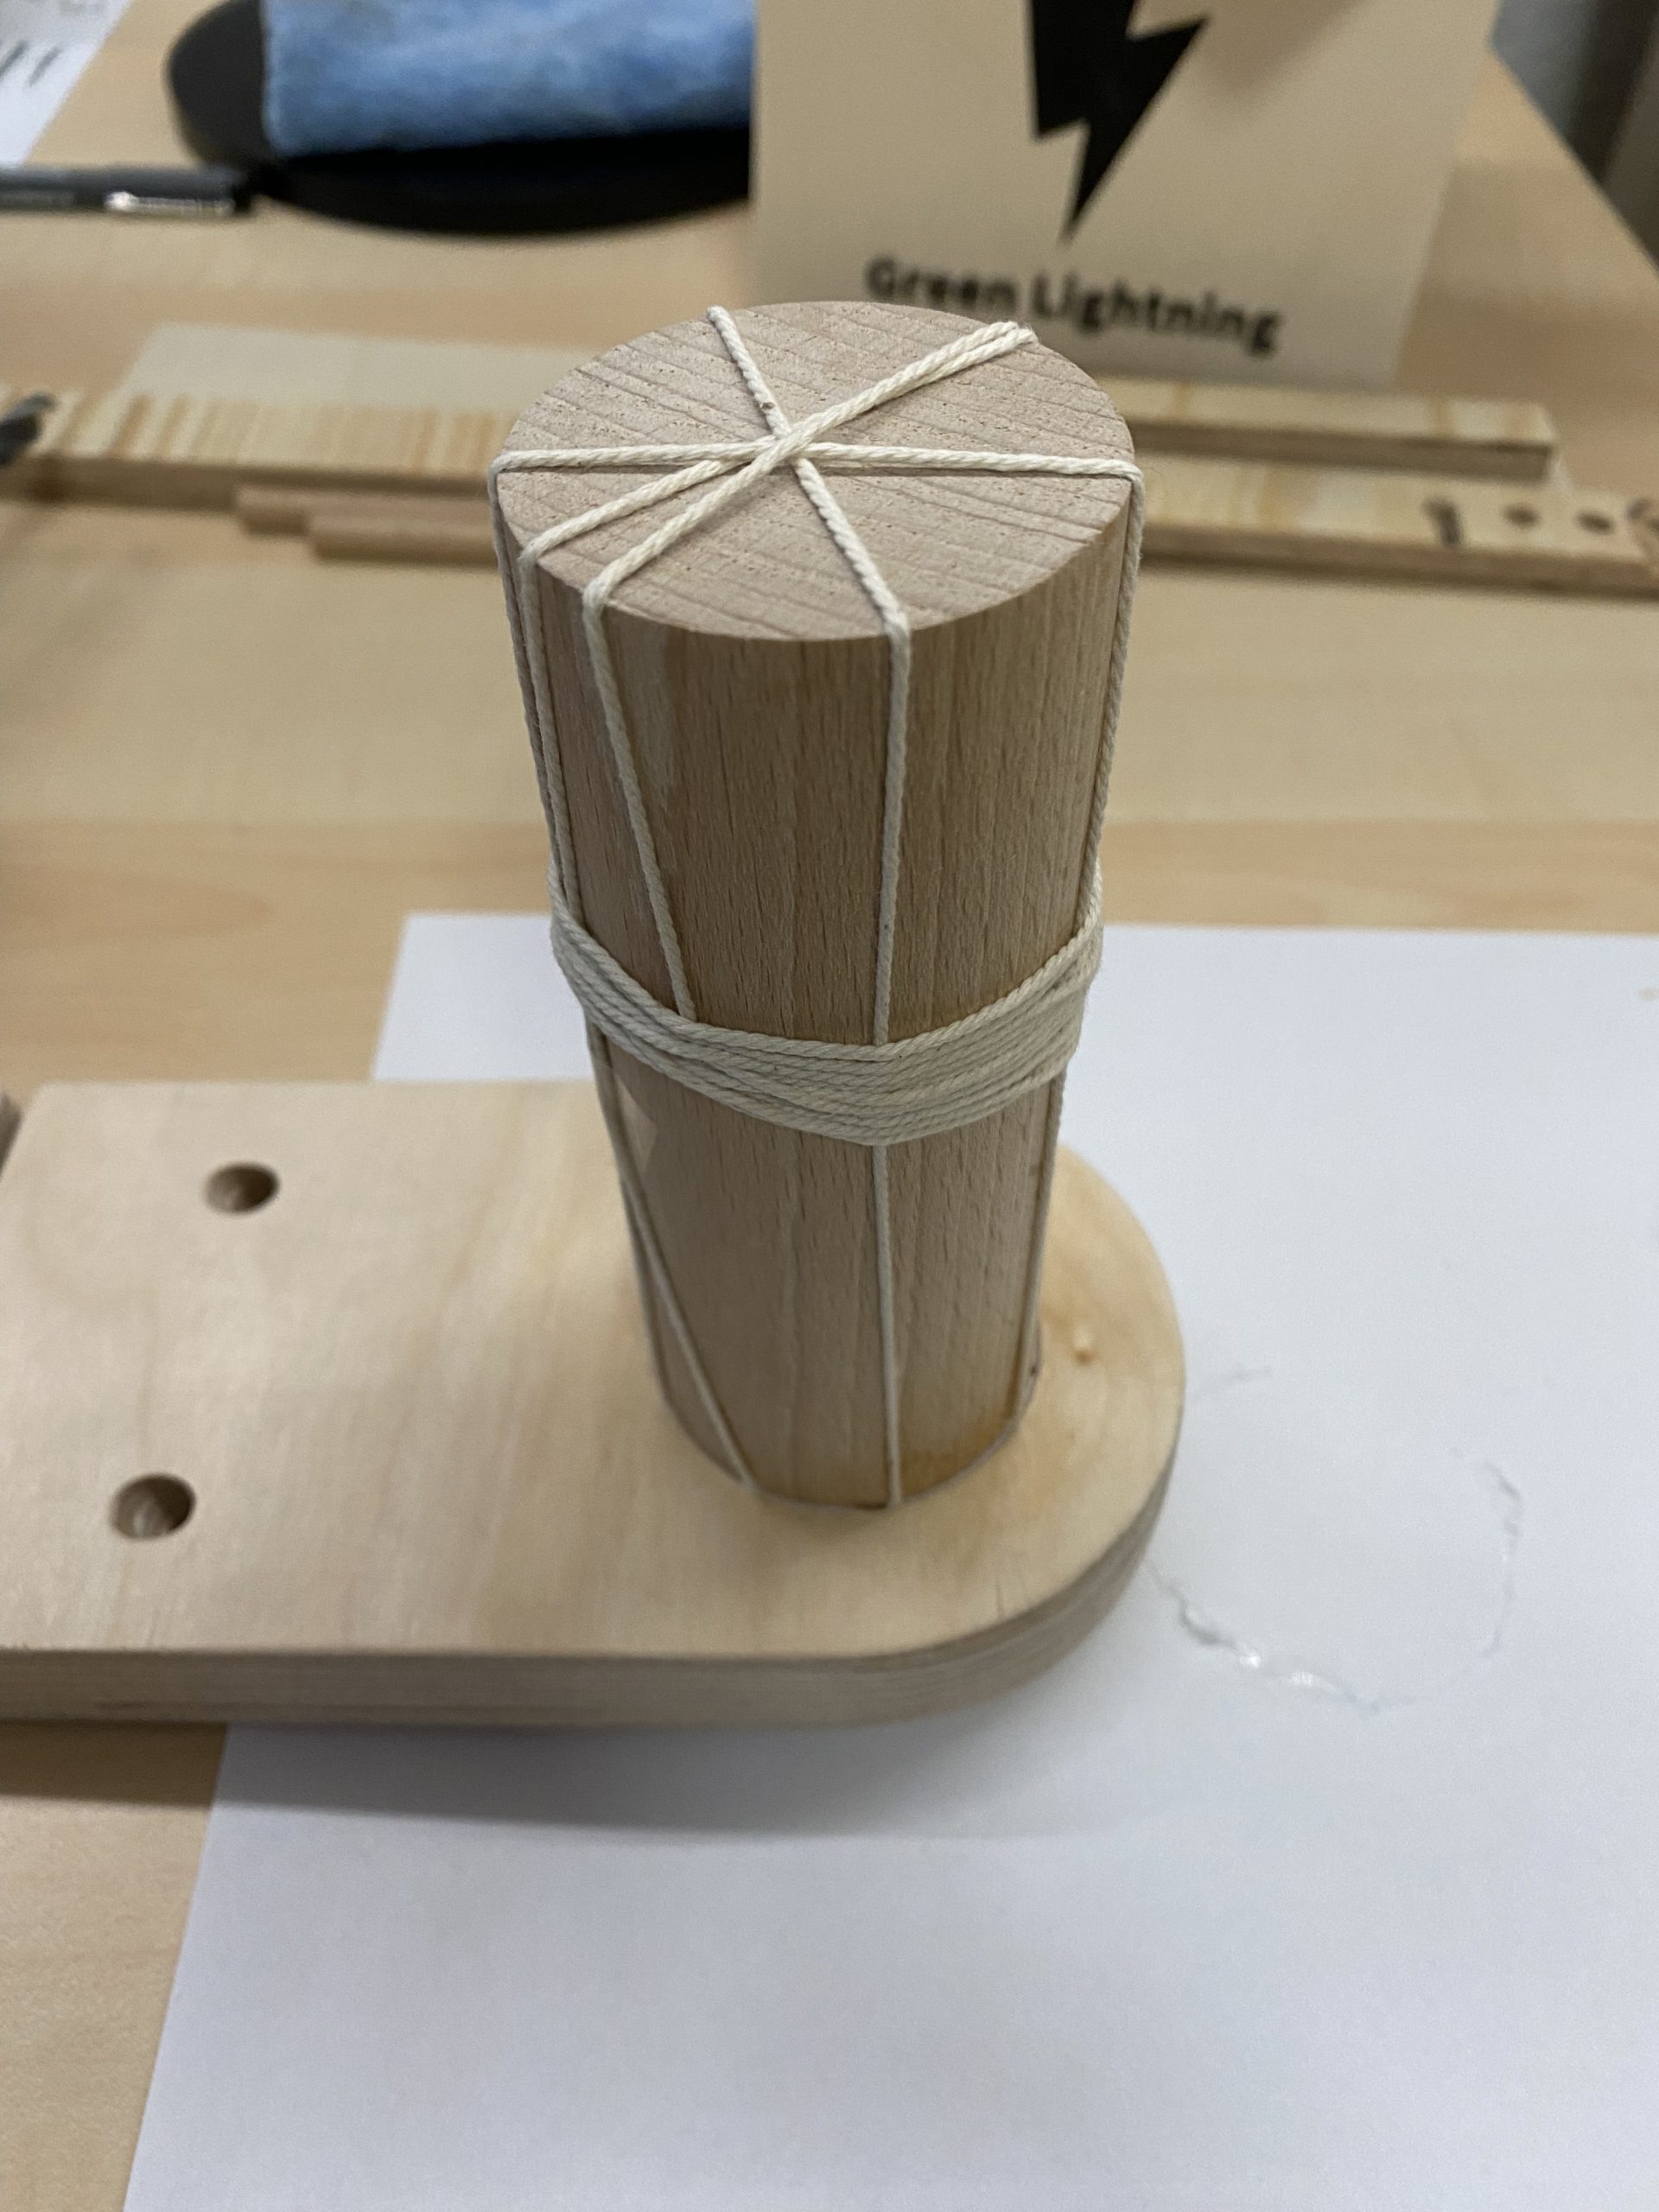
I also got this big dowel (I hope this is the correct word) and cut off a section of the appropriate length.

Unfortunately the hole ended up being a little too big, so I came up with this contraption. This is some cotton yarn tied around the dowel, which was then covered in wood glue and pressed into the hole. After the glue was moderately dry, I cut off the excess yarn. This made a very strong bond and I did not need to reinforce the connection in some other way.
After the glue dried, I cut off the protruding part on the back.
Finally, I glued the smaller dowel pins into place and cut them flush with the backside as well.
Here you can see the finished part. There’s a little dent on the back from cutting off the big dowel, but it does not matter because you cannot see the back anyway.

And some final pictures of the holder attached to the piano and in use. Thanks for reading!