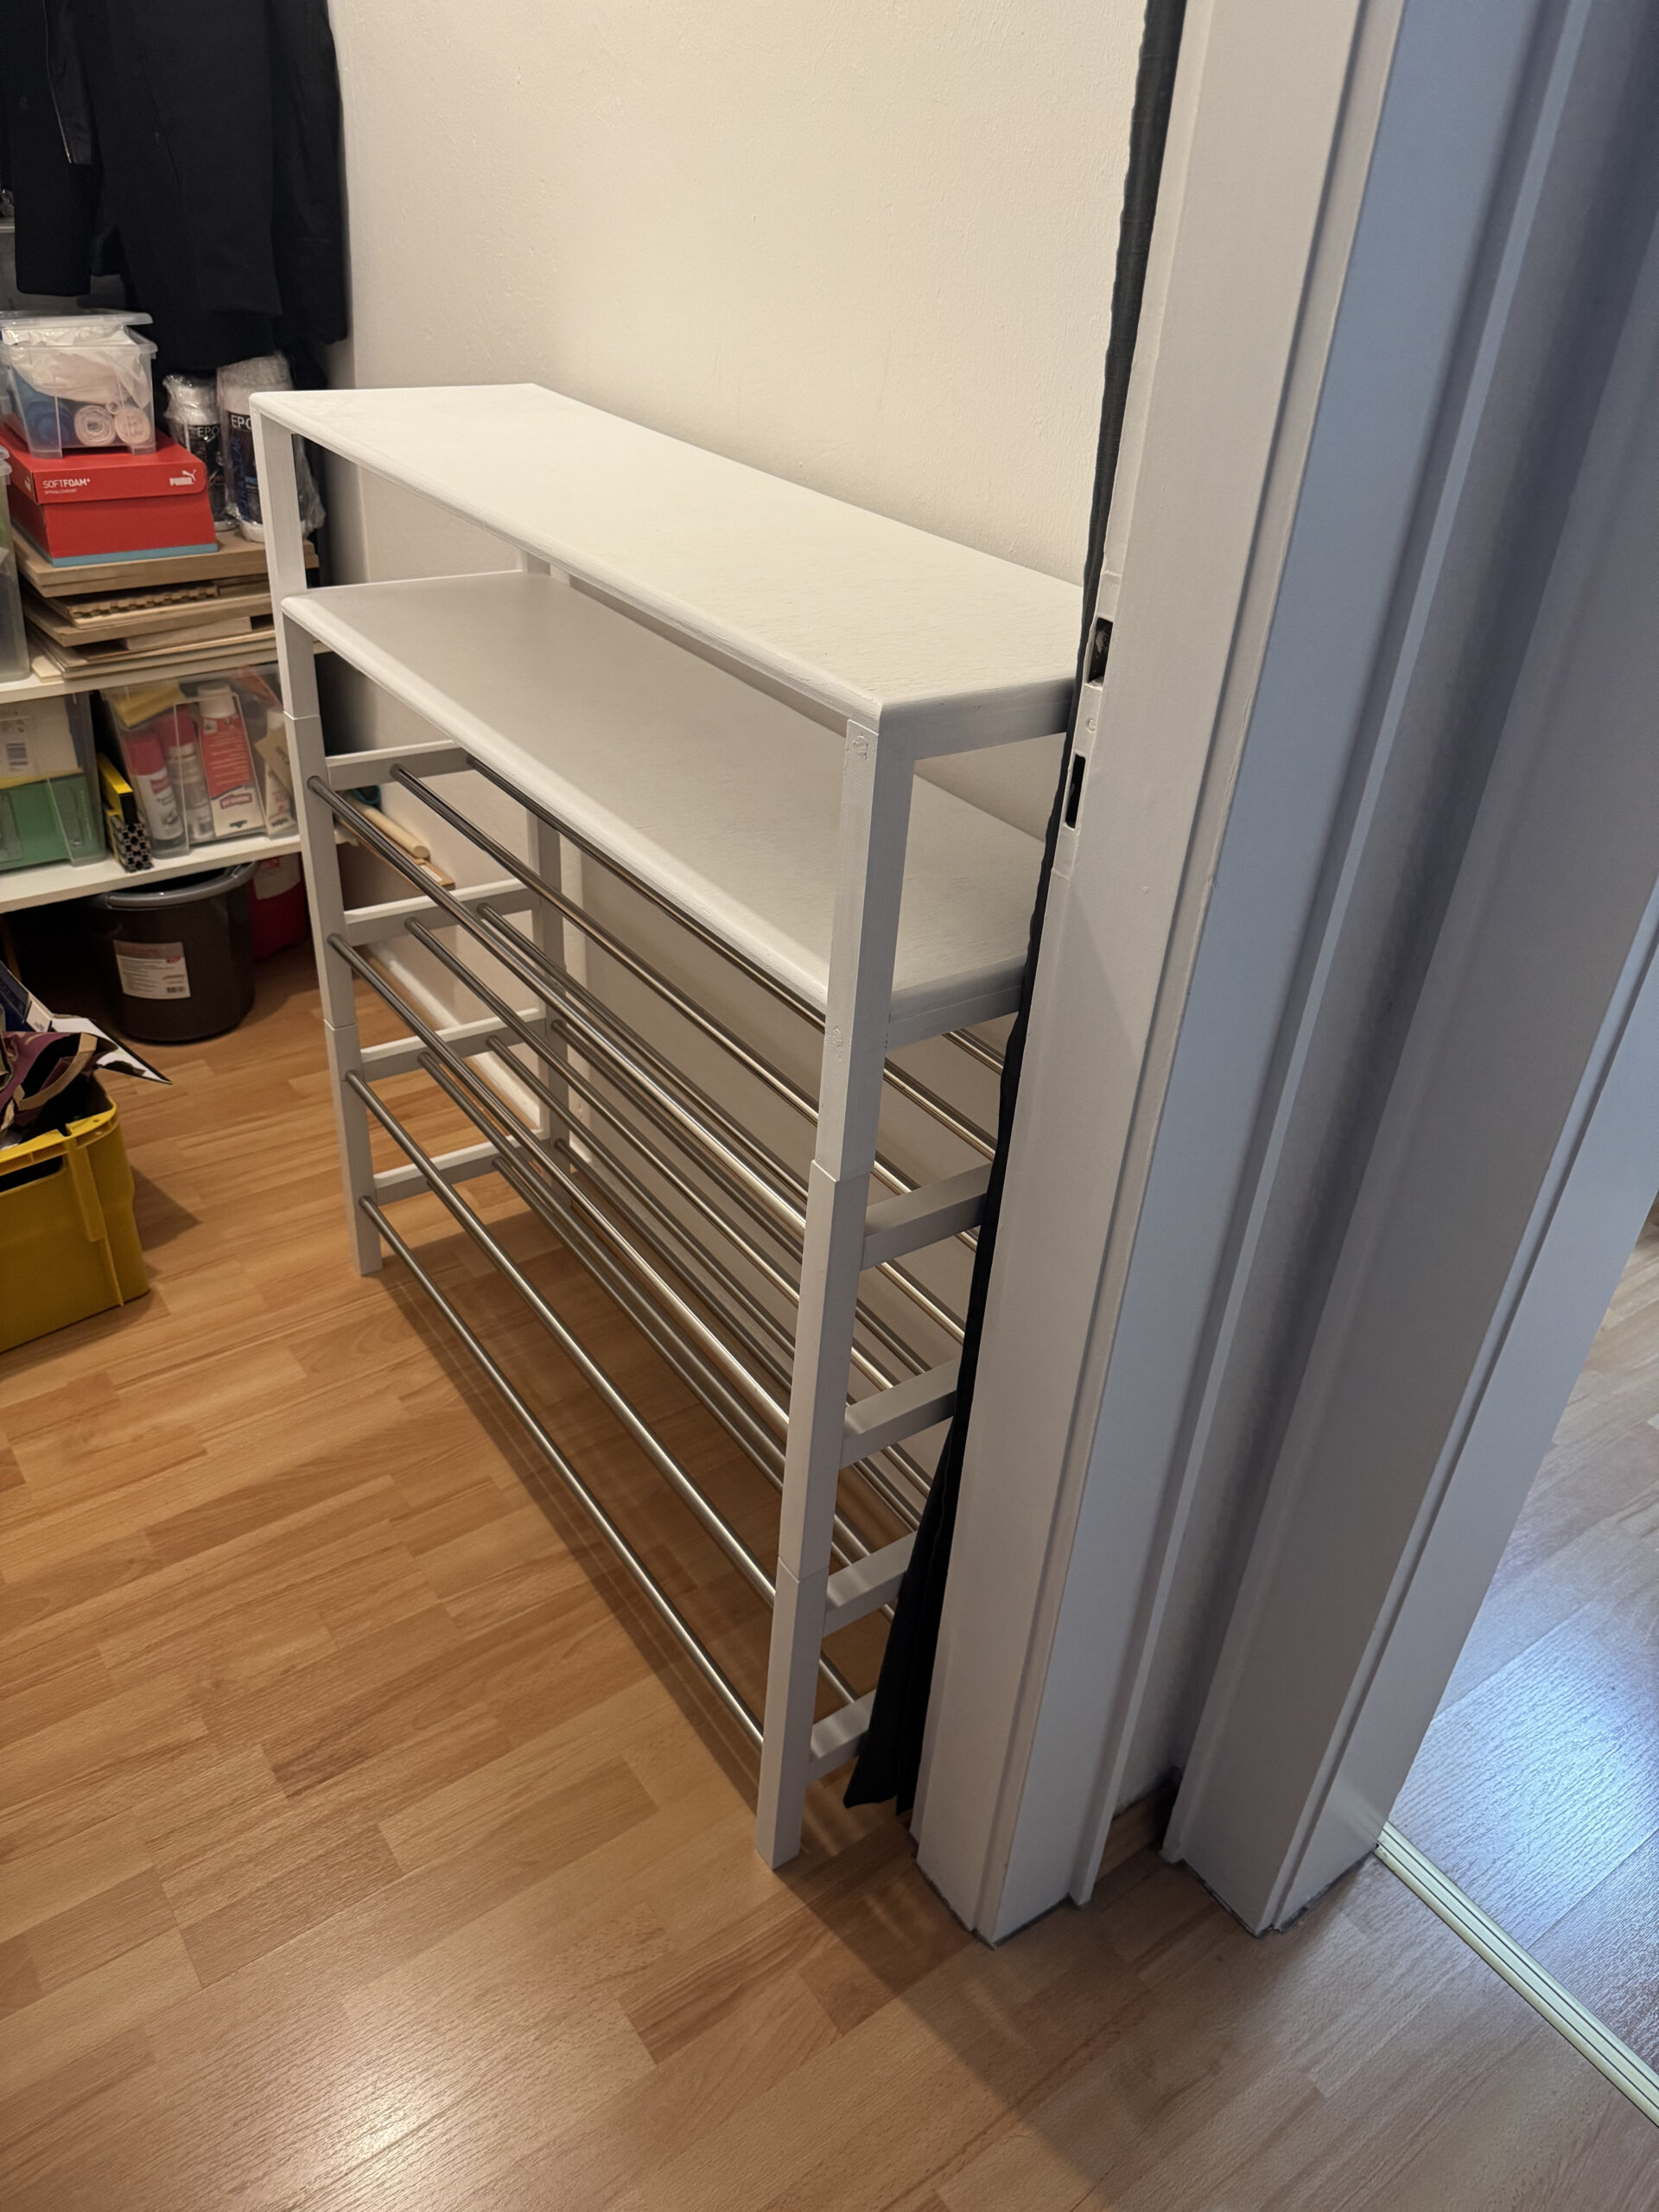
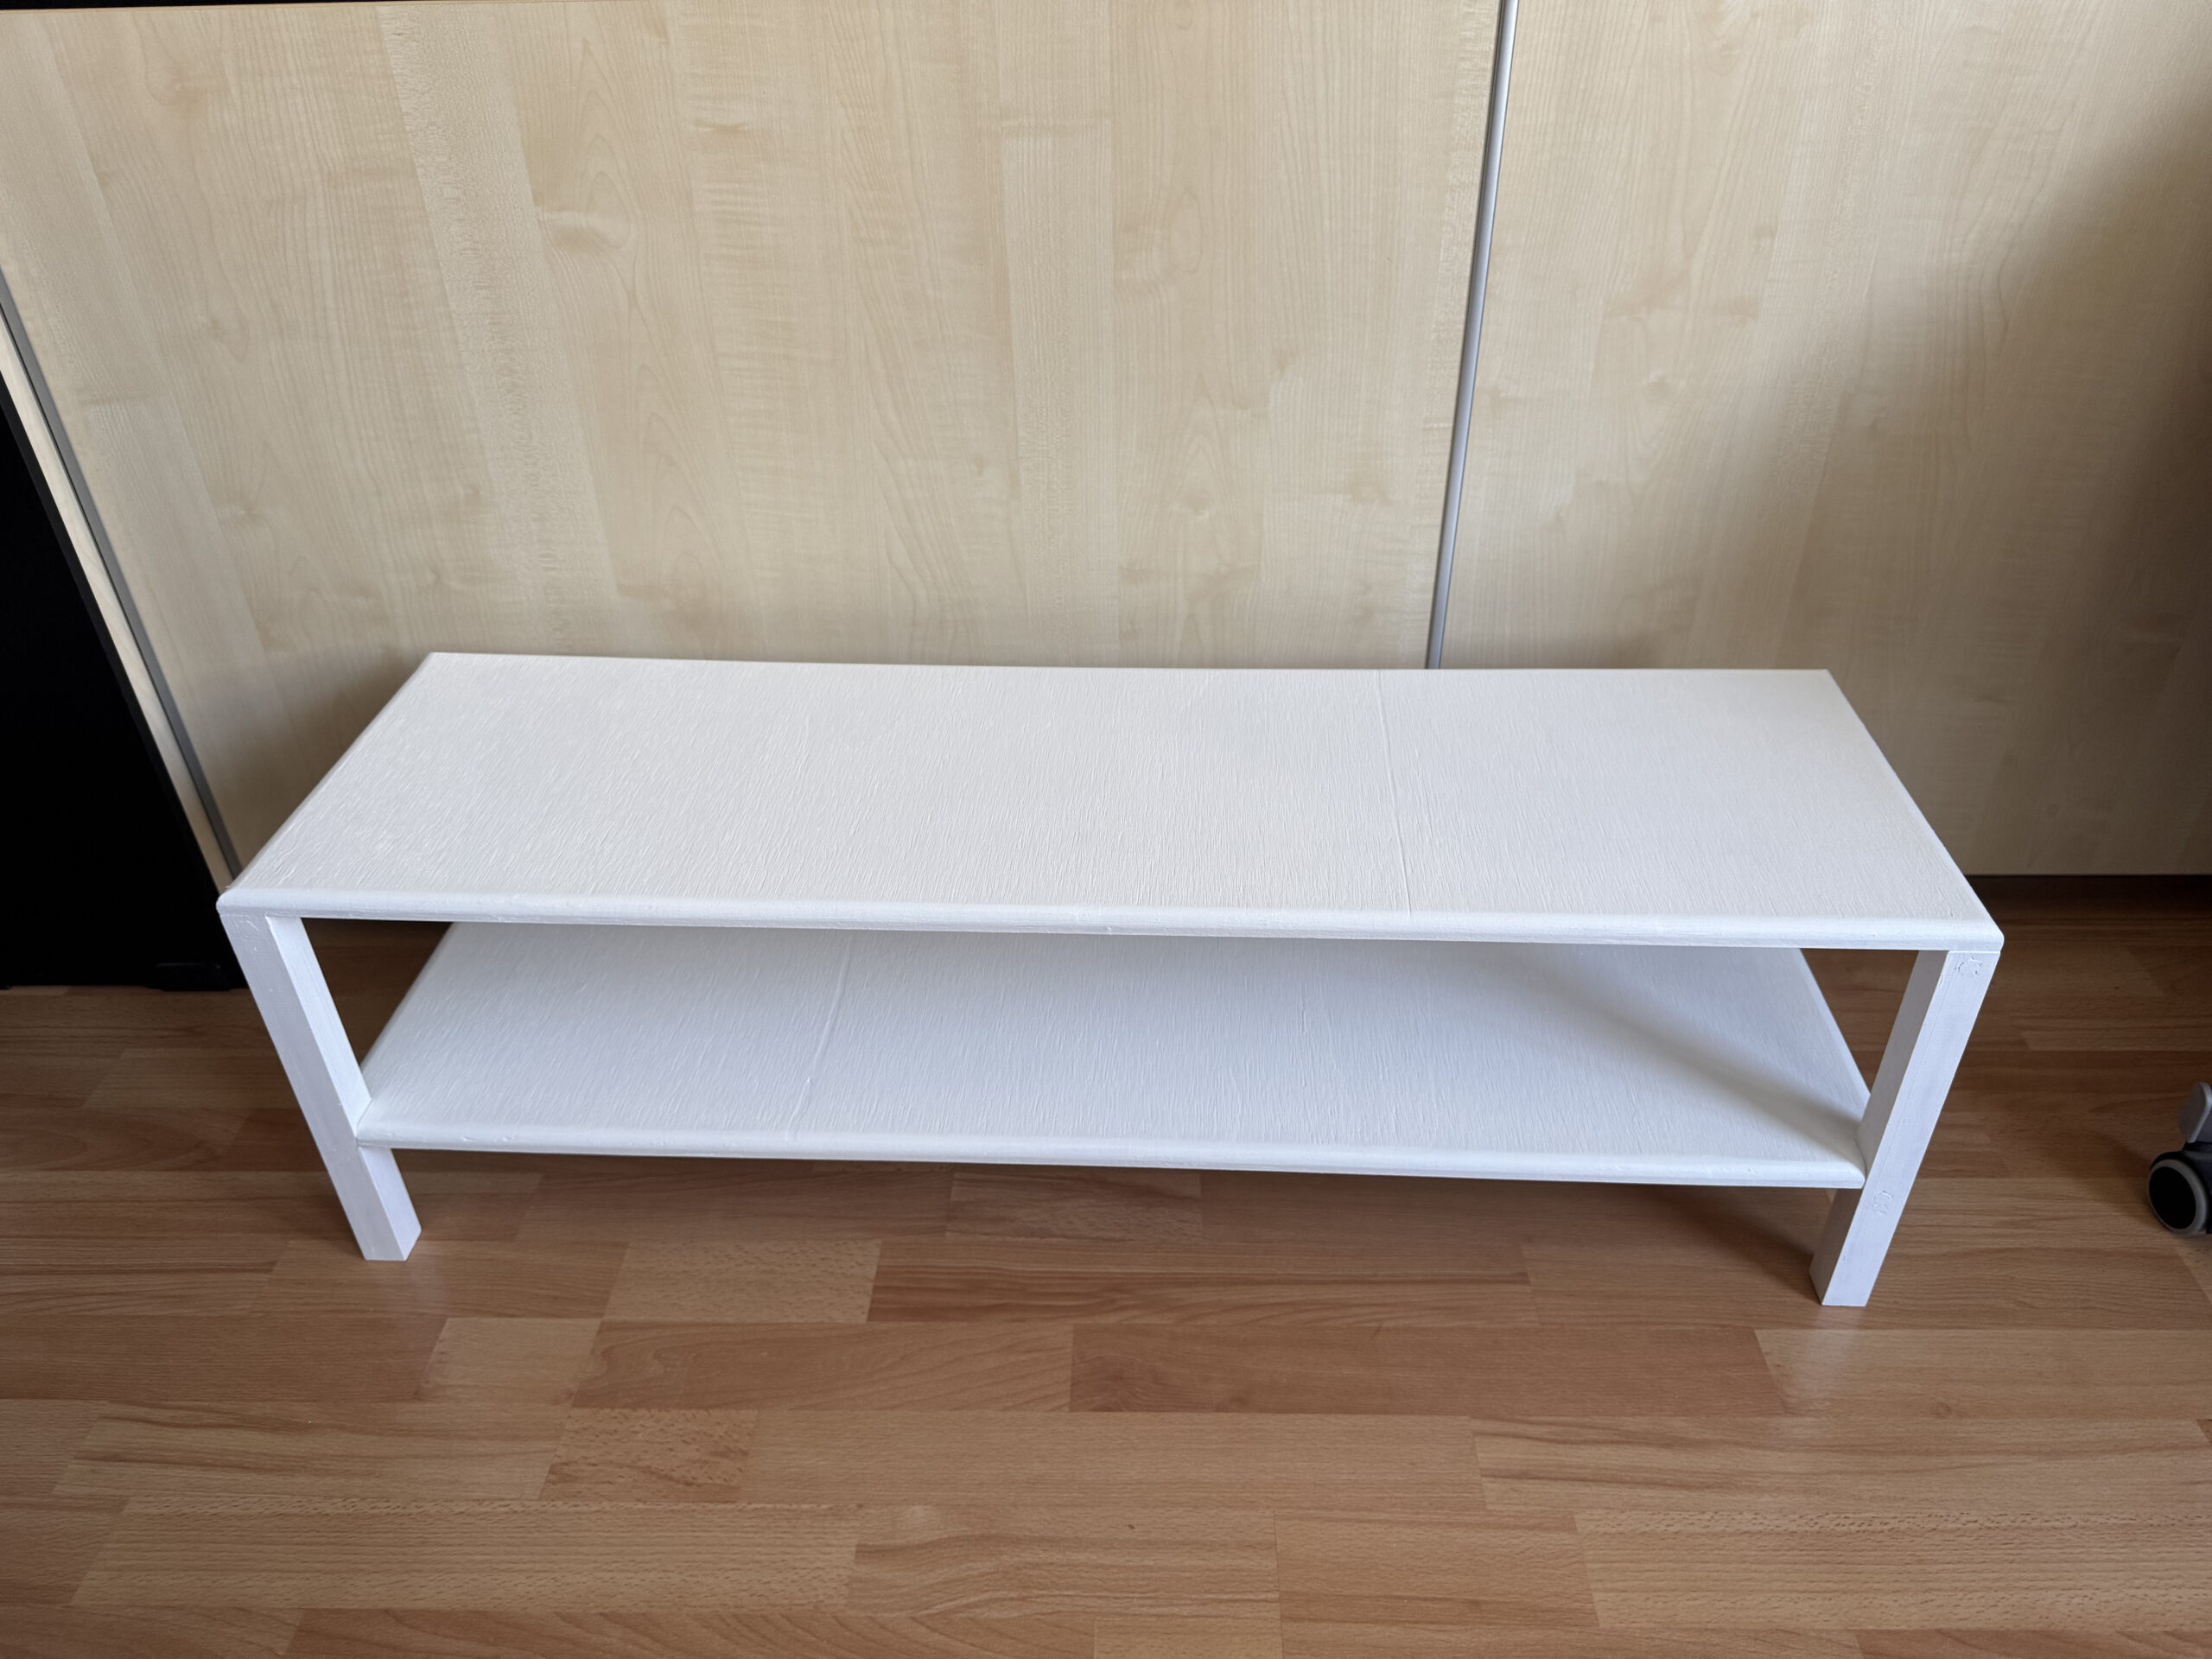
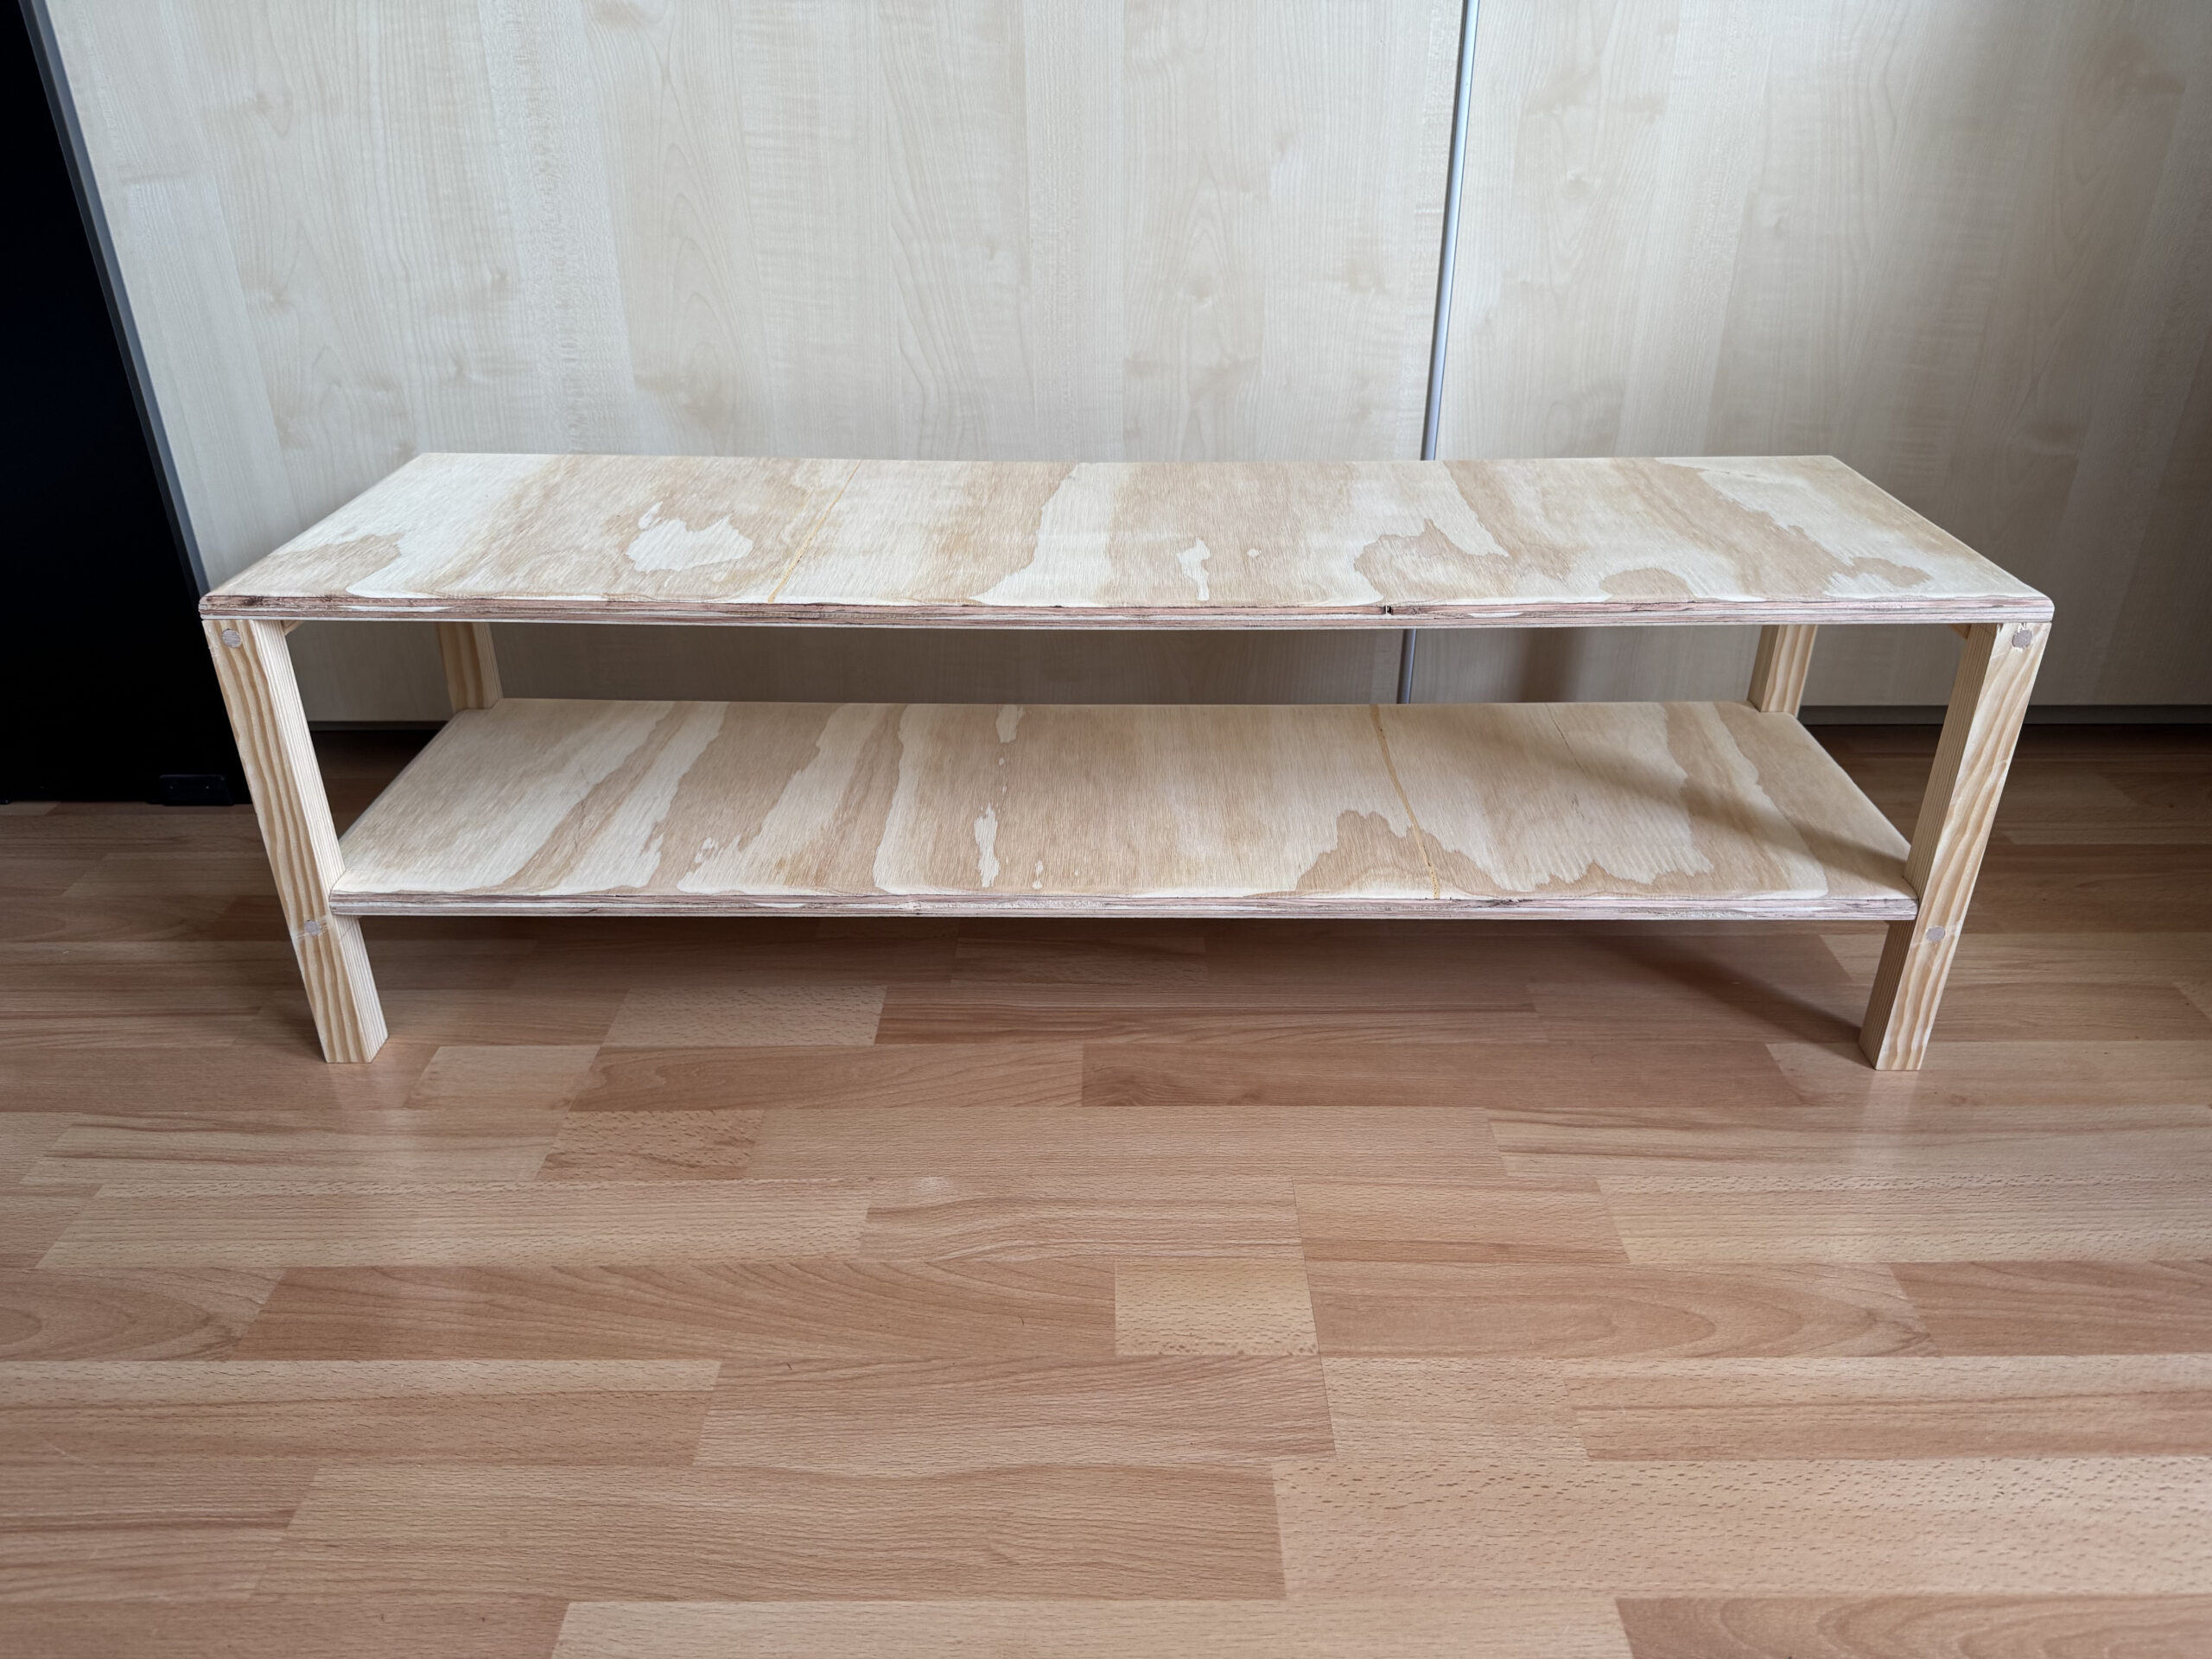
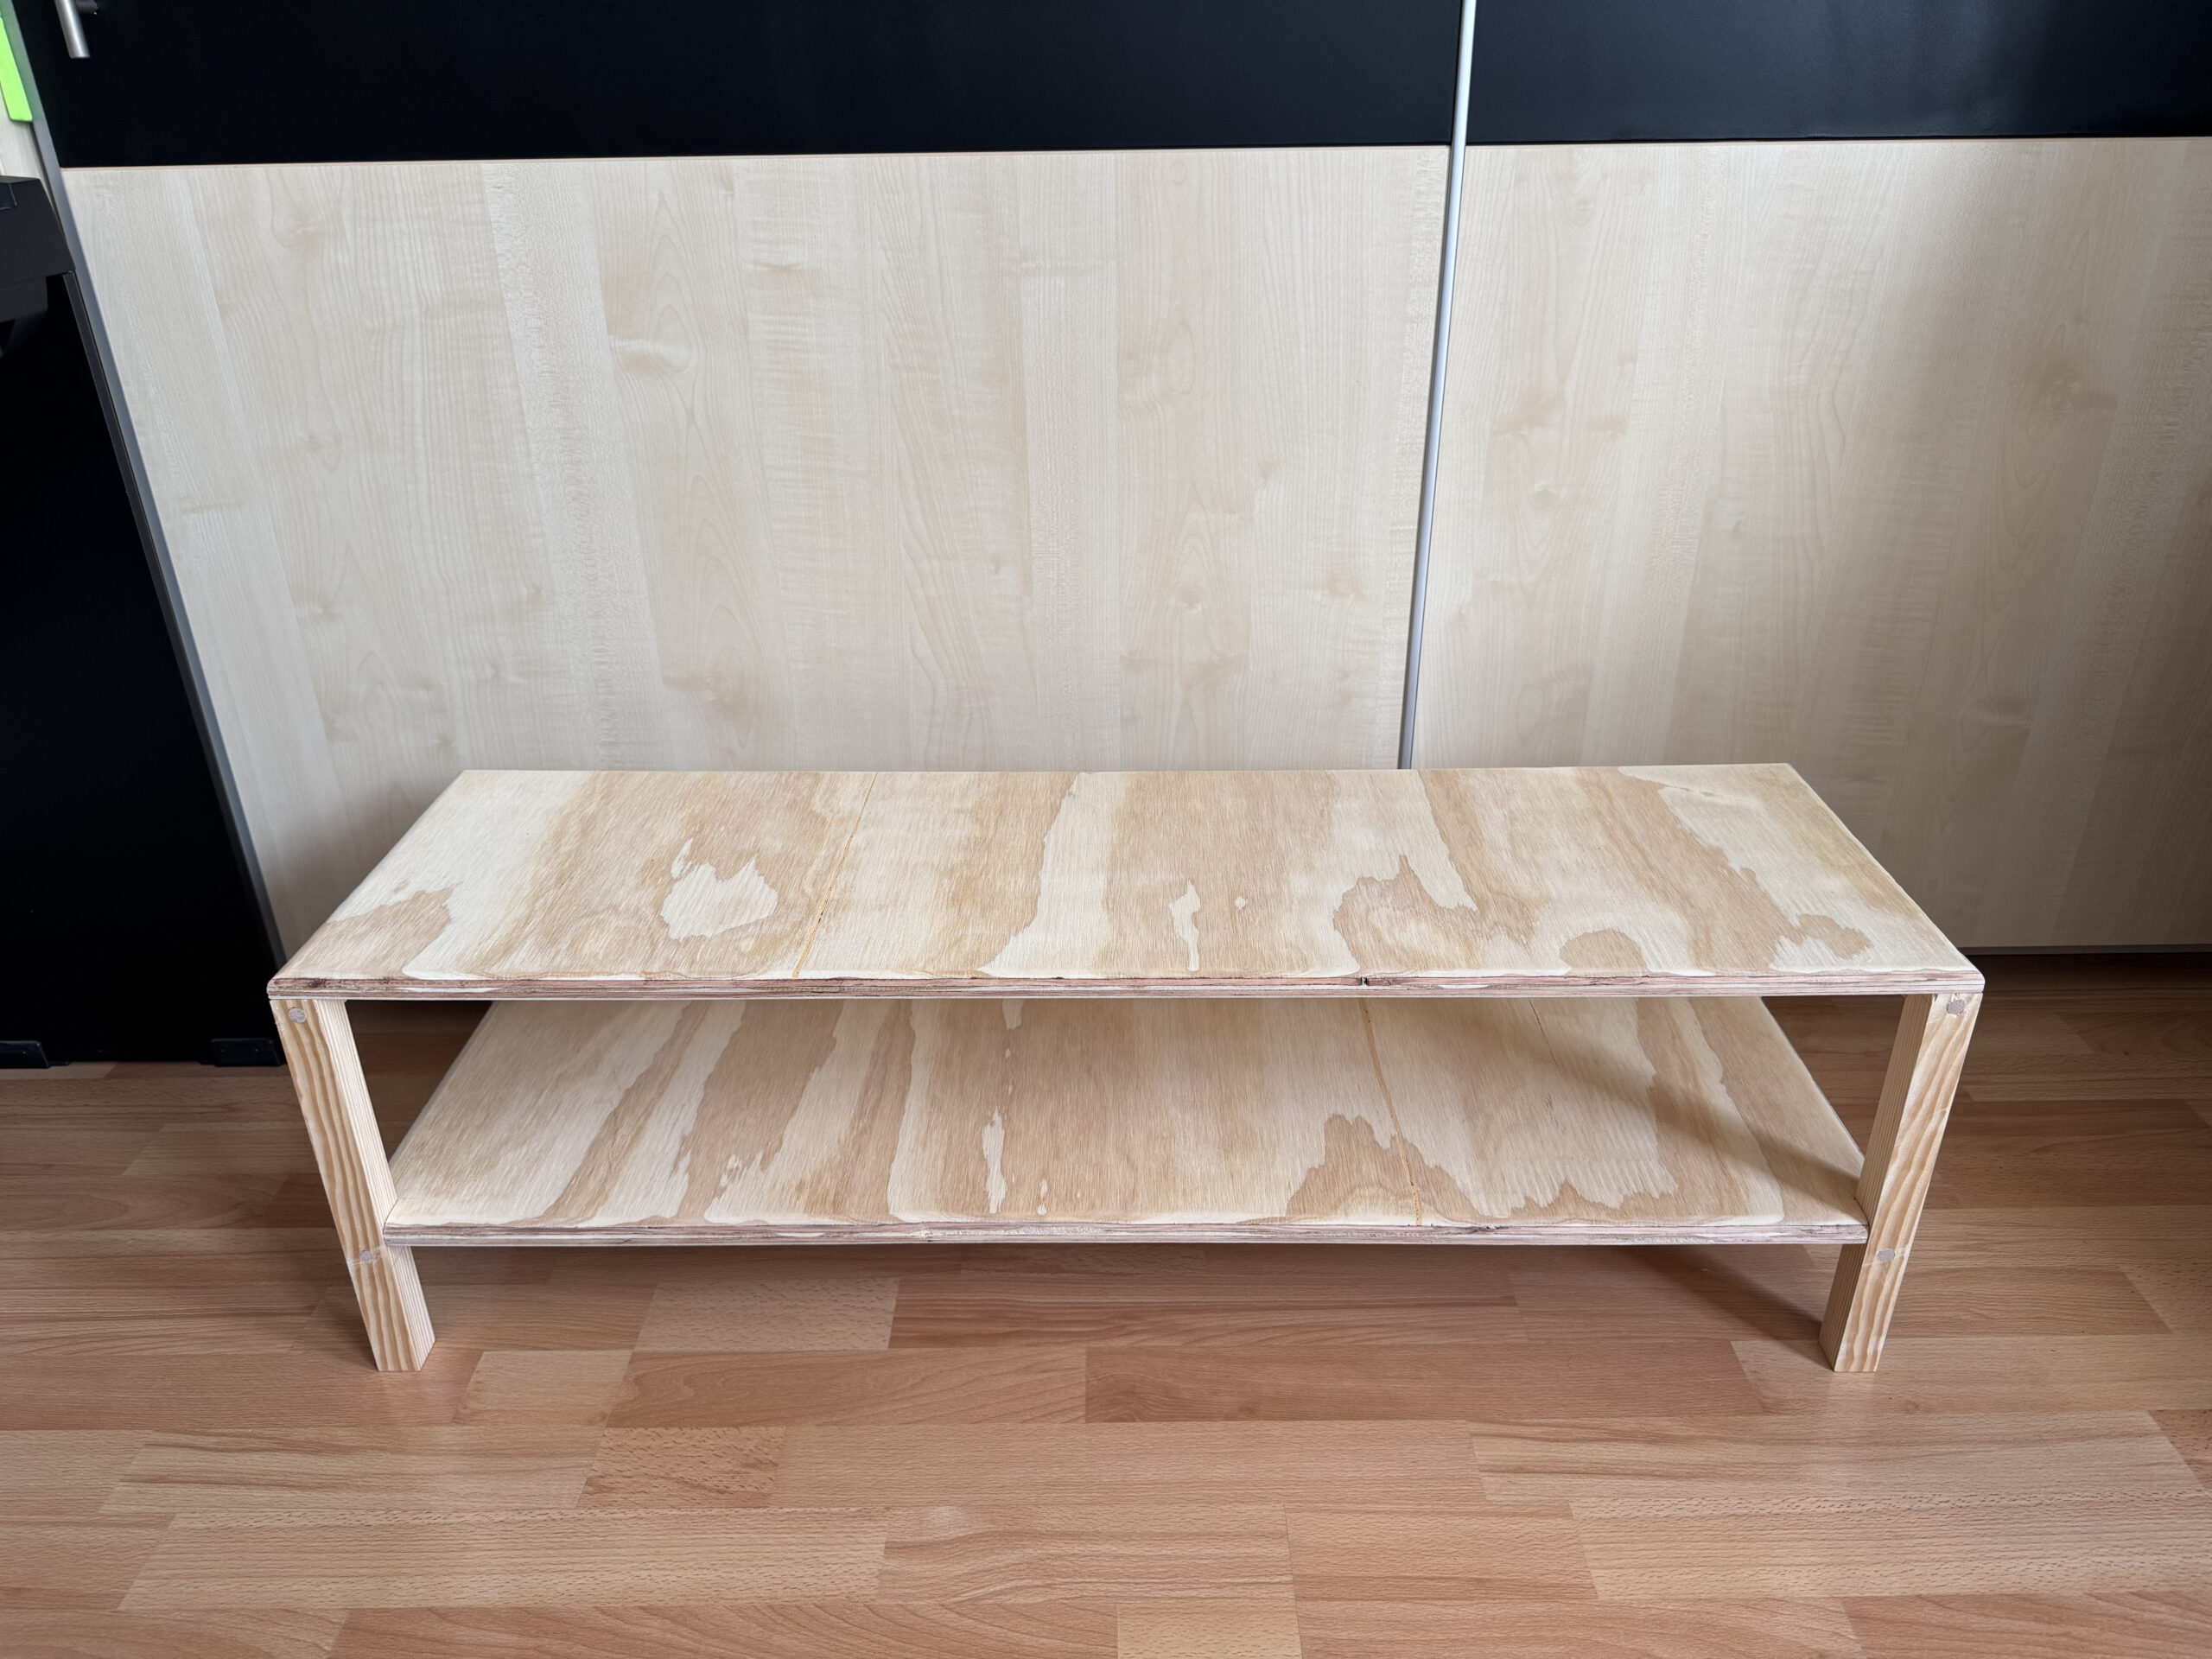
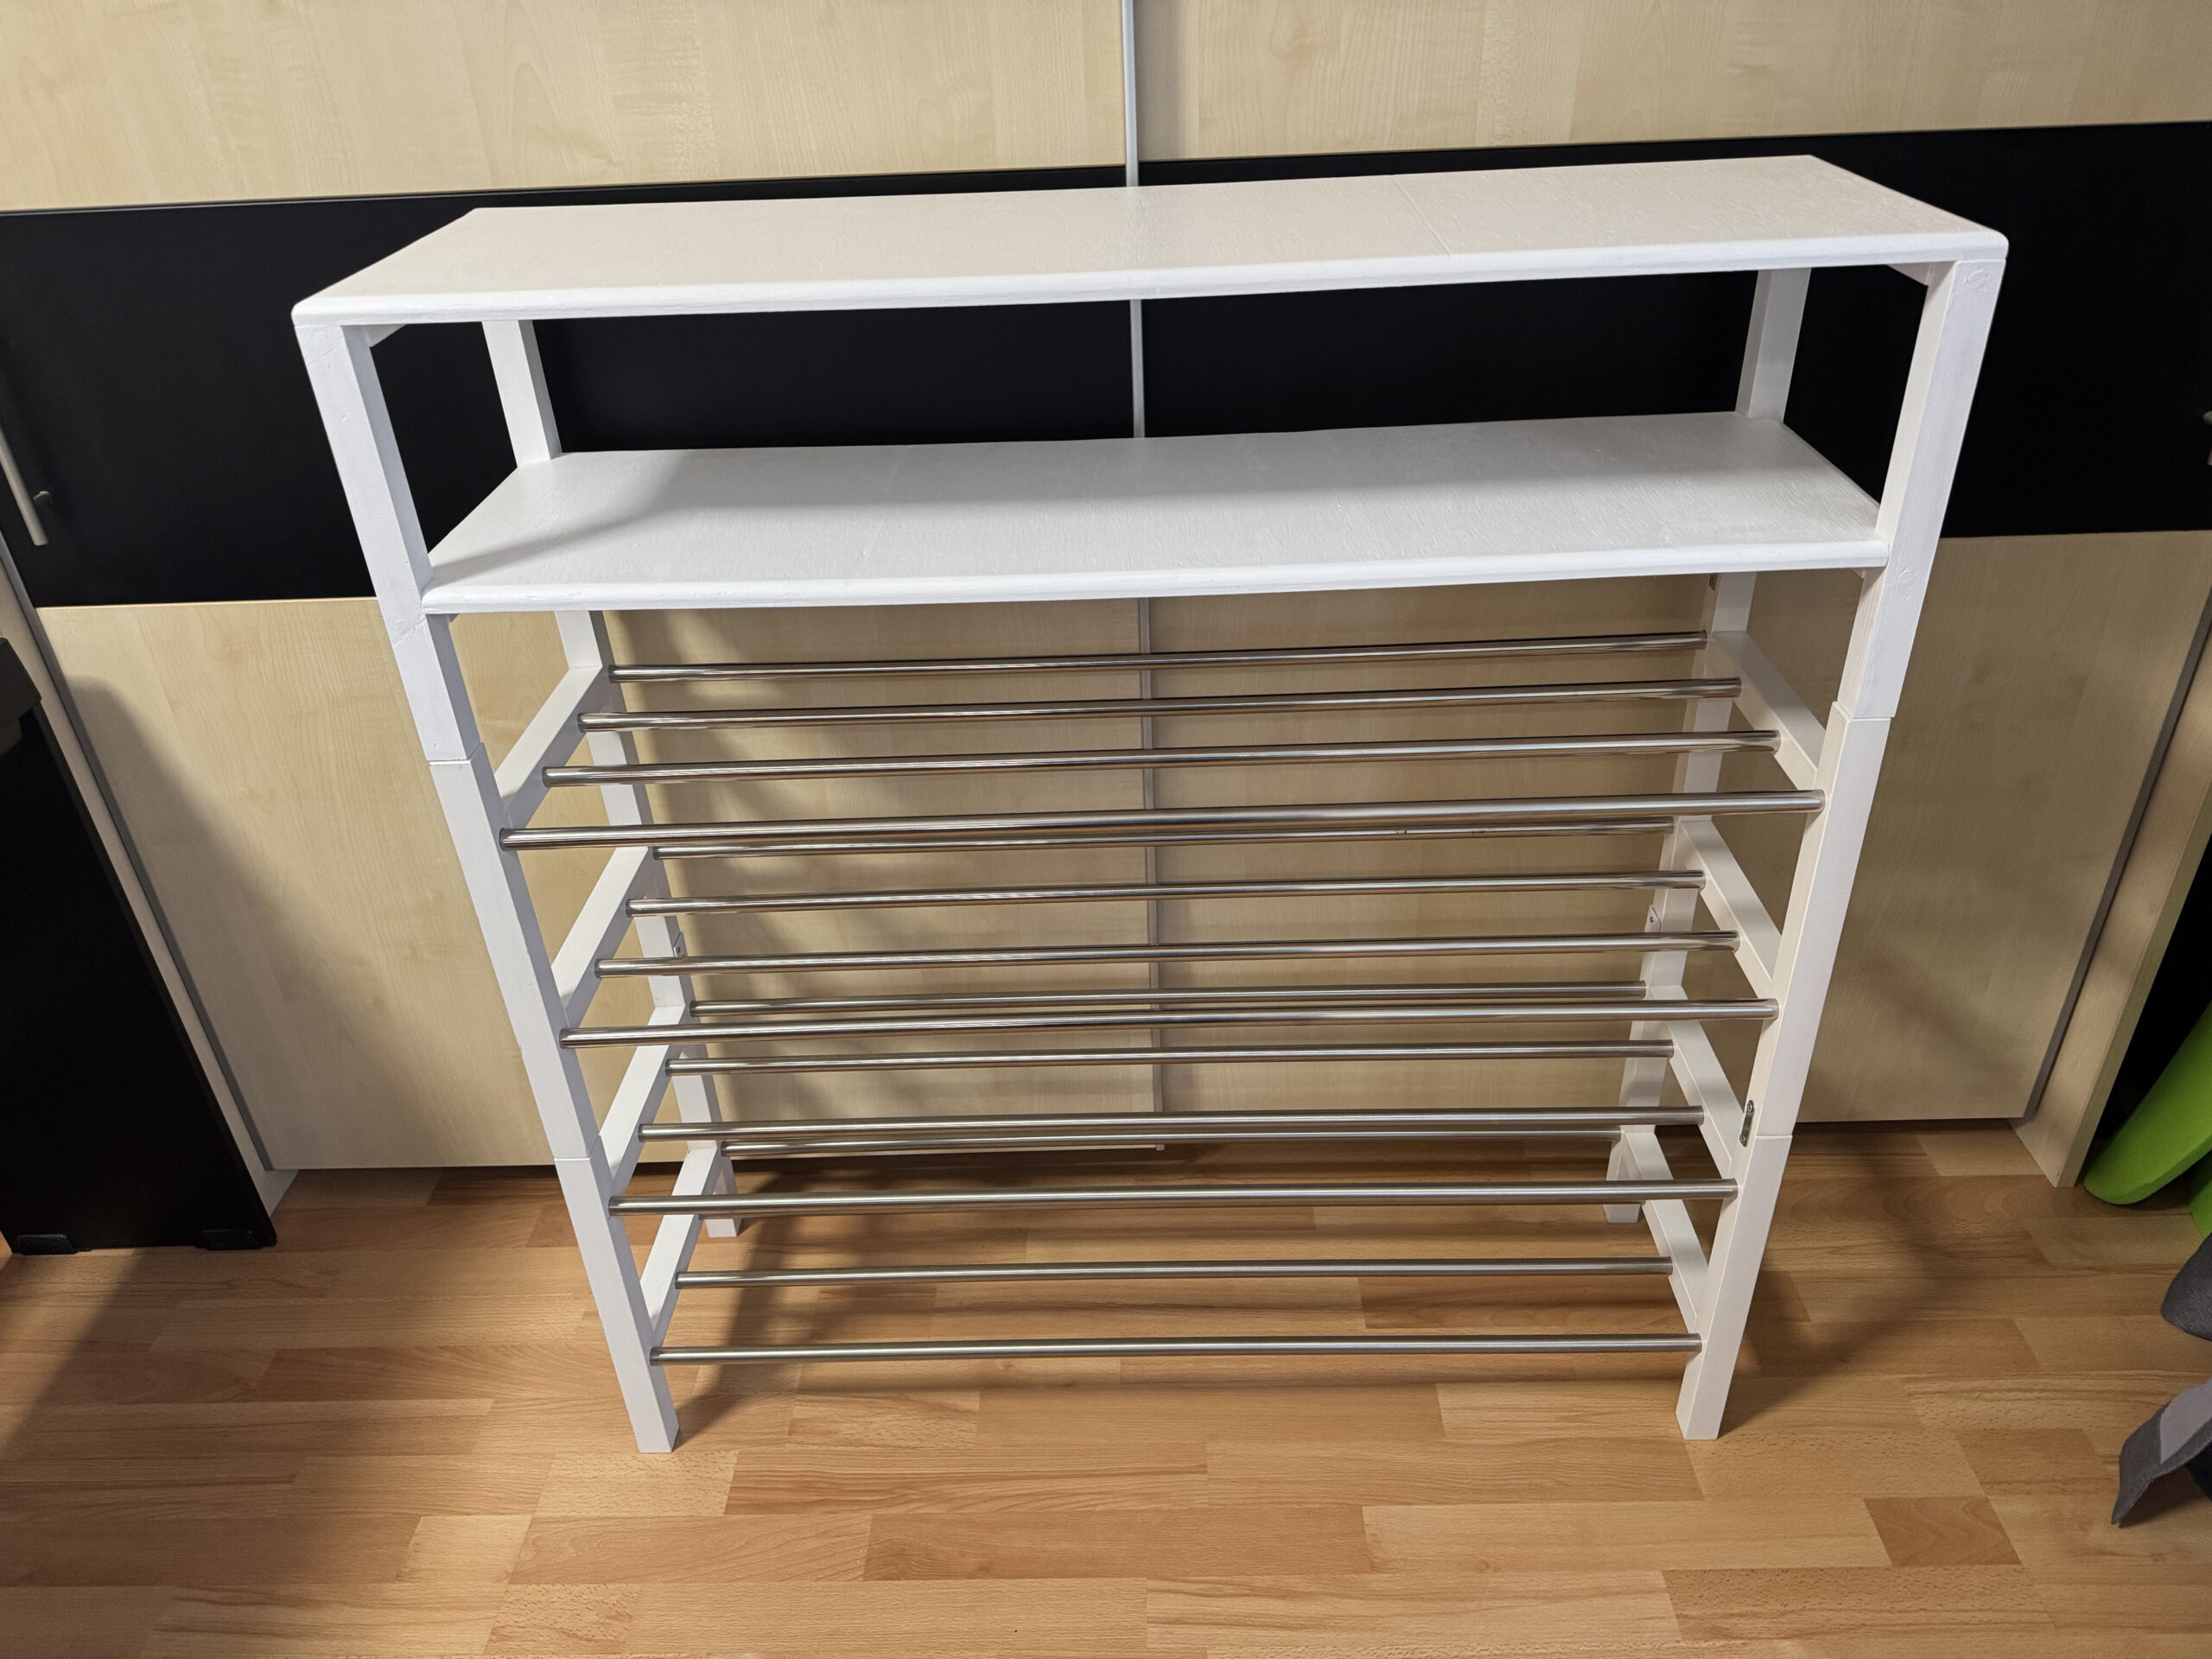
Seeking ever more usable surface area in my storage room, I set out to build an extension for the shoe rack that was already in place. My hobby woodworking adventures are documented in the following. But first I shall spoil you with a picture of the end result.
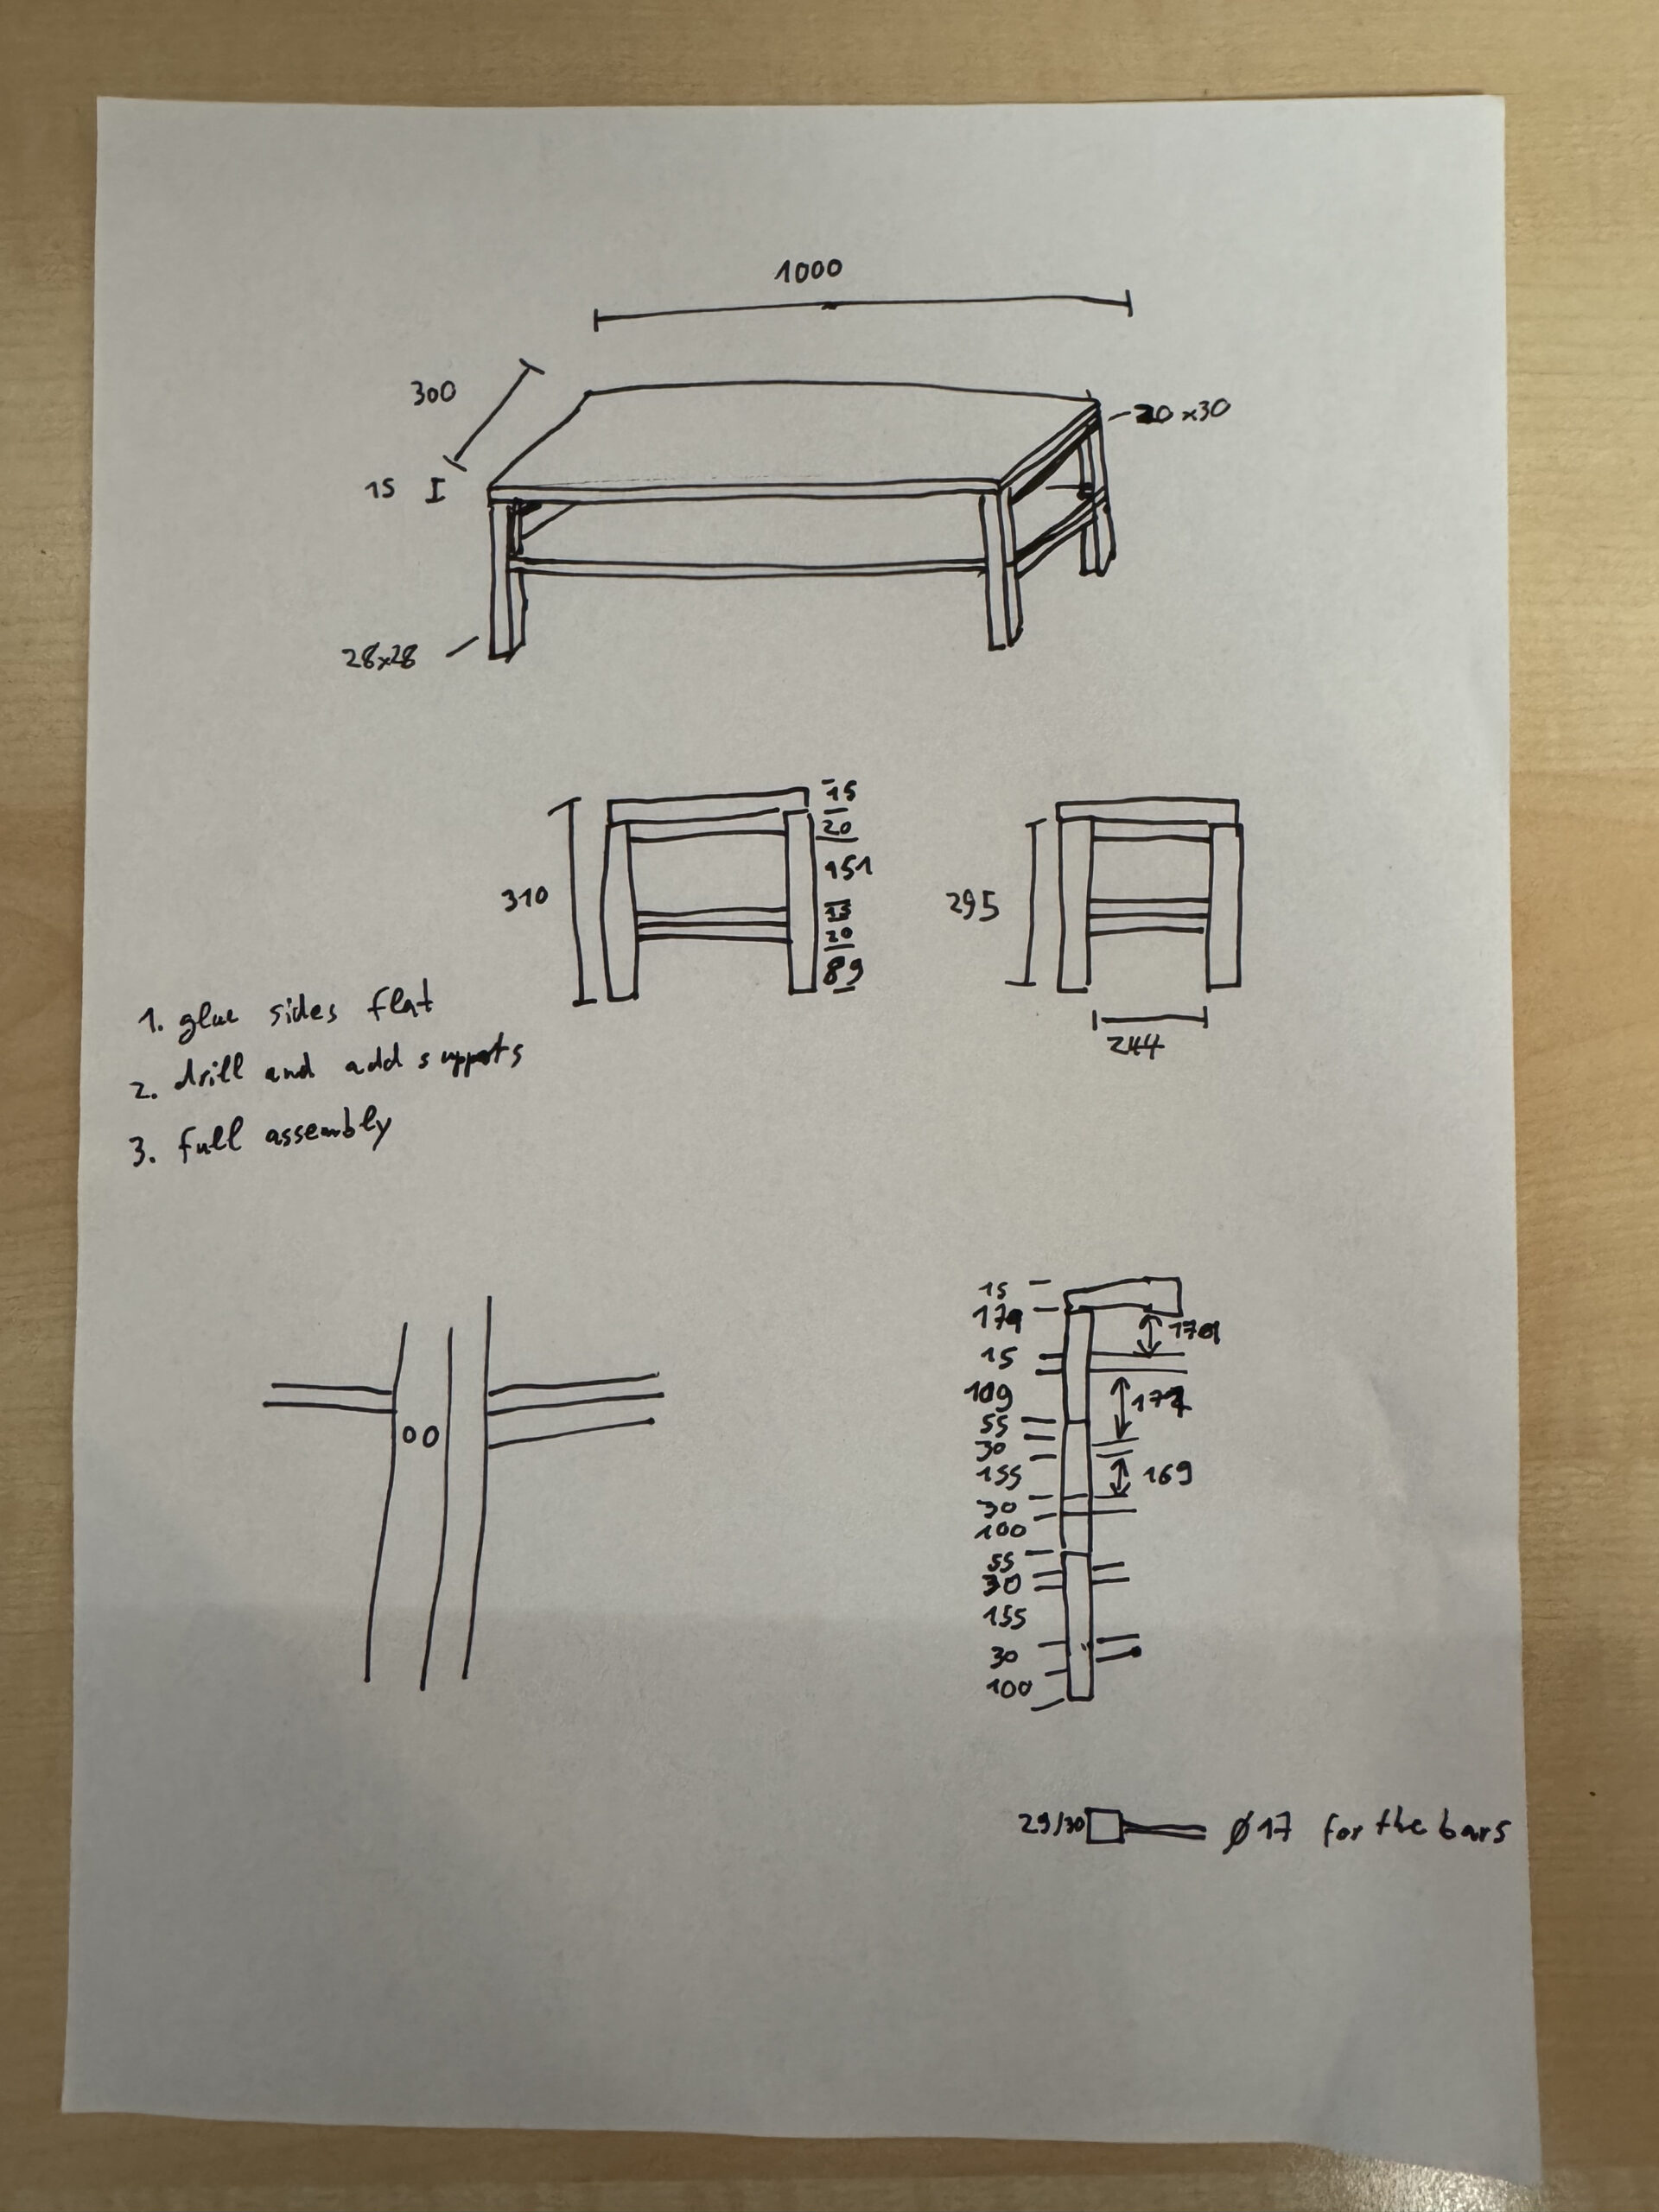
Measurements were taken from the shoe rack and while the rack used metal tubing I decided to go for a shelf made out of boards as I intend to use it for other things, which might be smaller than shoes and thus be susceptible to falling through such tubing structures. A plan was formulated in my mind and partially eternalized on a singular sheet of A4 paper.
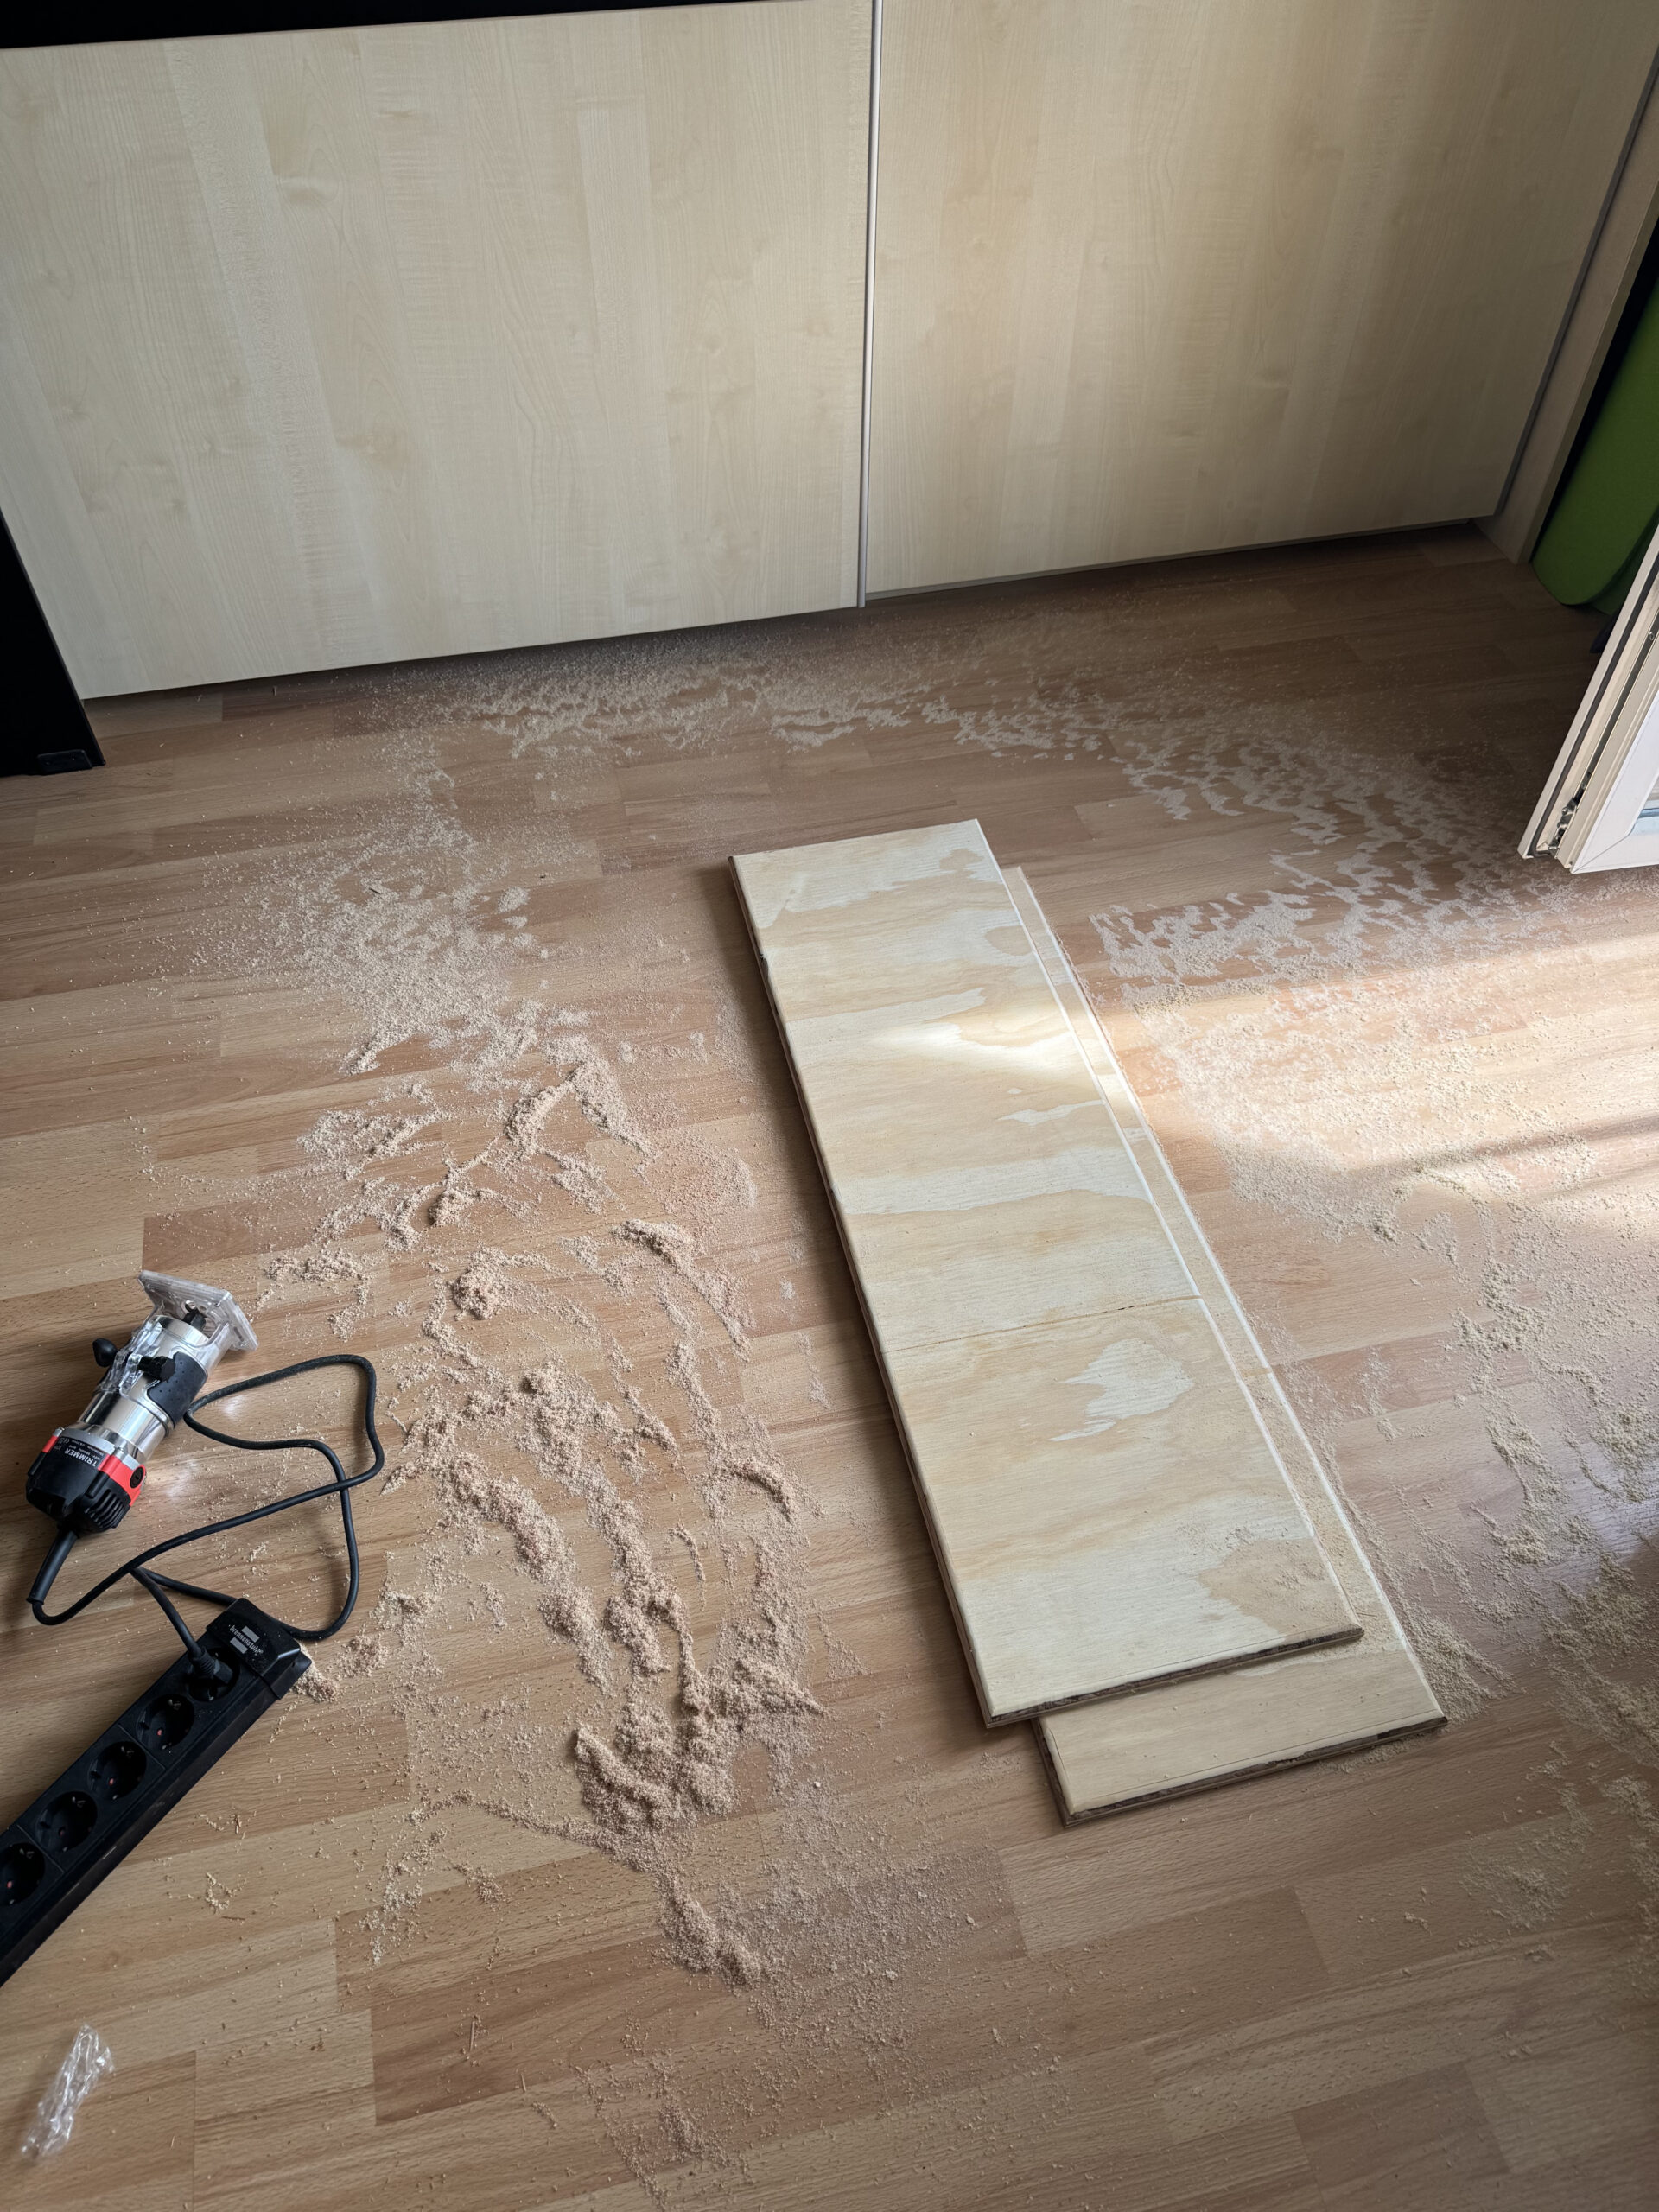
Thus the work could begin, but not before a trip to the hardware store and letting the raw materials collect dust under my bed for several months. The first step was to round the edges of two pieces of plywood using a router. The plywood was already cut to the right dimensions by the hardware store. Unfortunately, for the first attempt I used the cheapest set router bits I could find on Amazon, and the one I used promptly lost its guide bearing, causing me to create a rather big dent in one of the pieces (I was able to fix it up more or less with some additional sanding and hid the offending spot on the backside of the bottom shelf). I ordered new router bits from Aliexpress which were also rather cheap but of significantly better quality and was able to finish the job with those. Here is a picture of the aftermath (and, yes, for lack of a better workspace I did this in my apartment, please don’t tell my landlord).
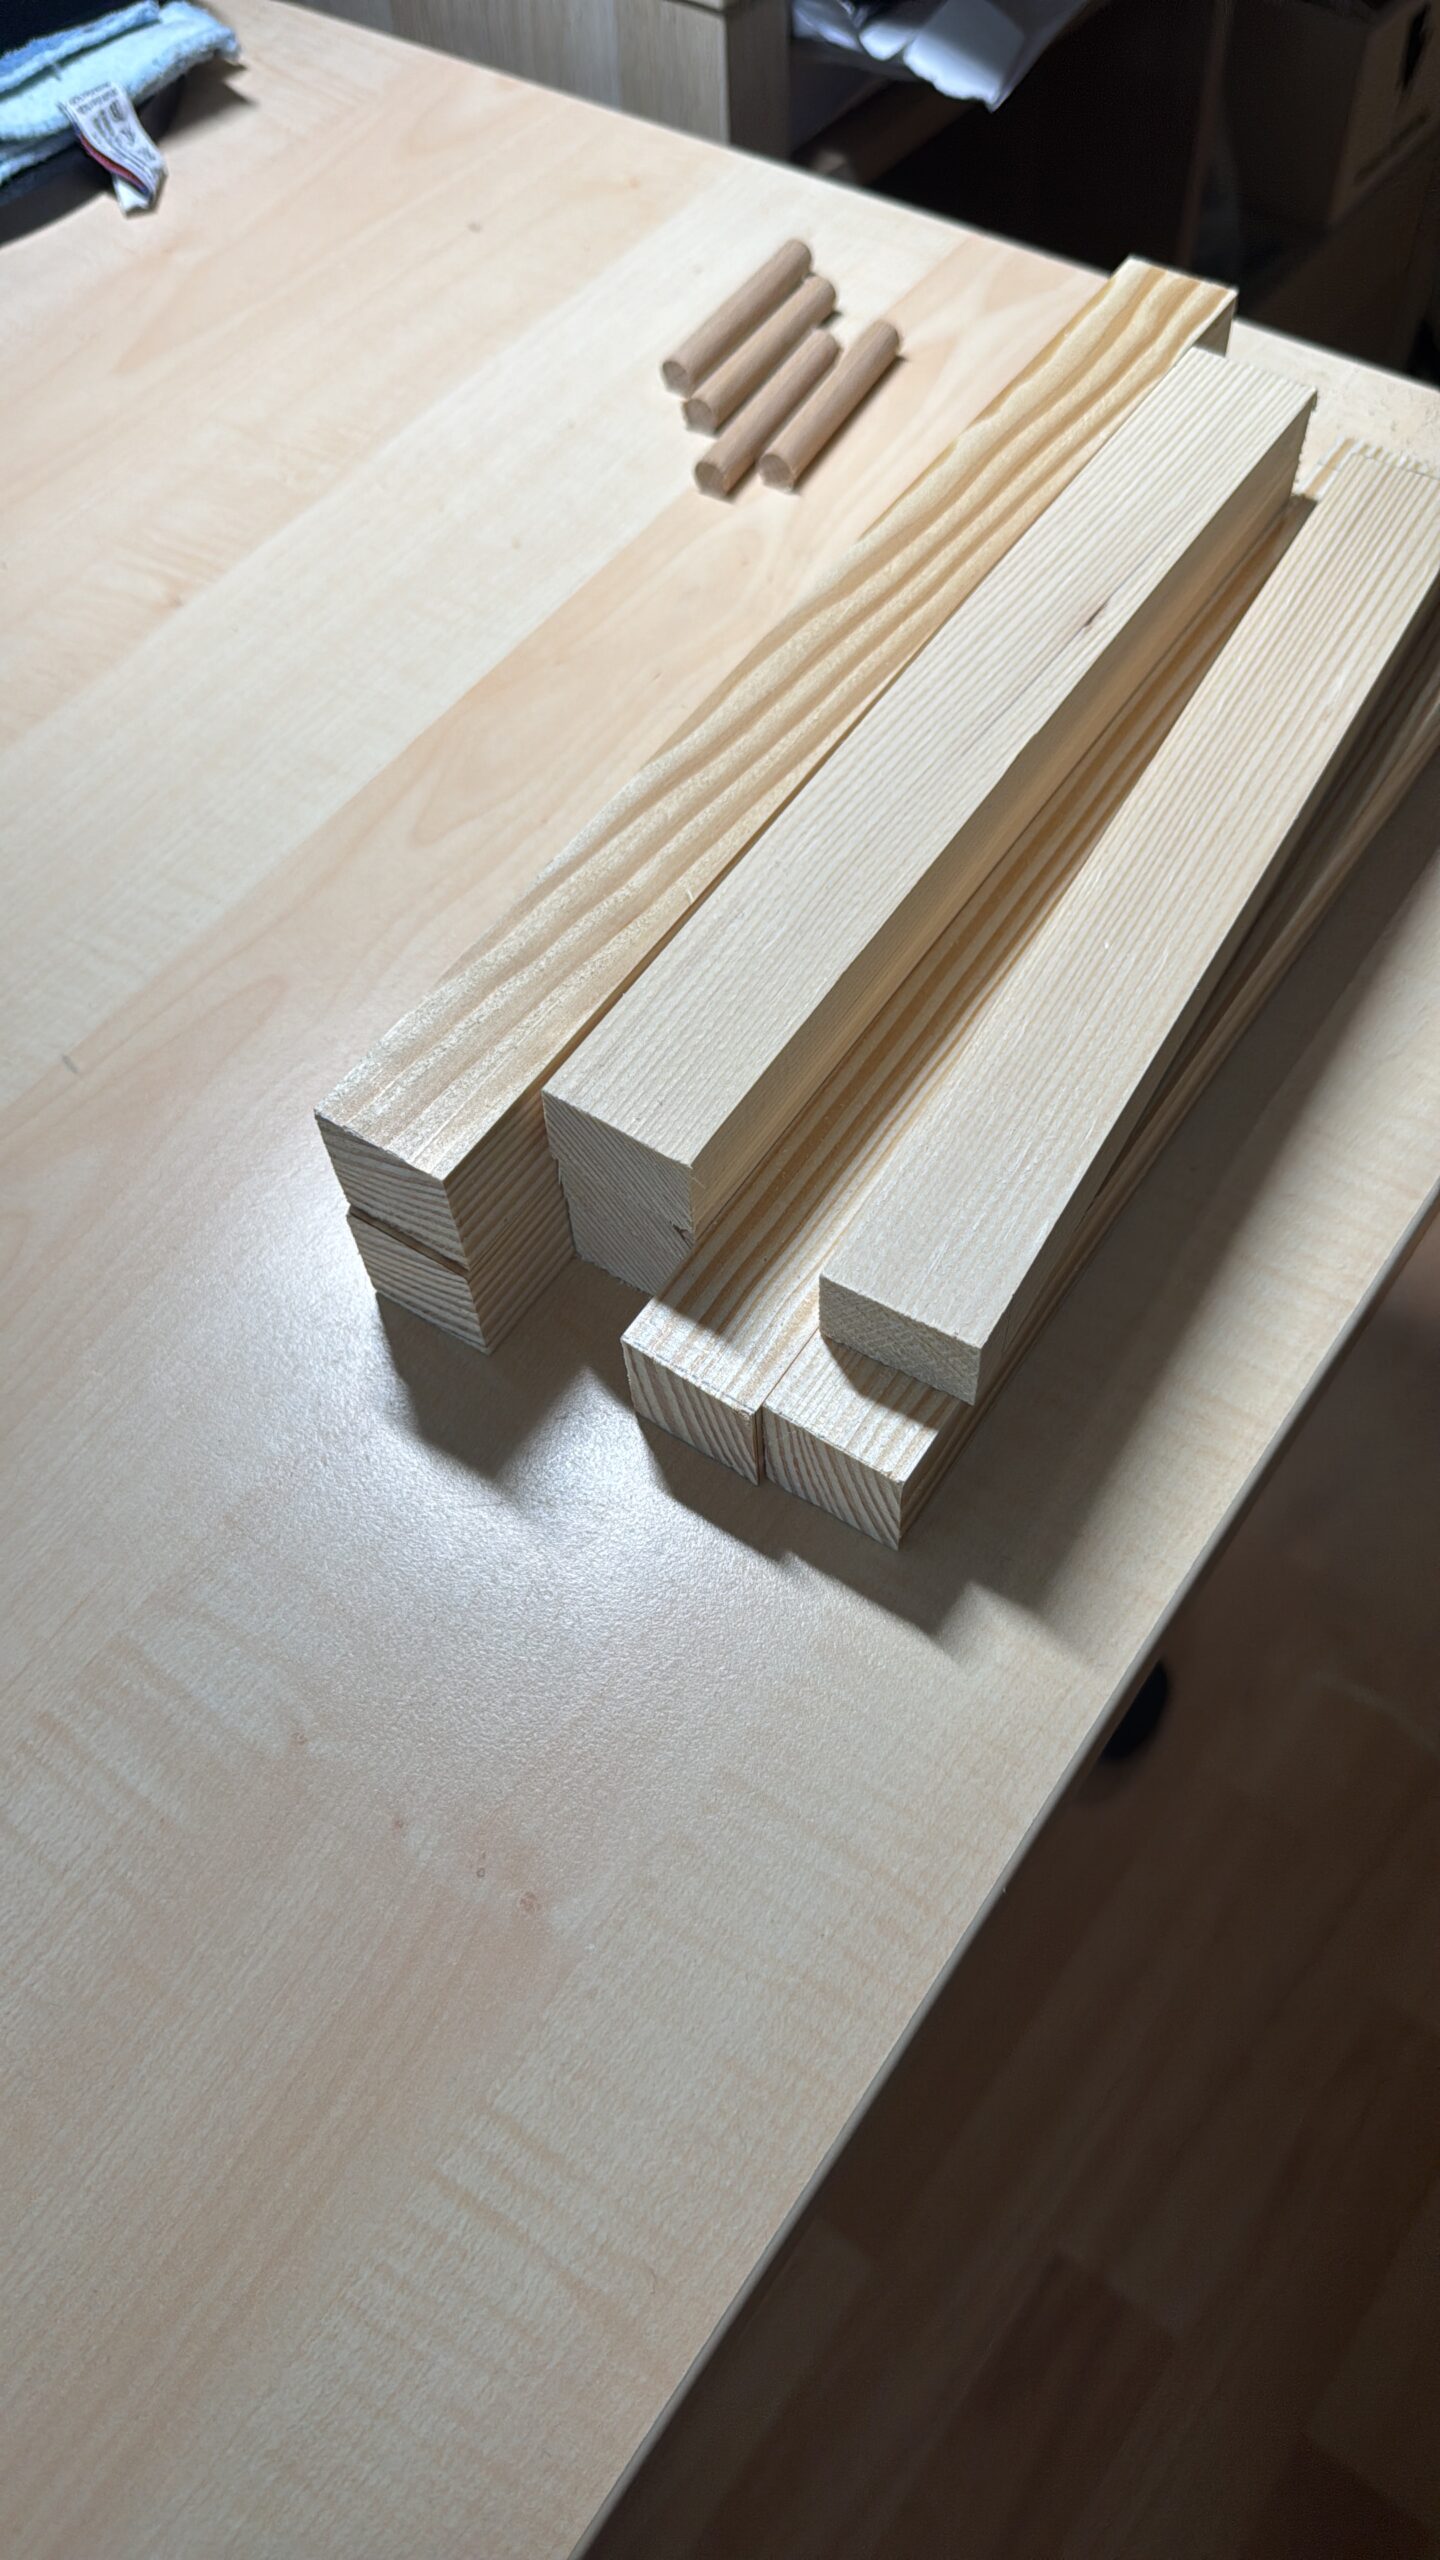
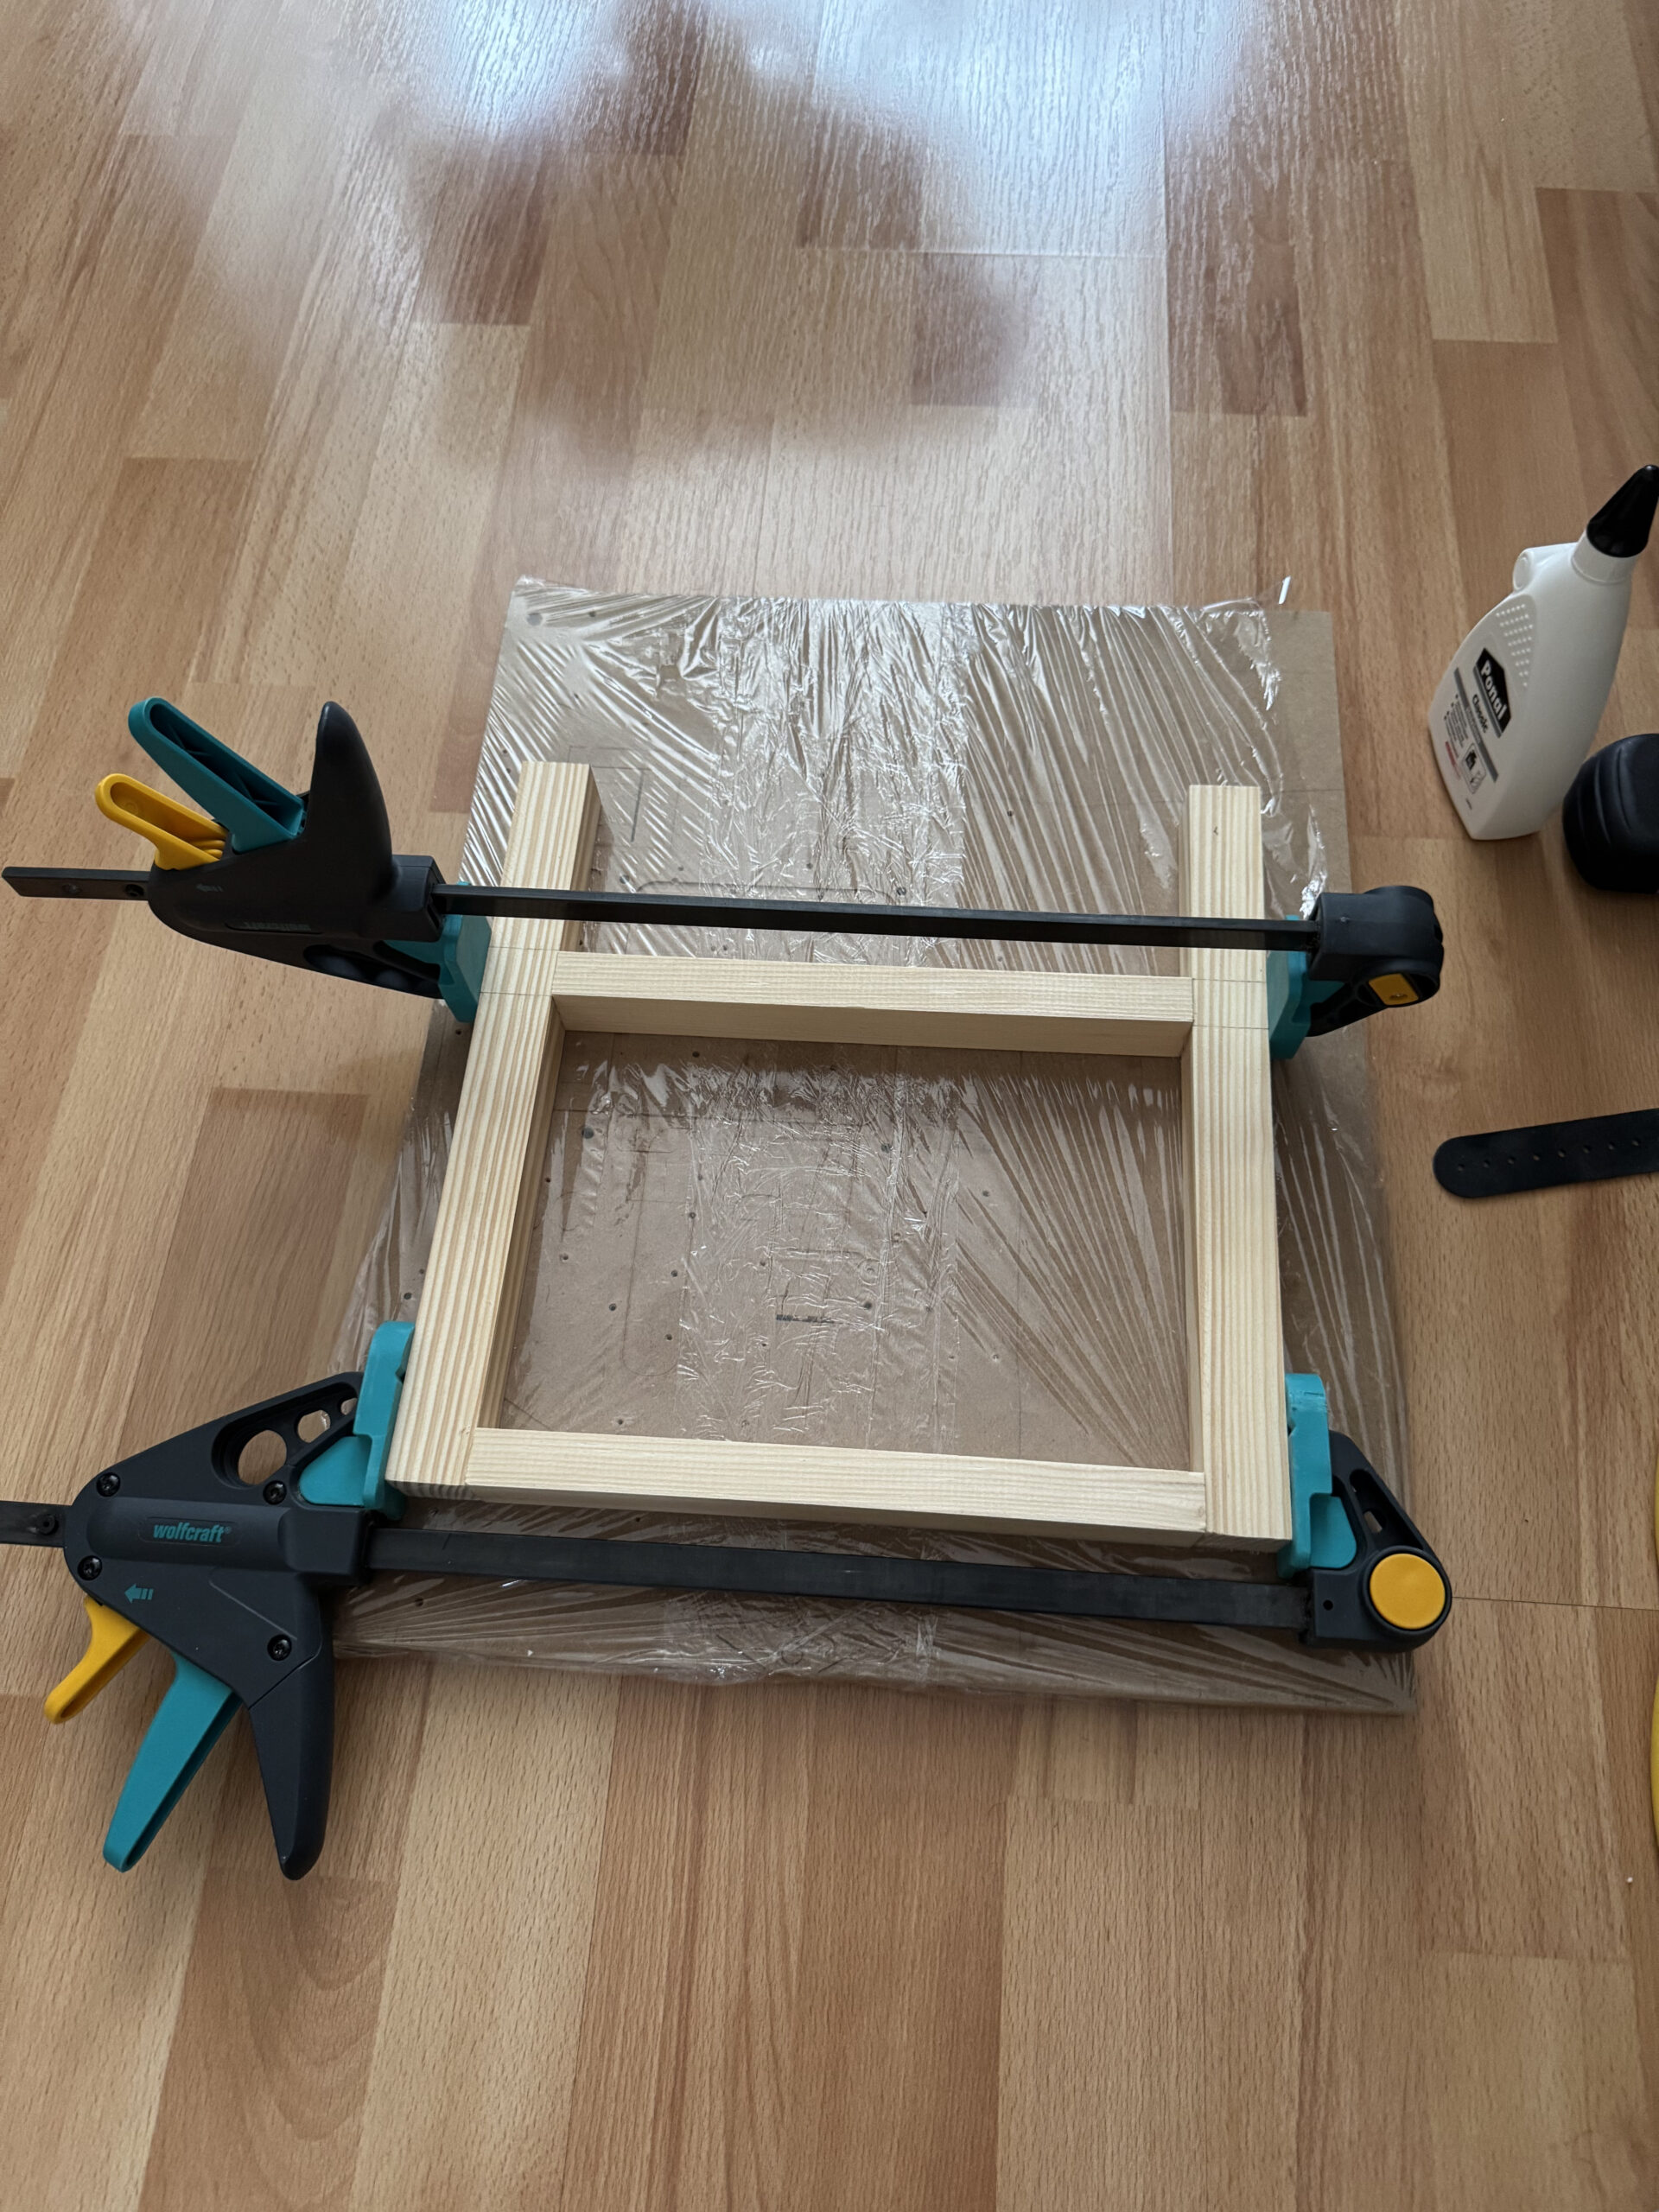
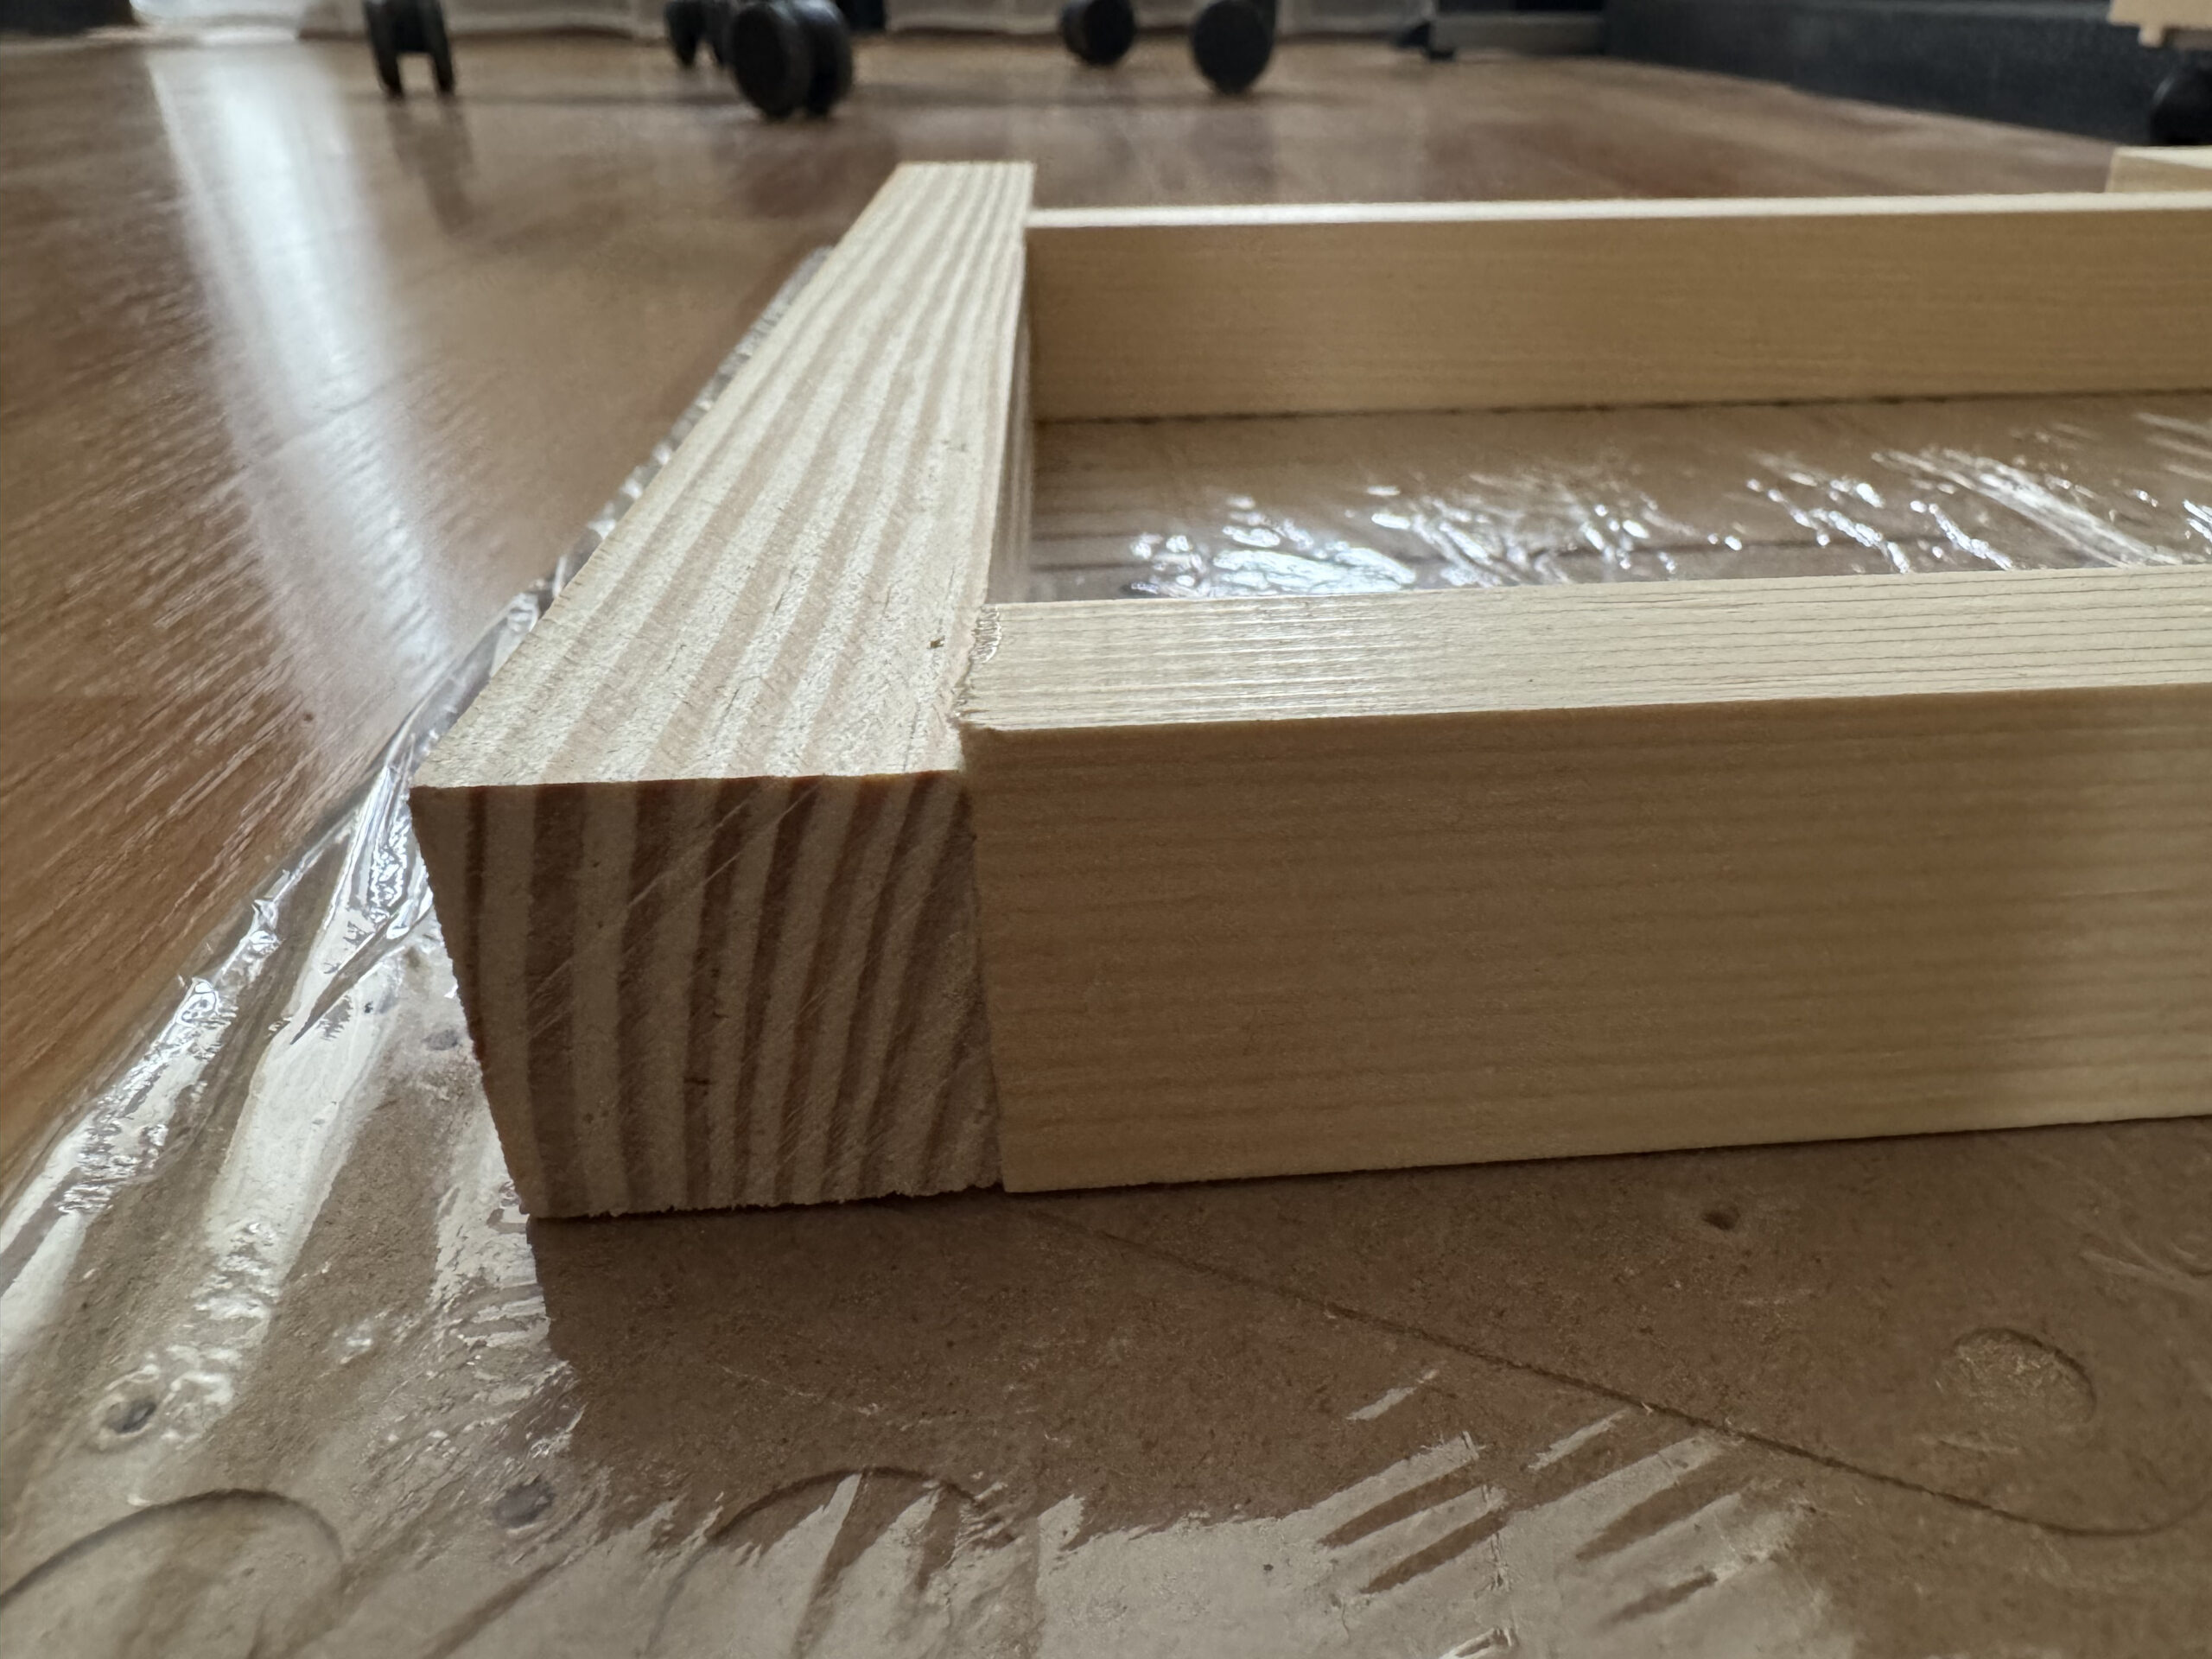
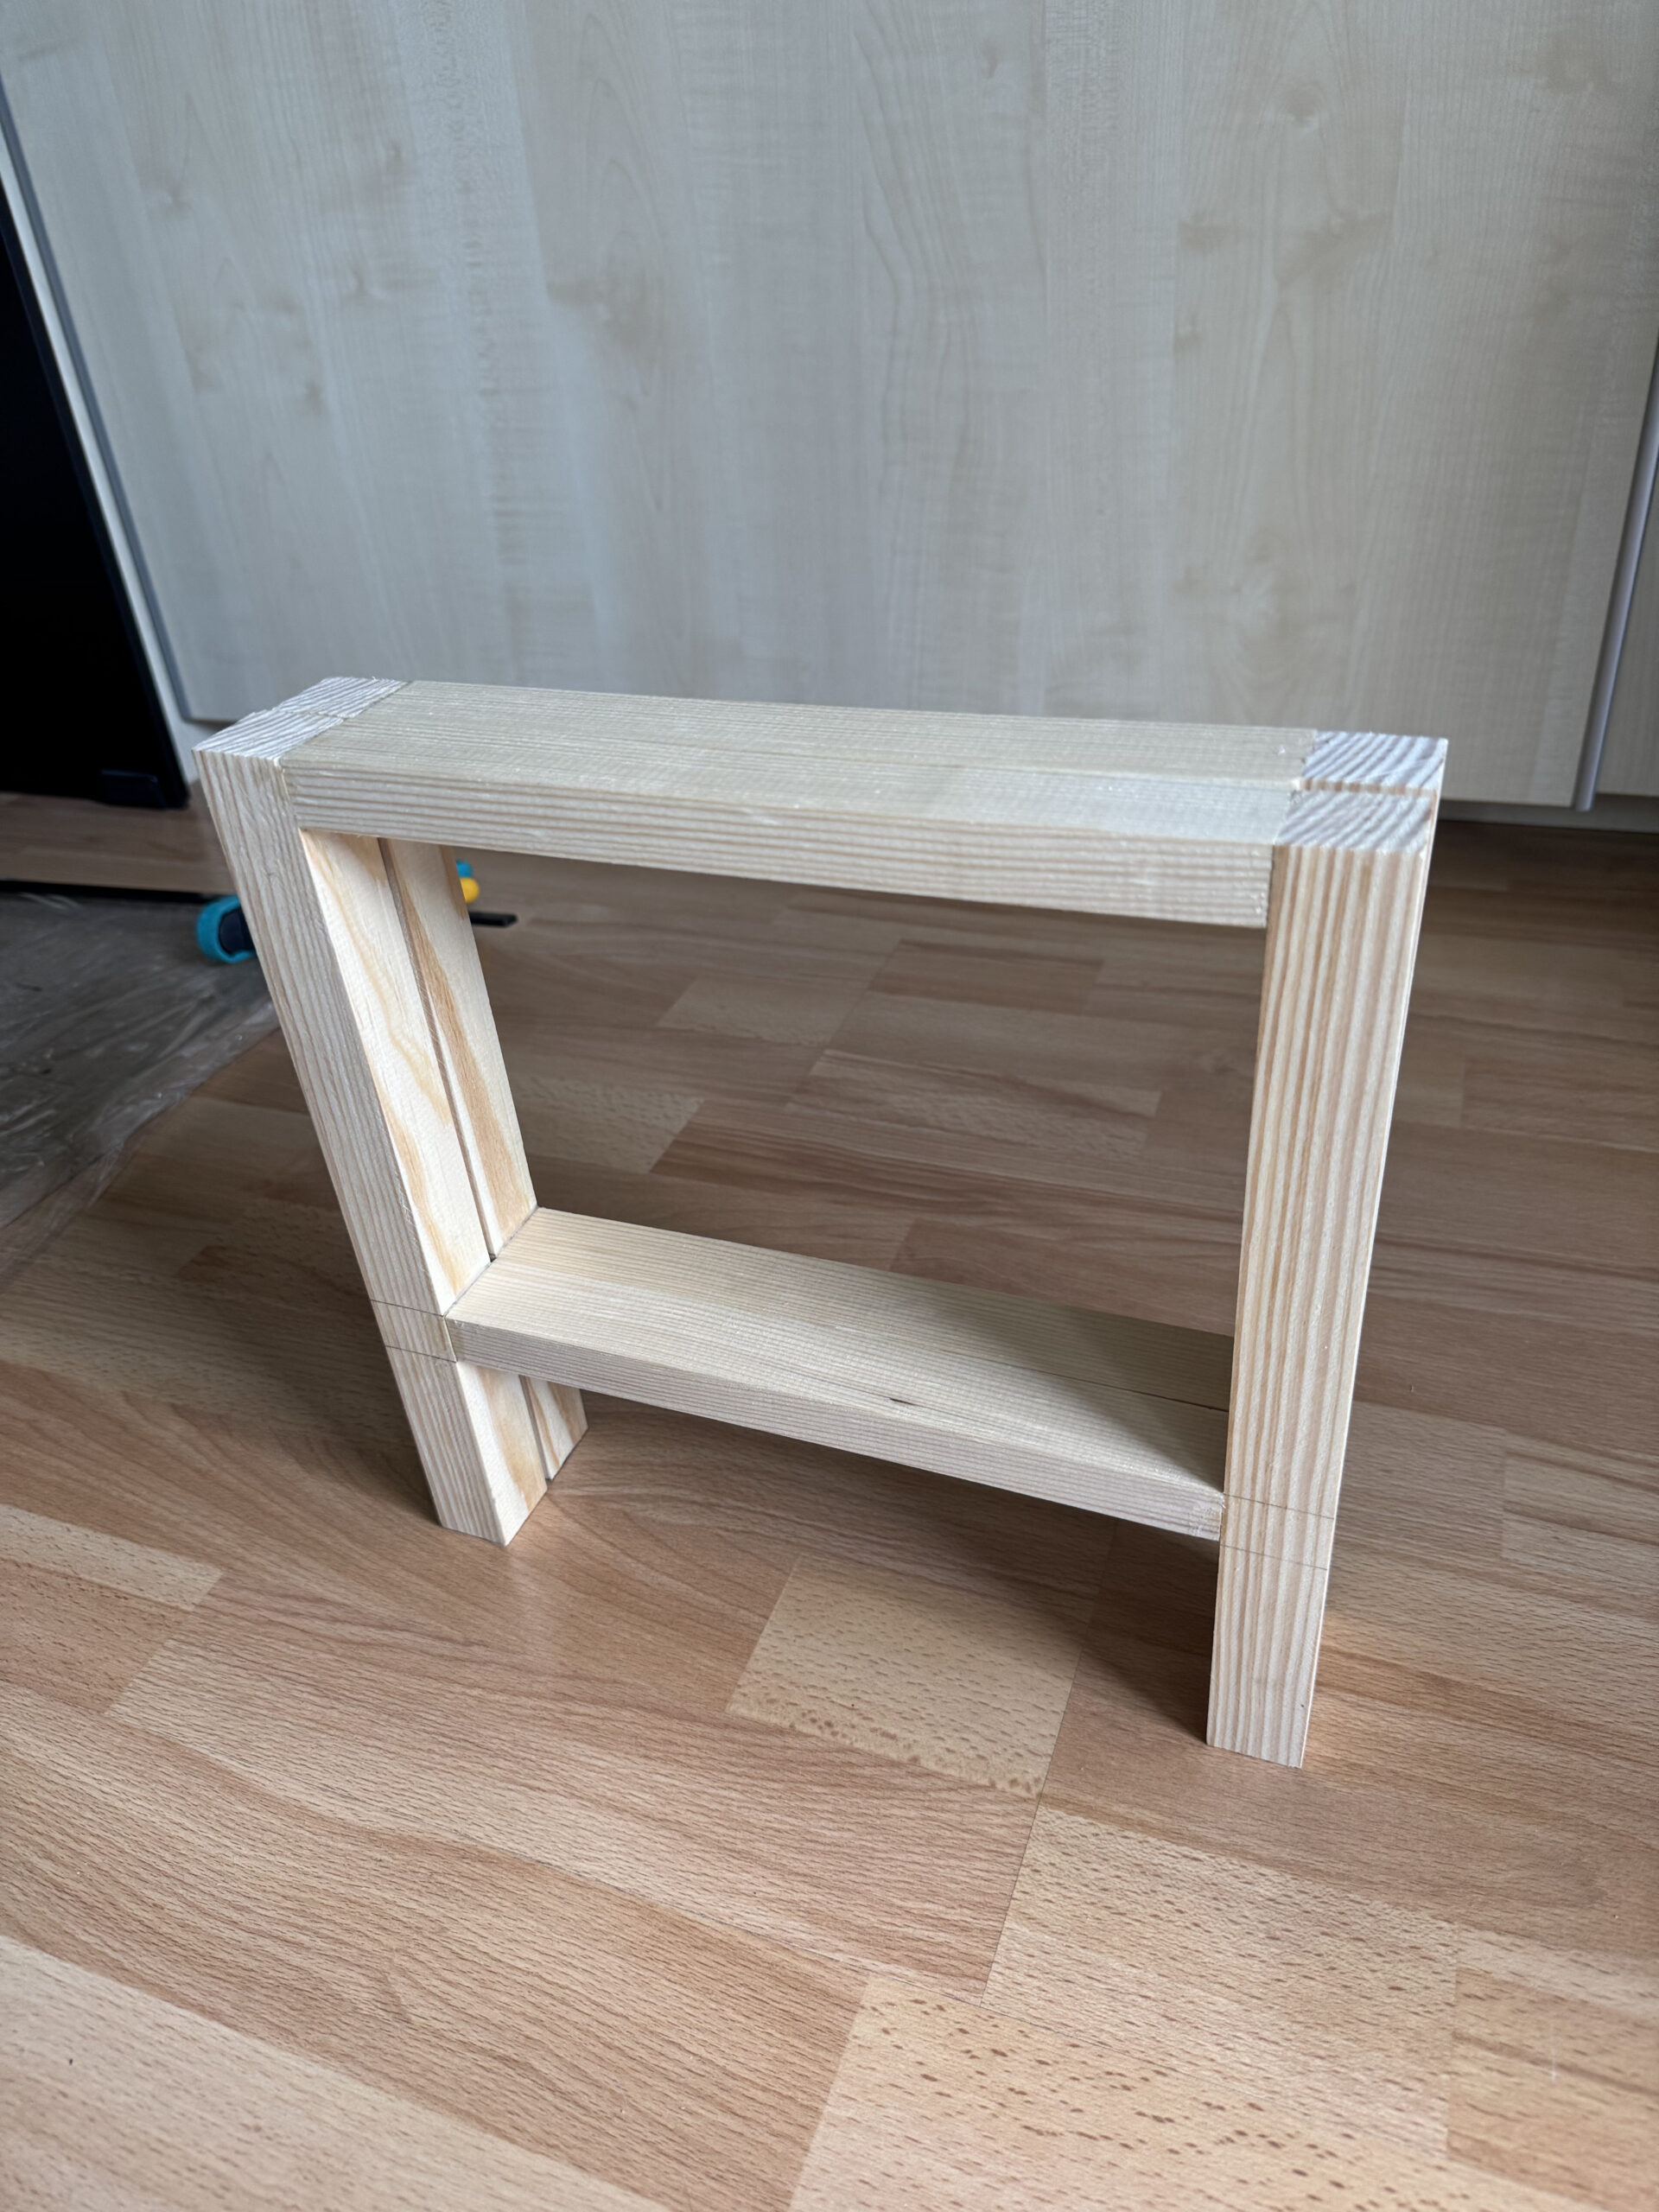
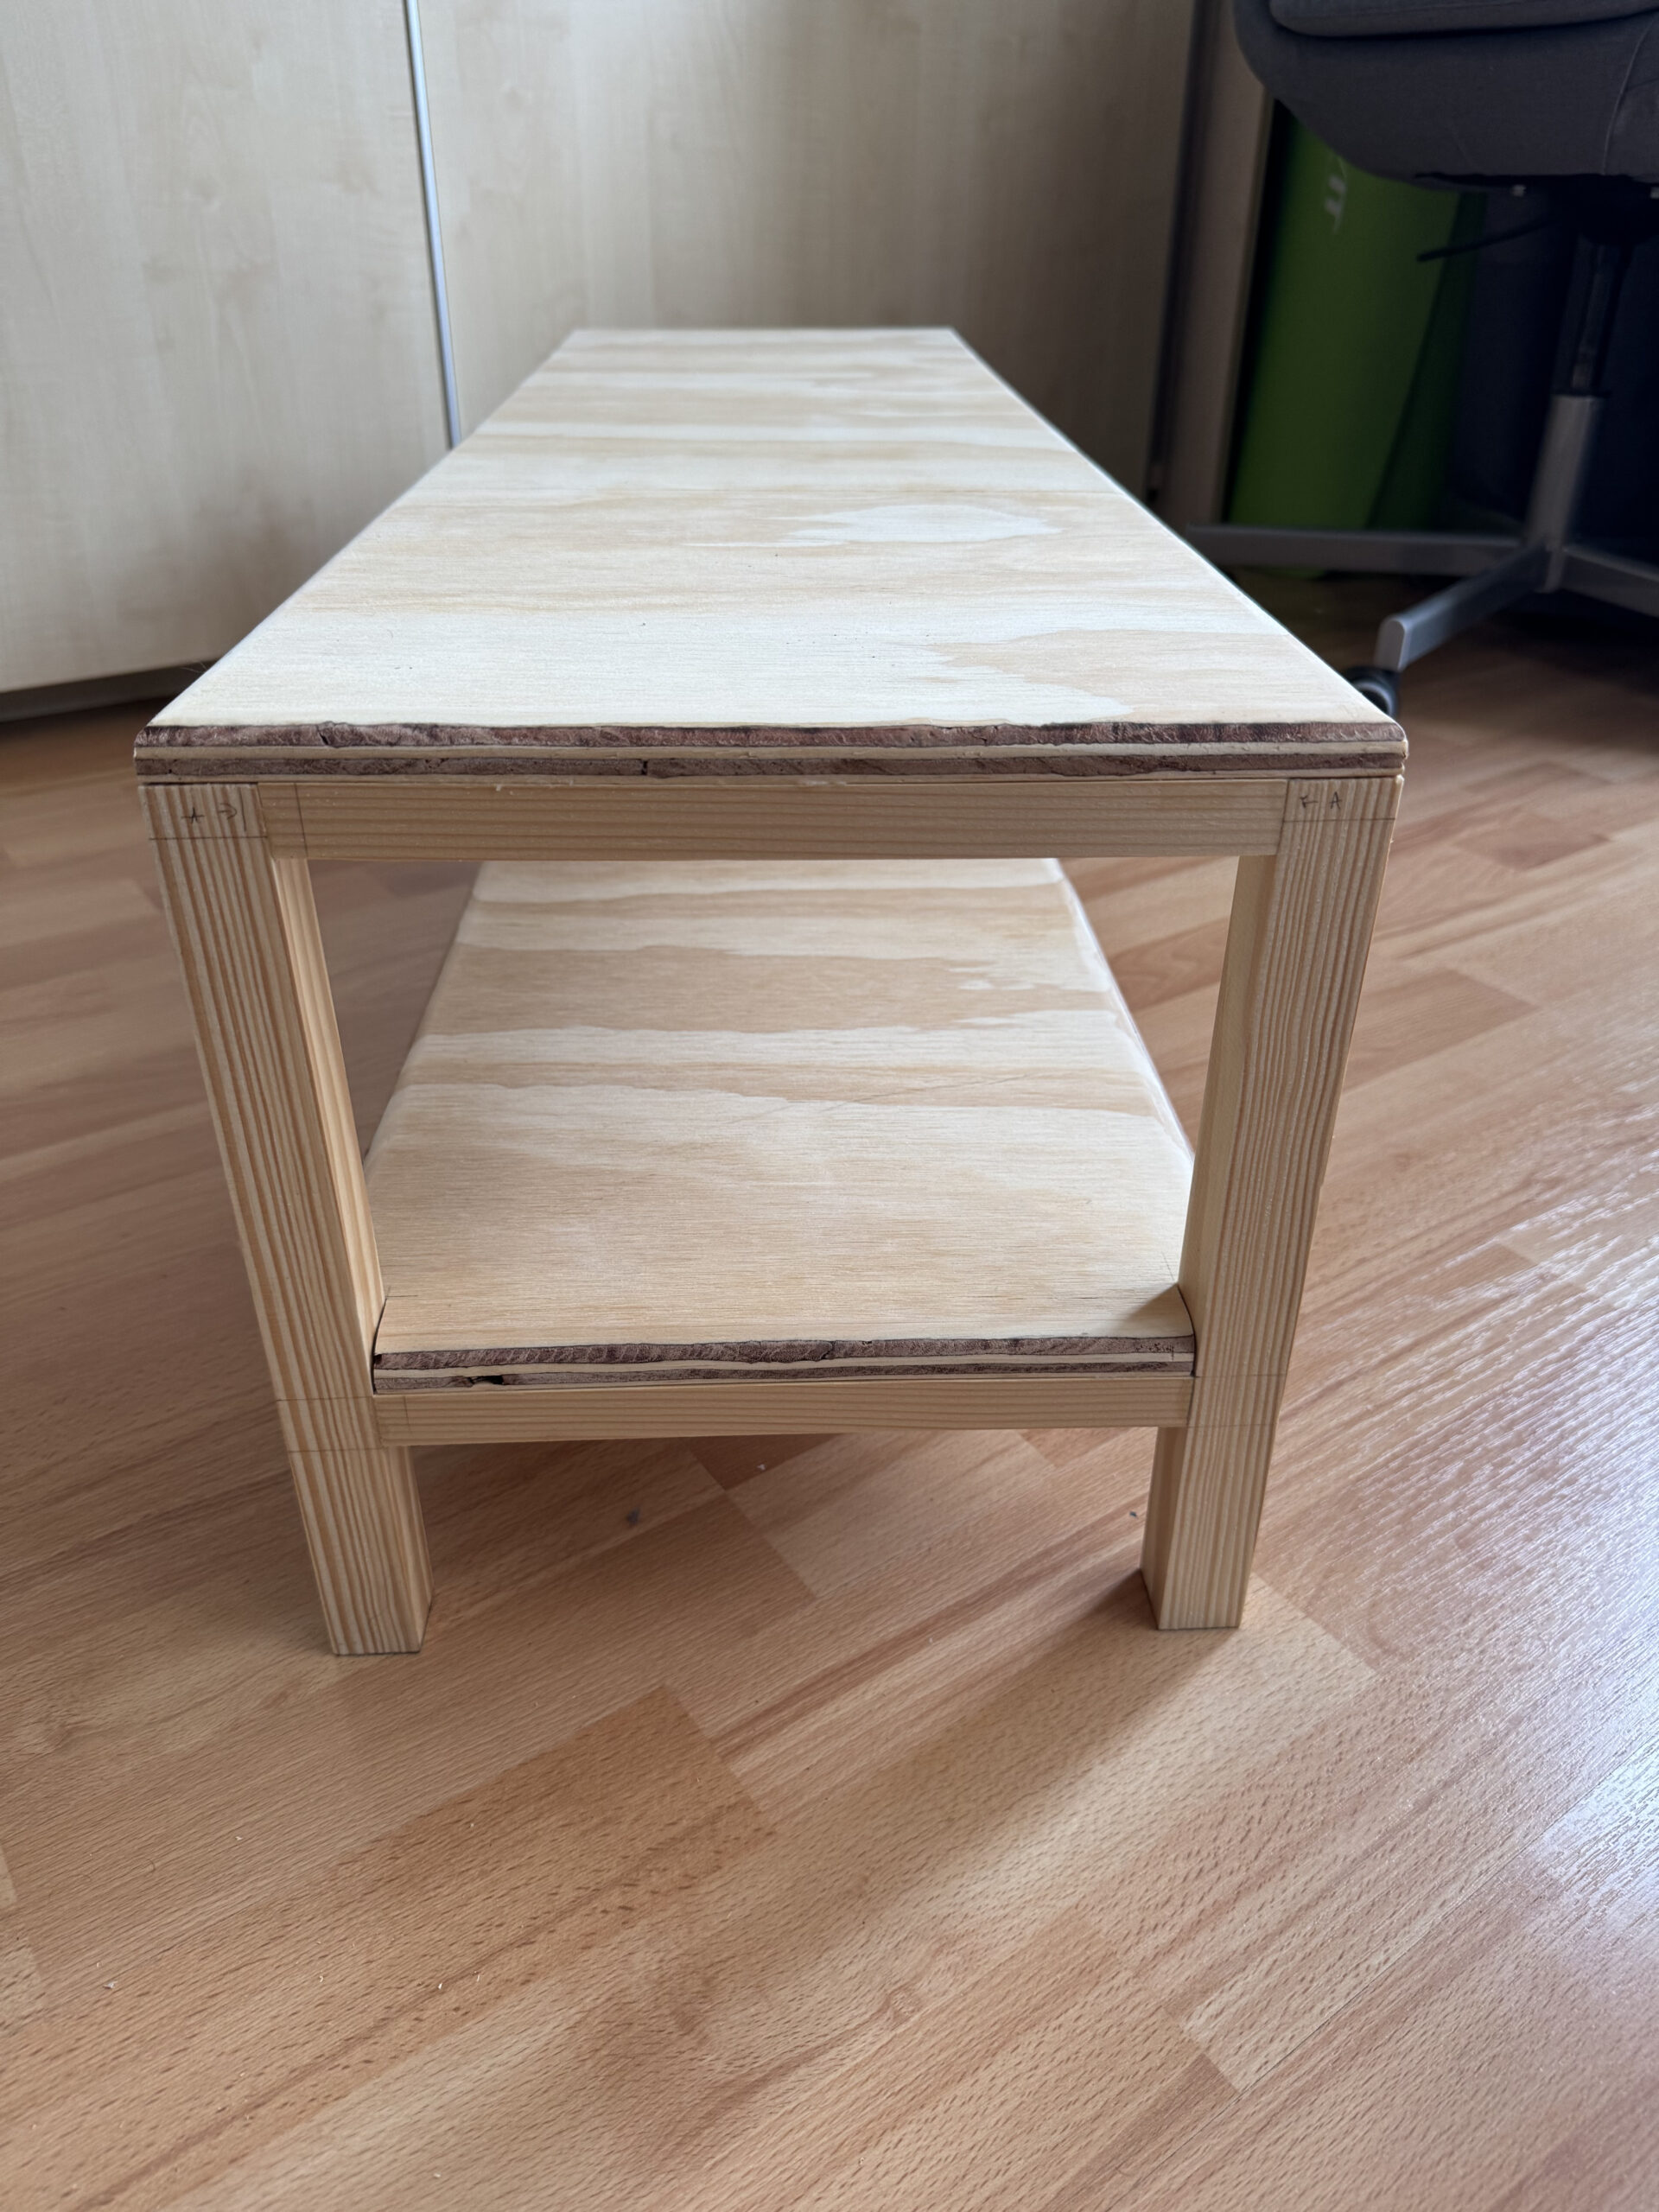
Next up was the framing, for which I cut some square stock to the correct dimensions using my Japanese saw and glued it in shape on a flat piece of MDF. I used two different kinds of stock, one square for the posts and one rectangular for the support boards. Unfortunately, I could not find them in the exactly right dimensions, and, since my apartment is not equipped with a table saw, there is a little bit of an overhang on the boards. I hid this overhang on the inside of the shelf.
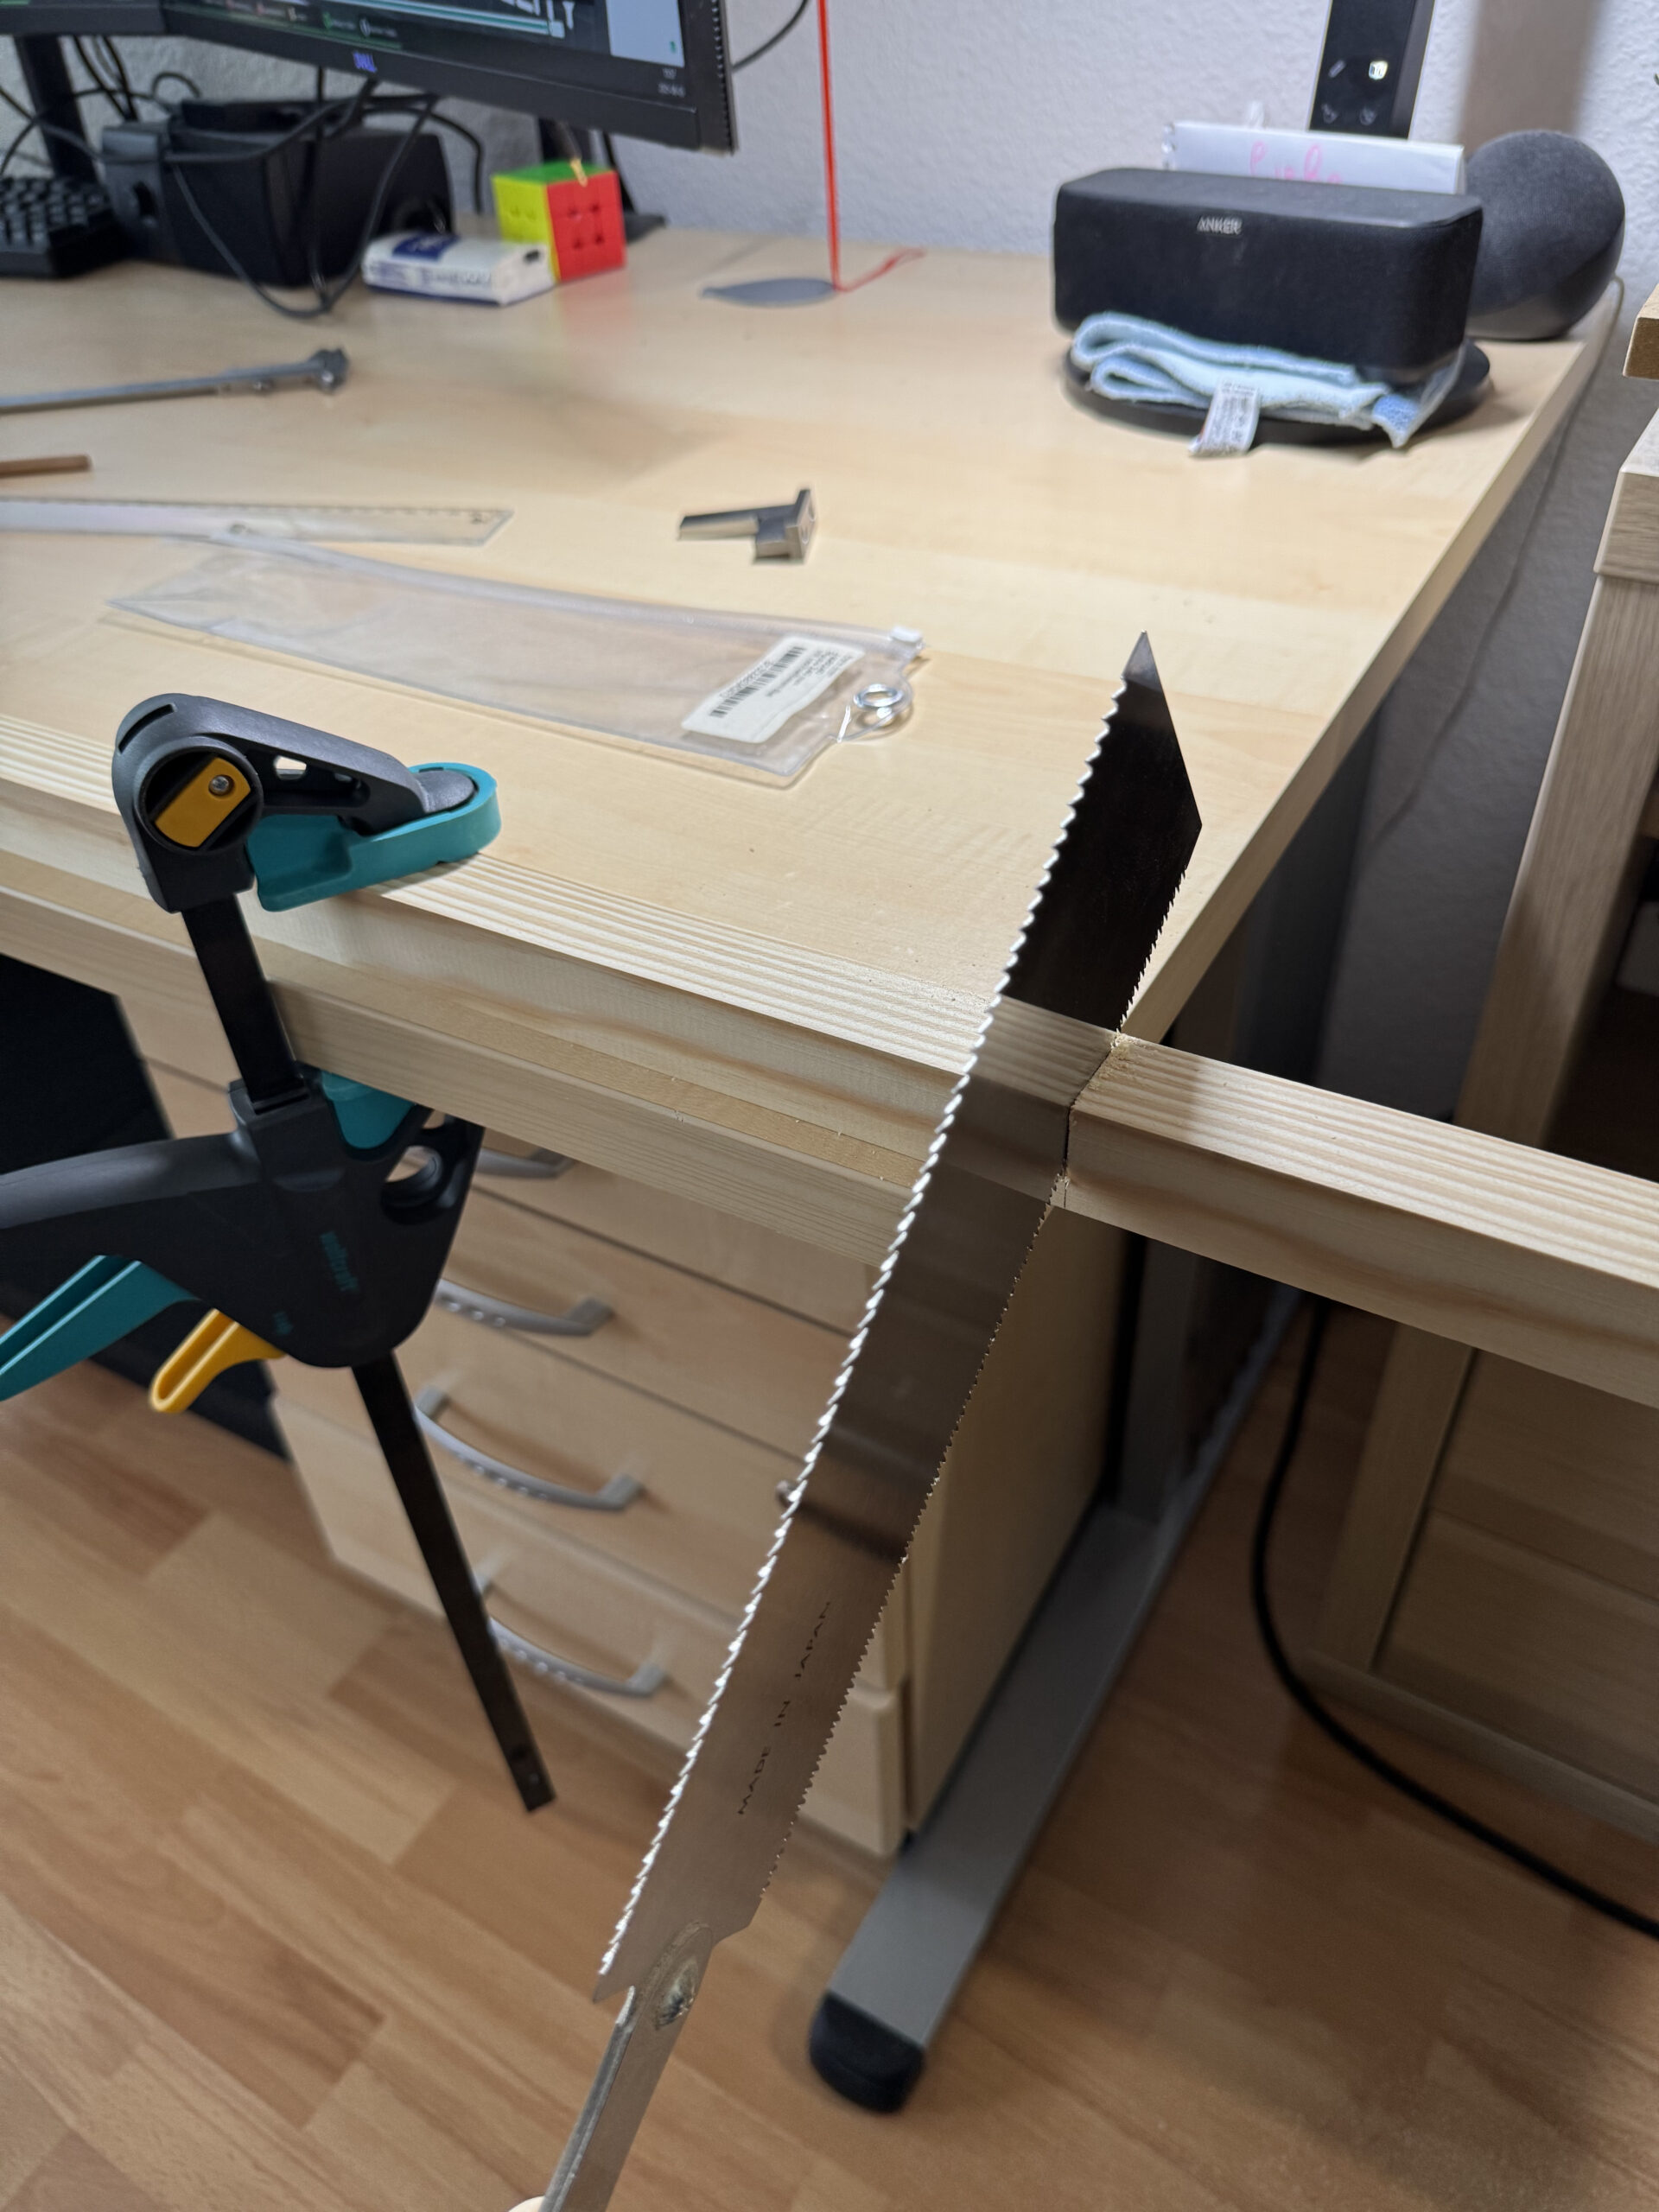
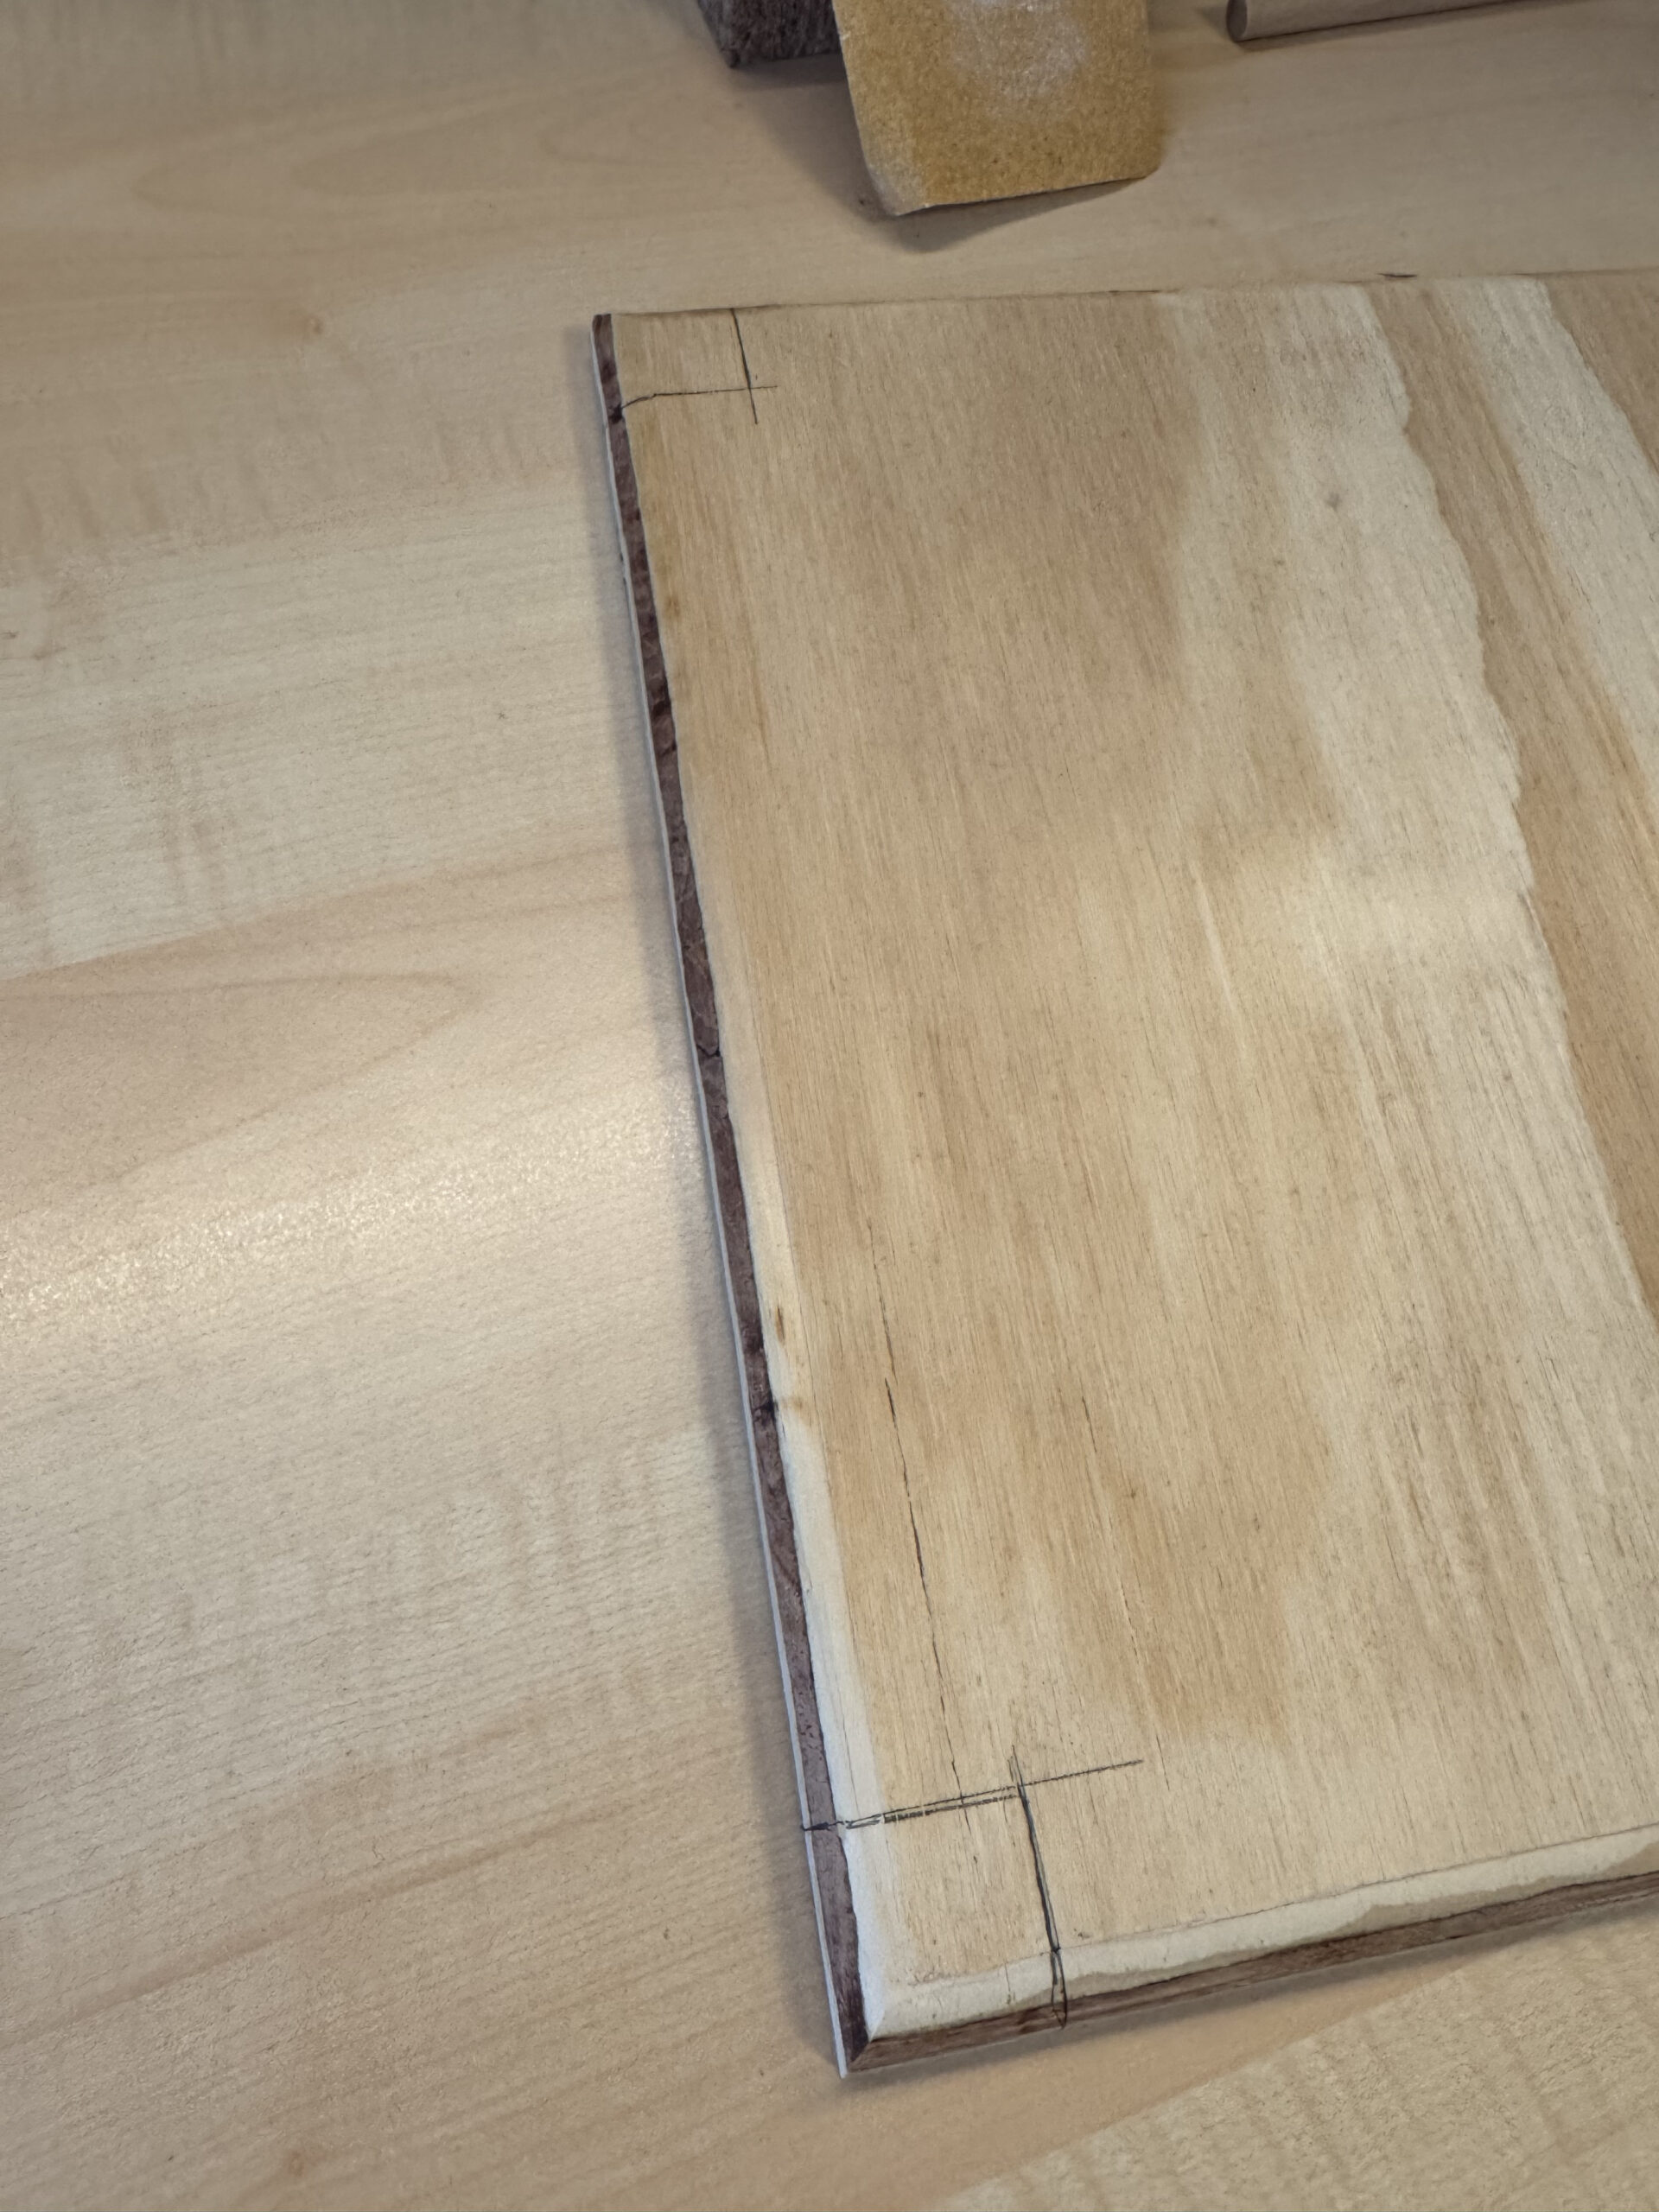
I used the framing to mark the corners of the middle shelf, which I also cut out with the Japanese saw.

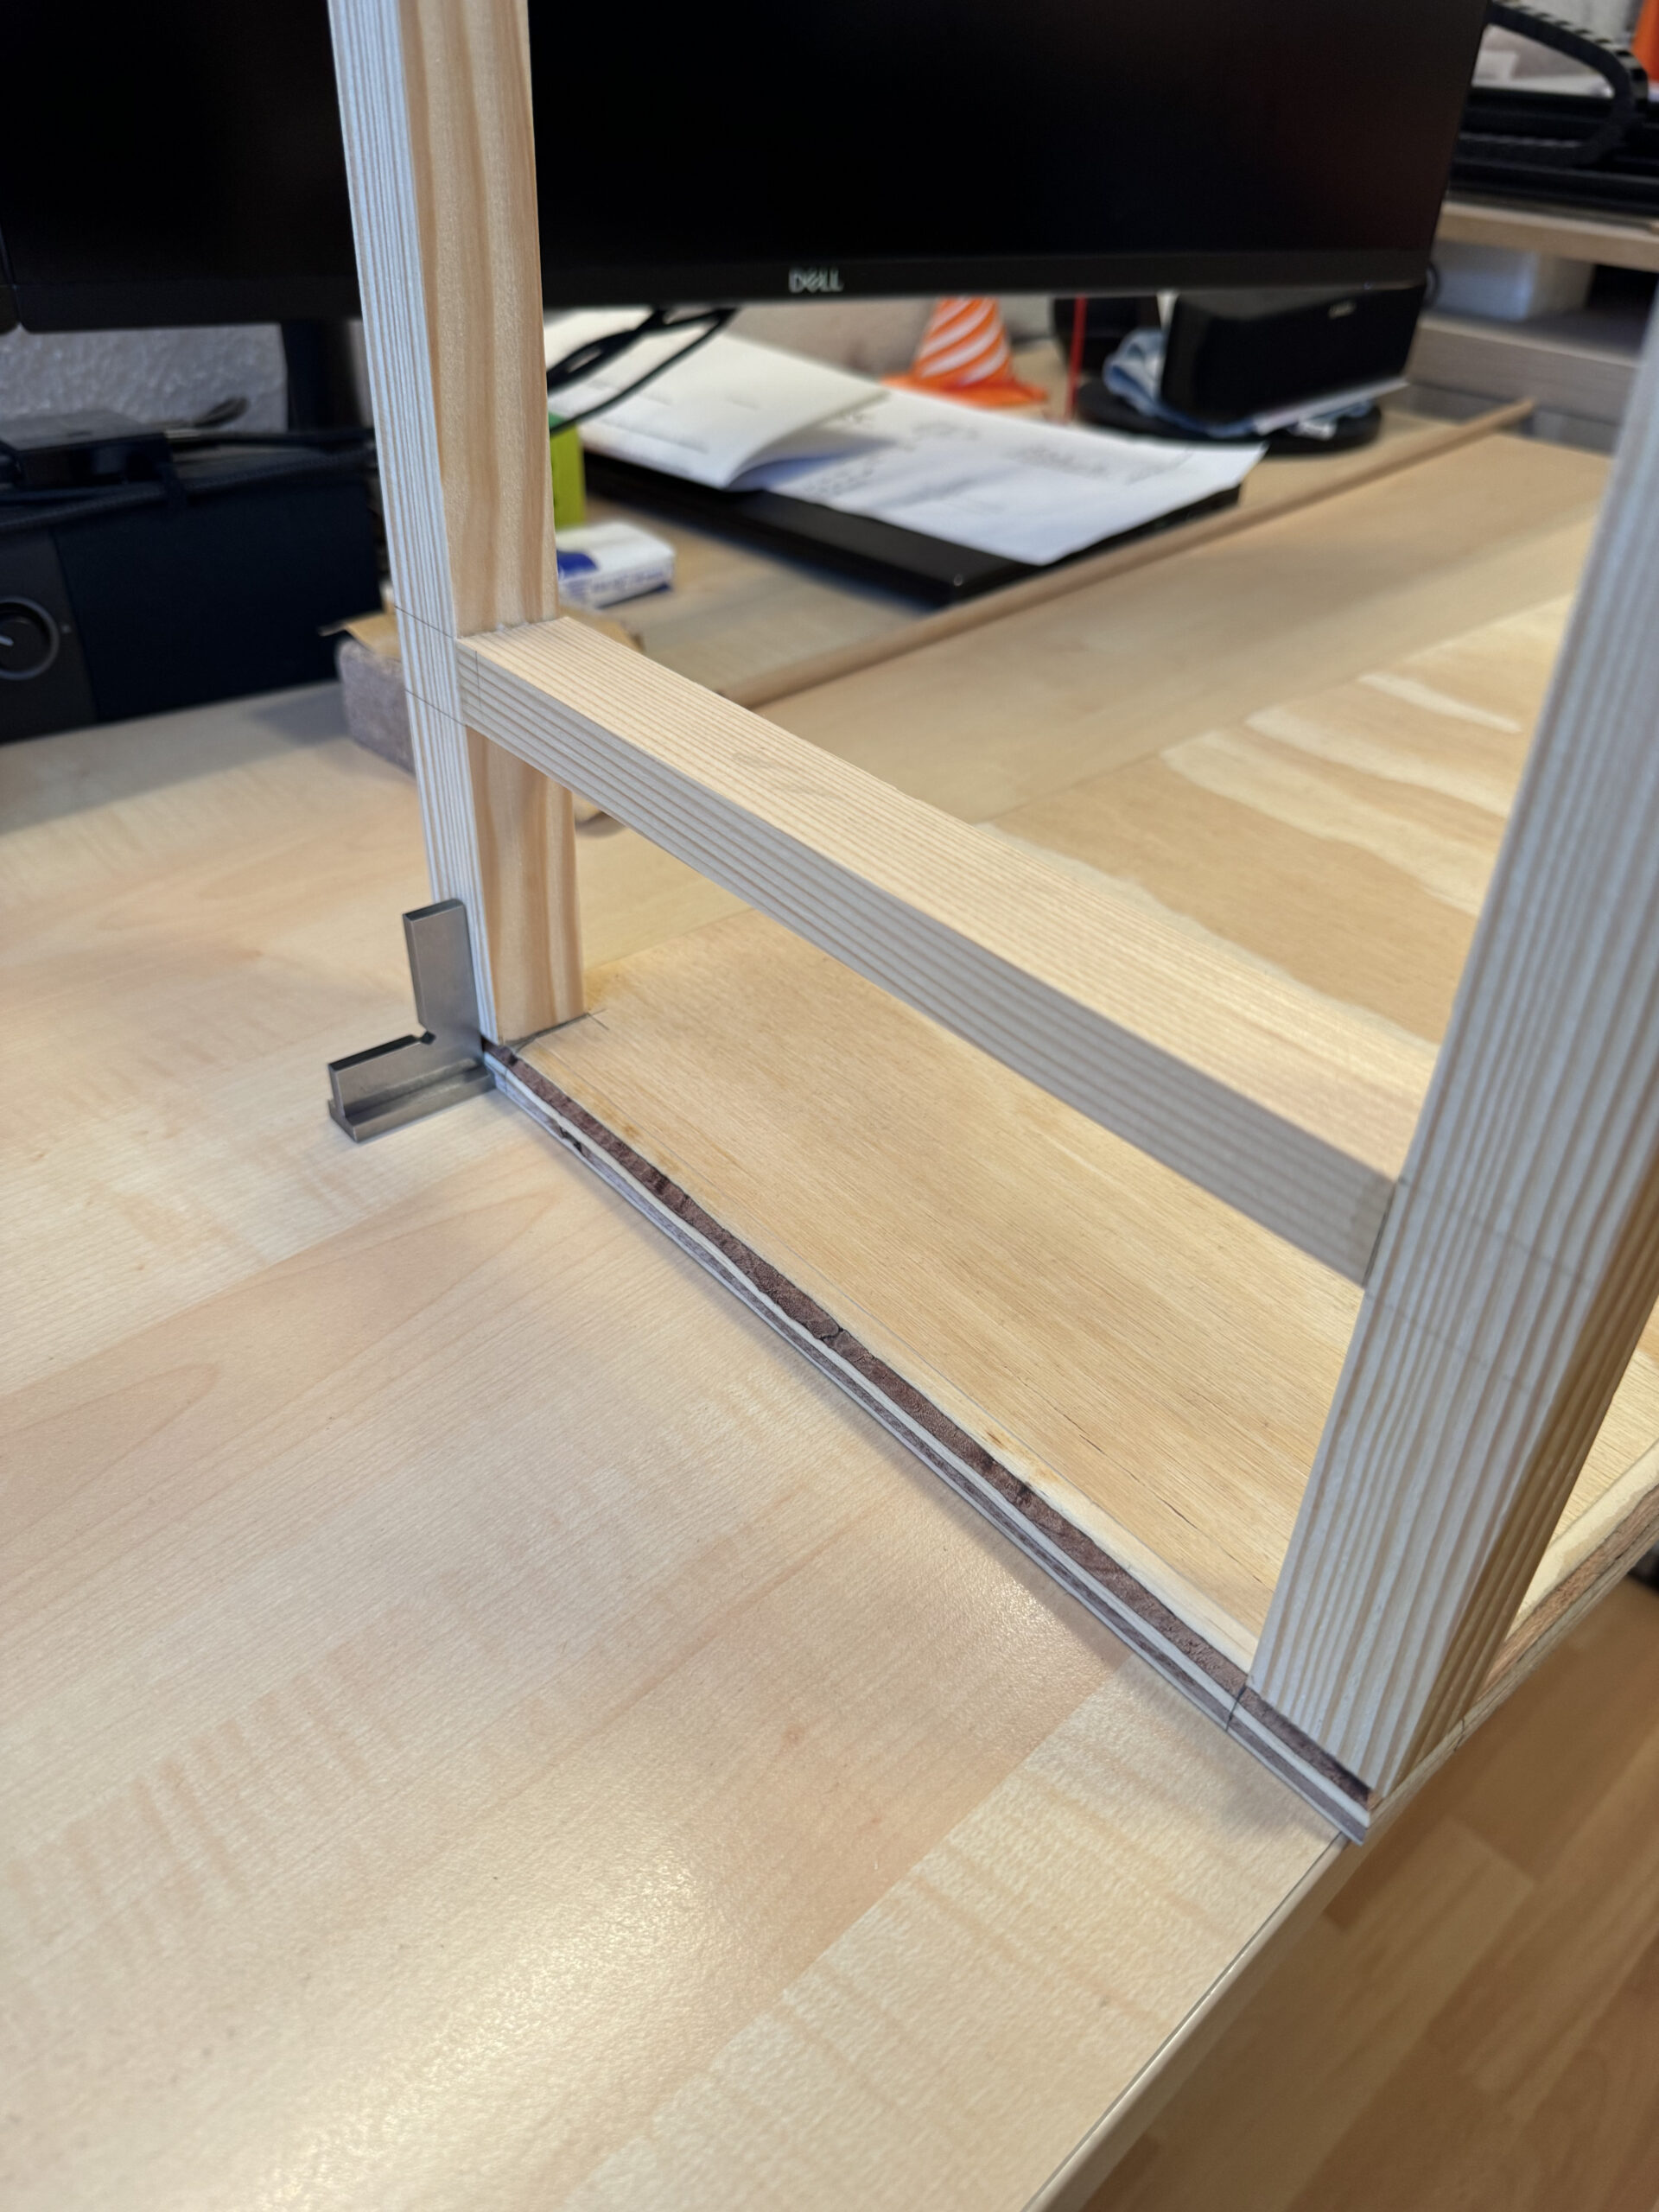
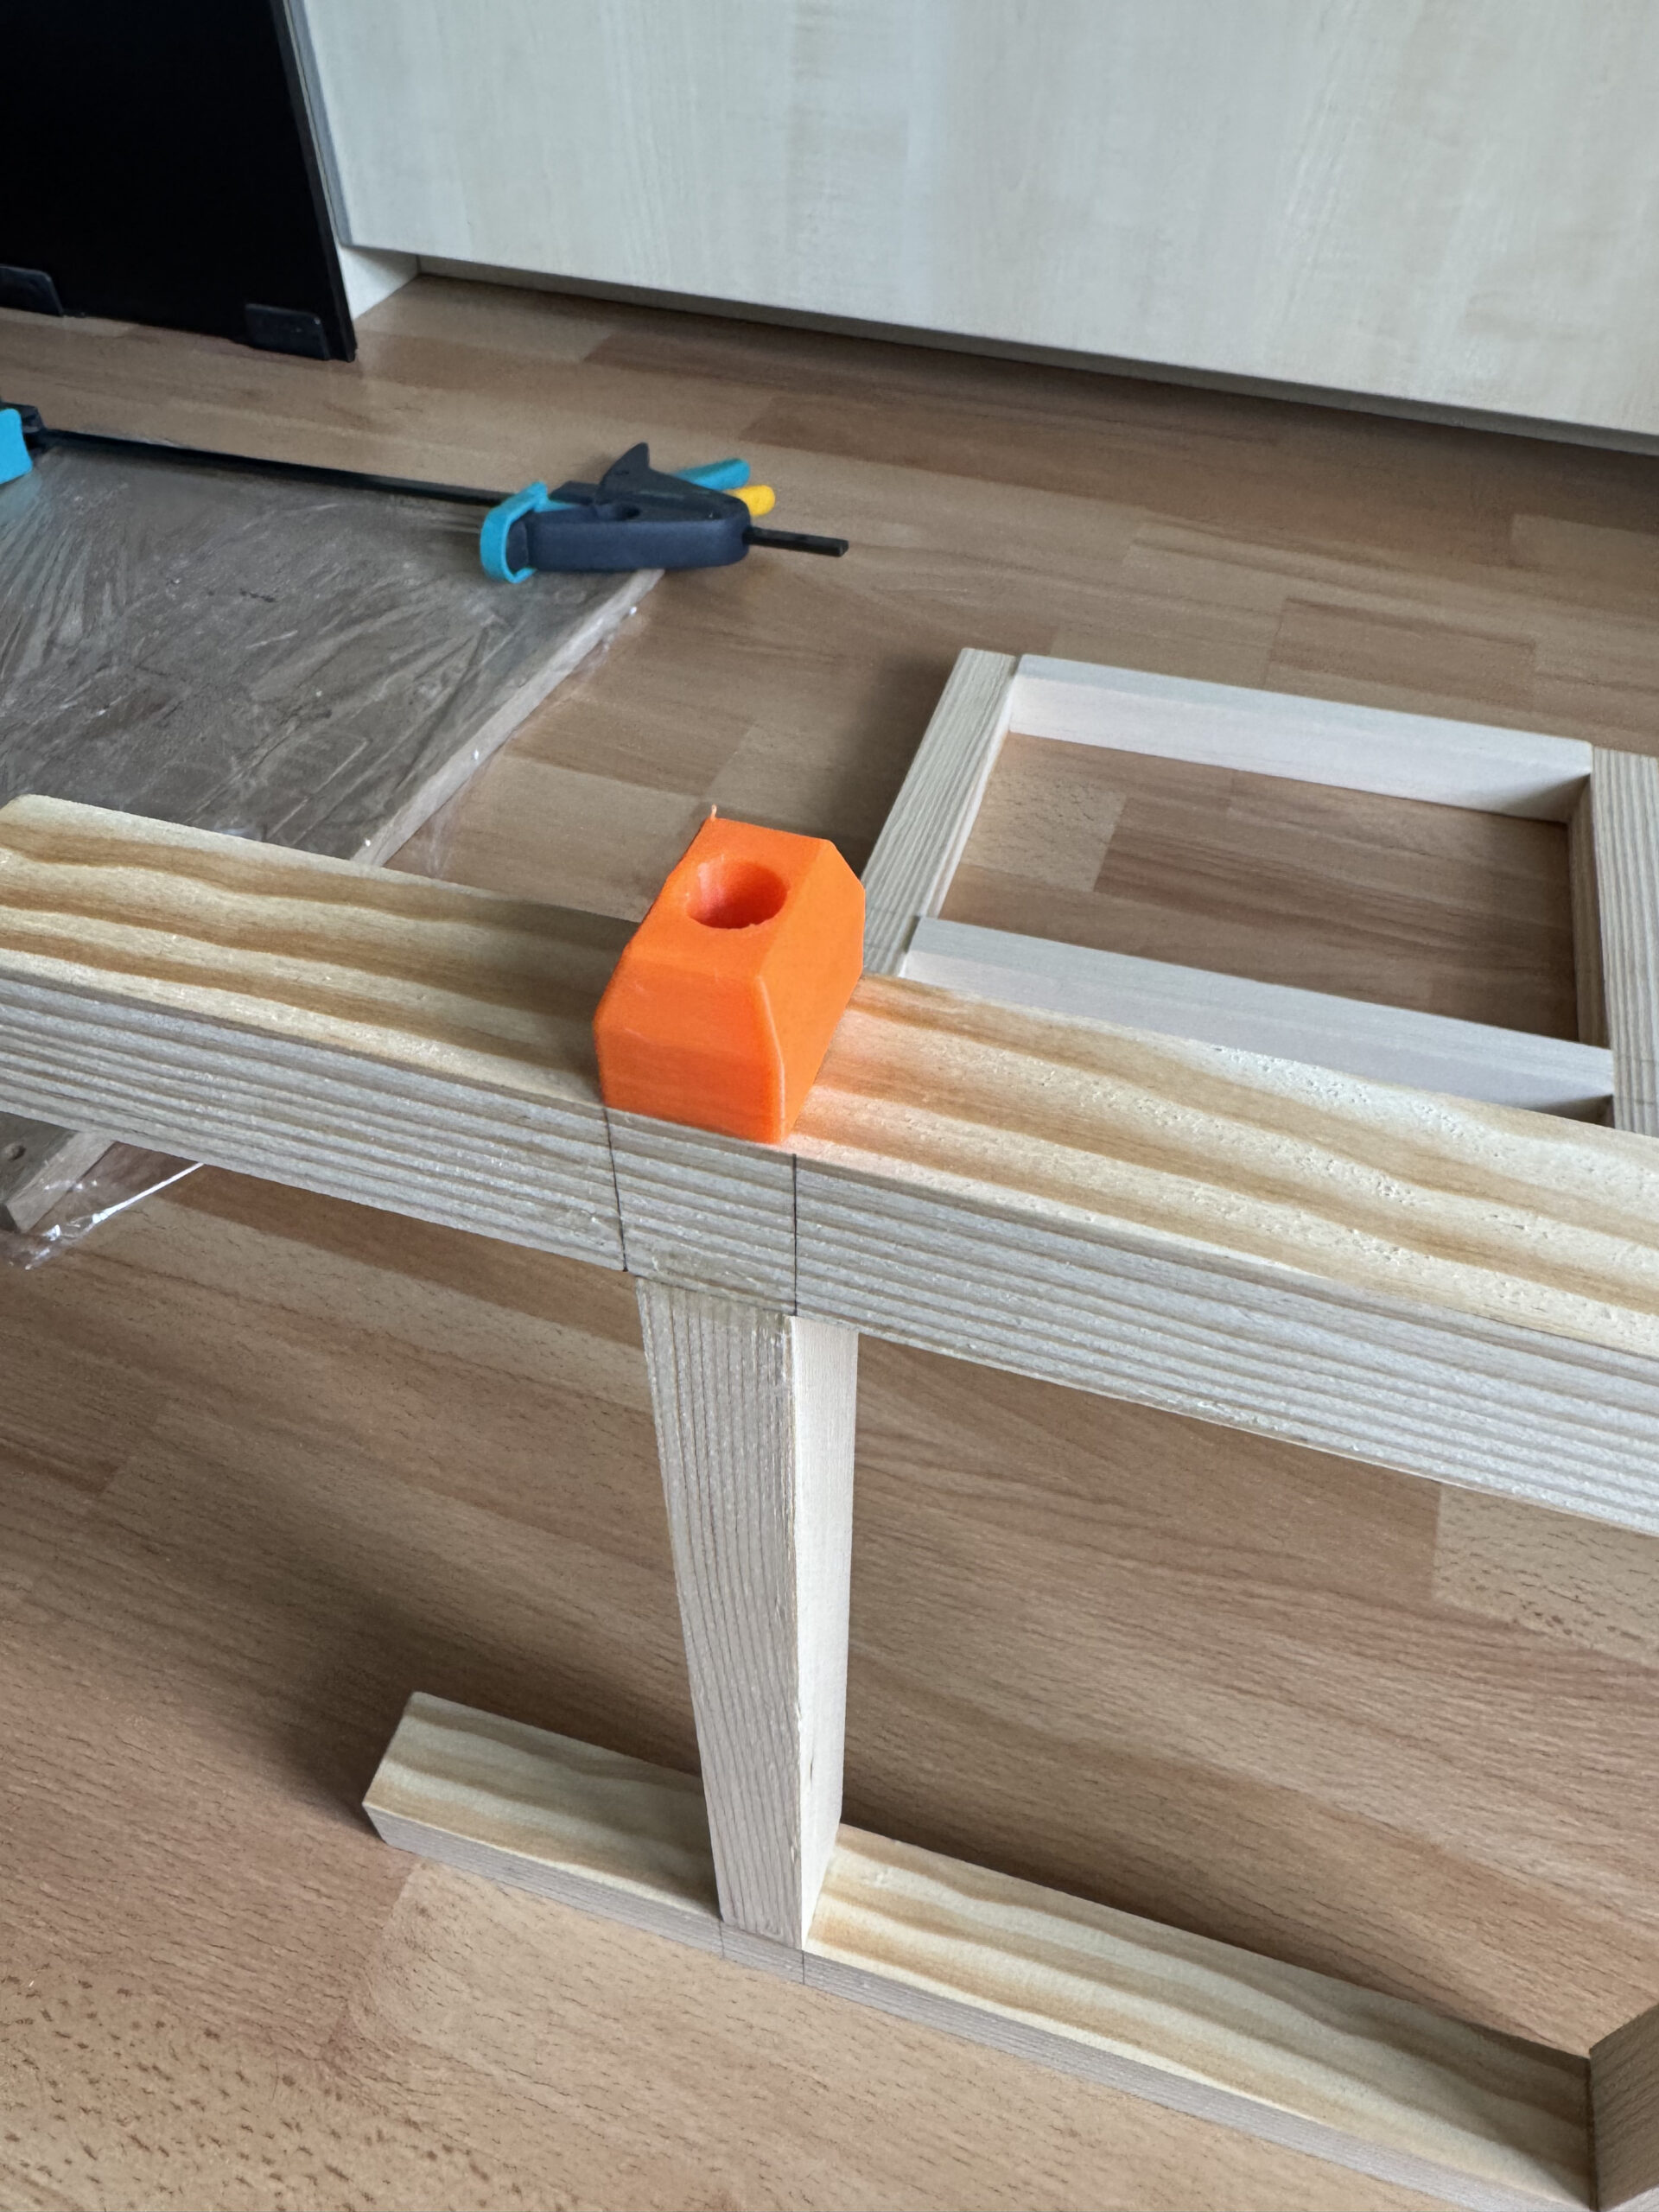
For some additional stability, I wanted to add dowels to the glue joints in the framing. For this I used a 3D-printed helper jig to drill centered and straight holes.
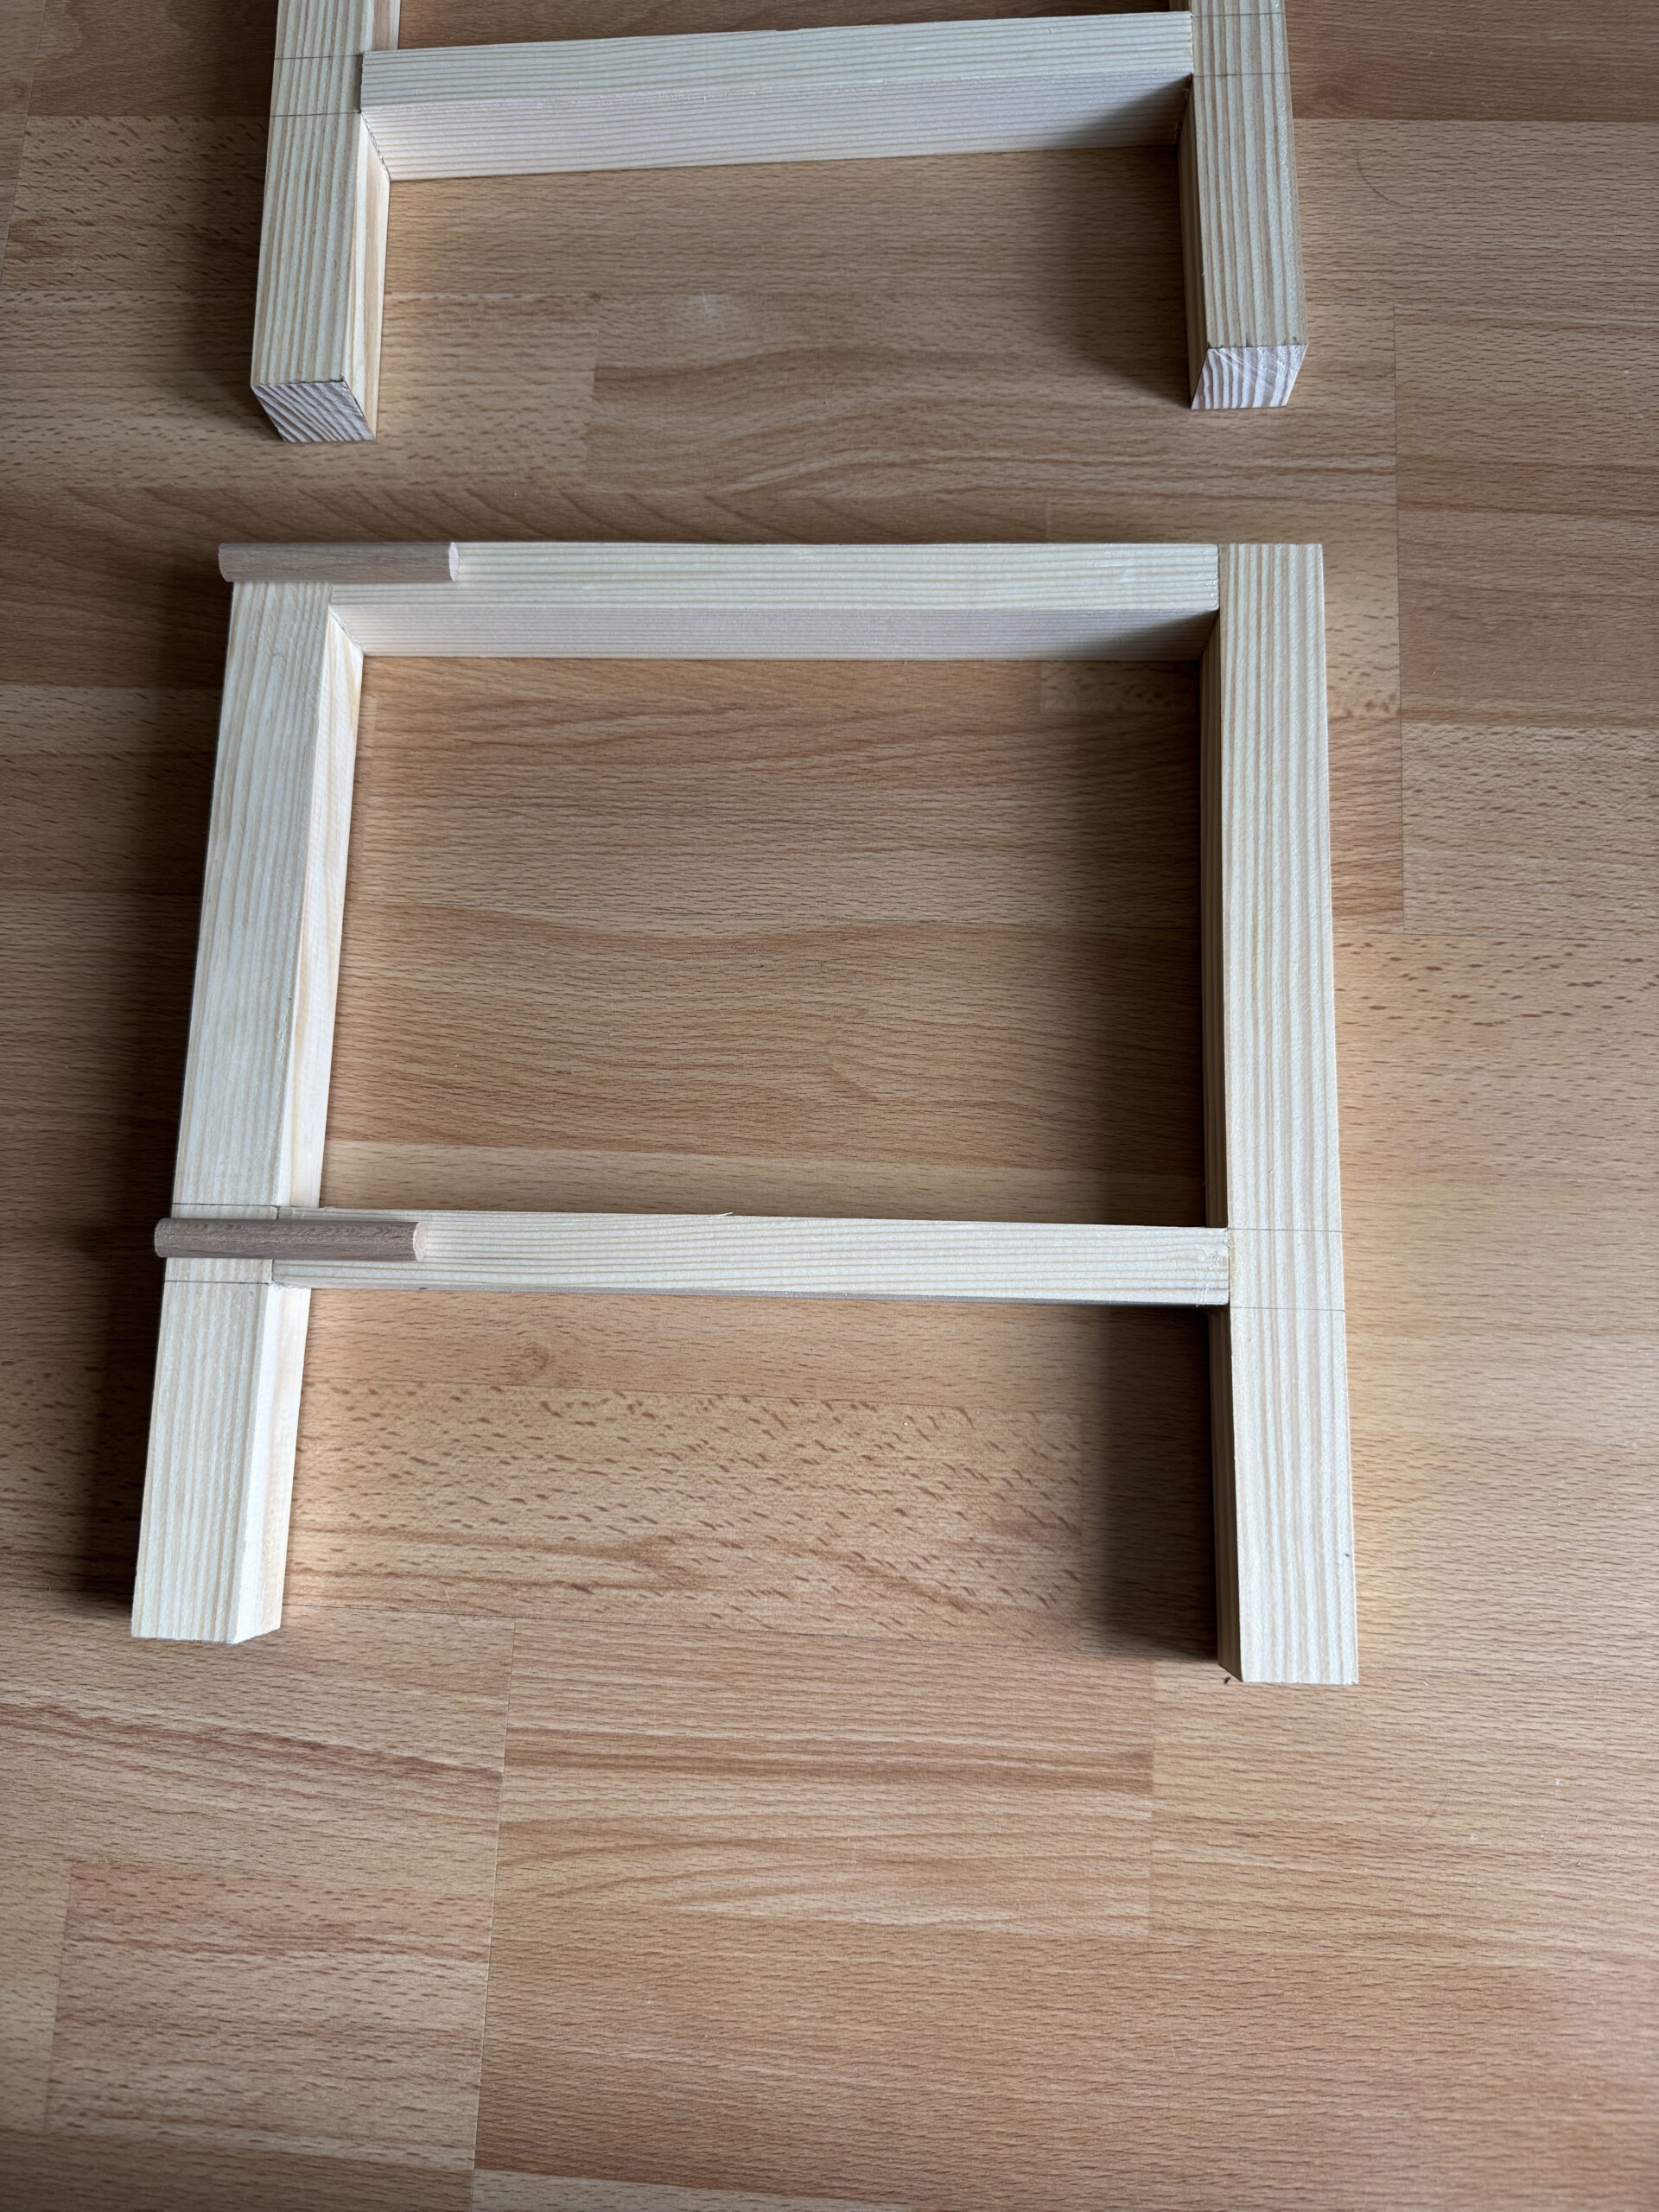

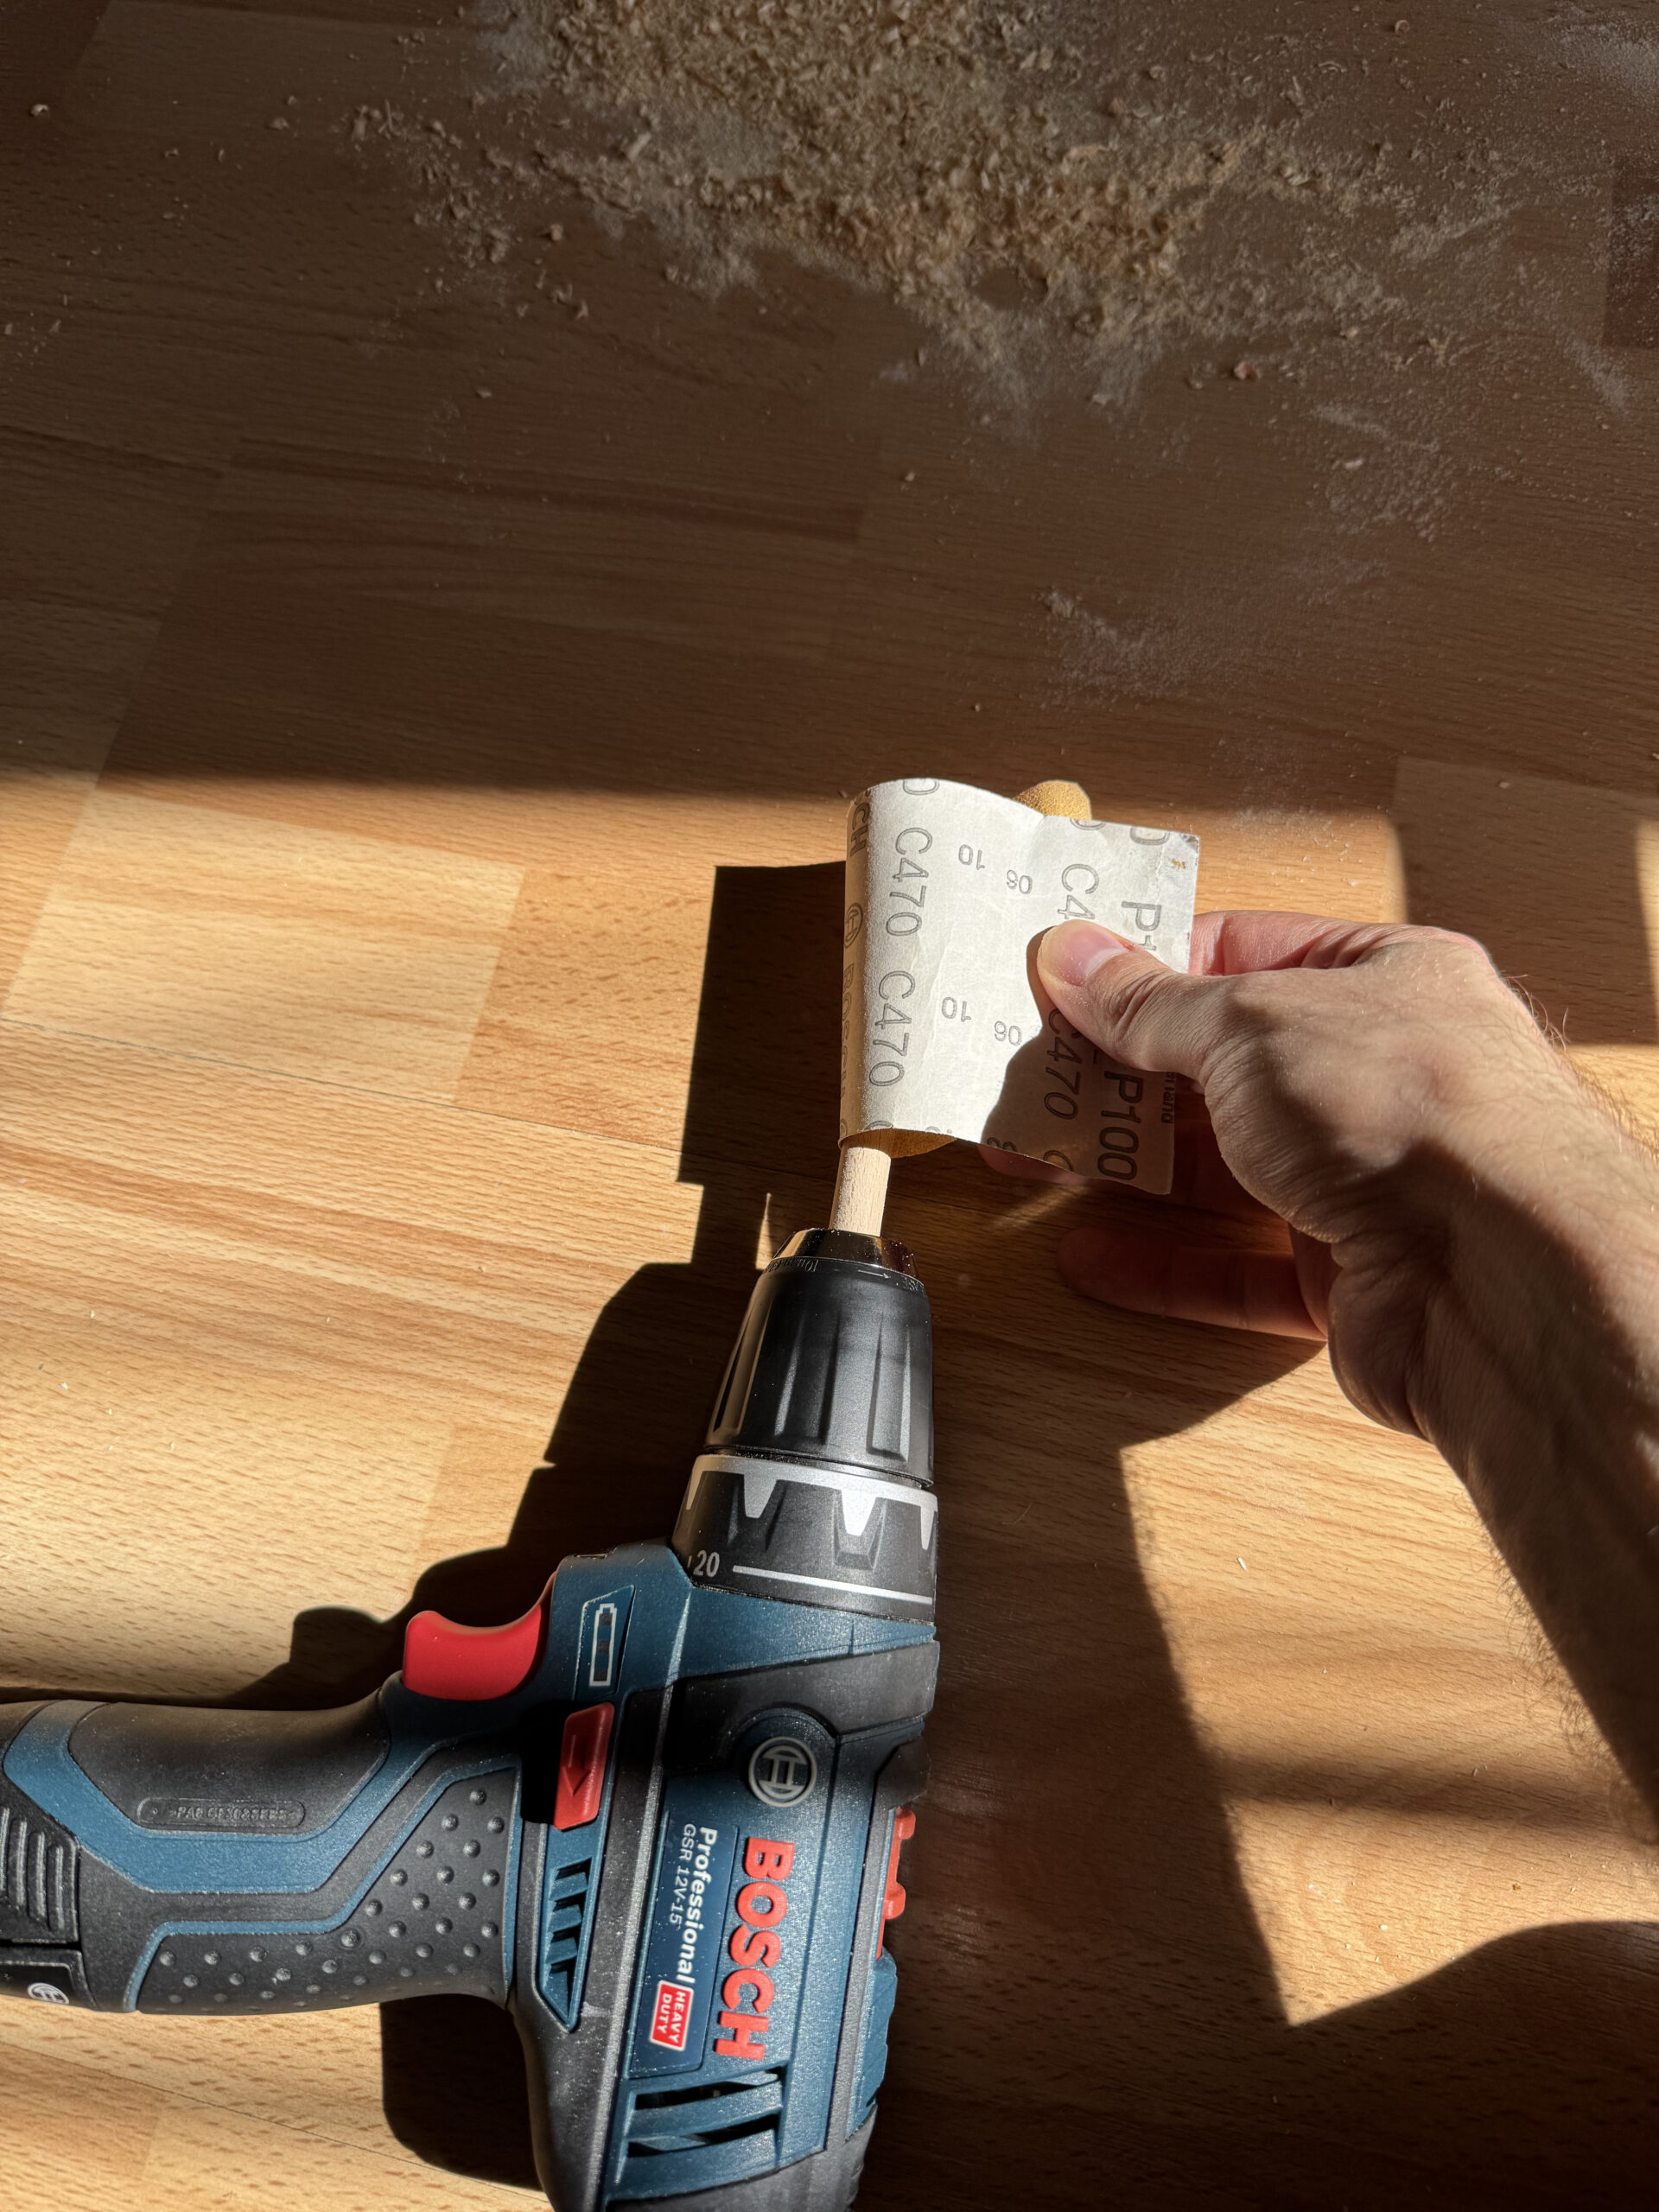
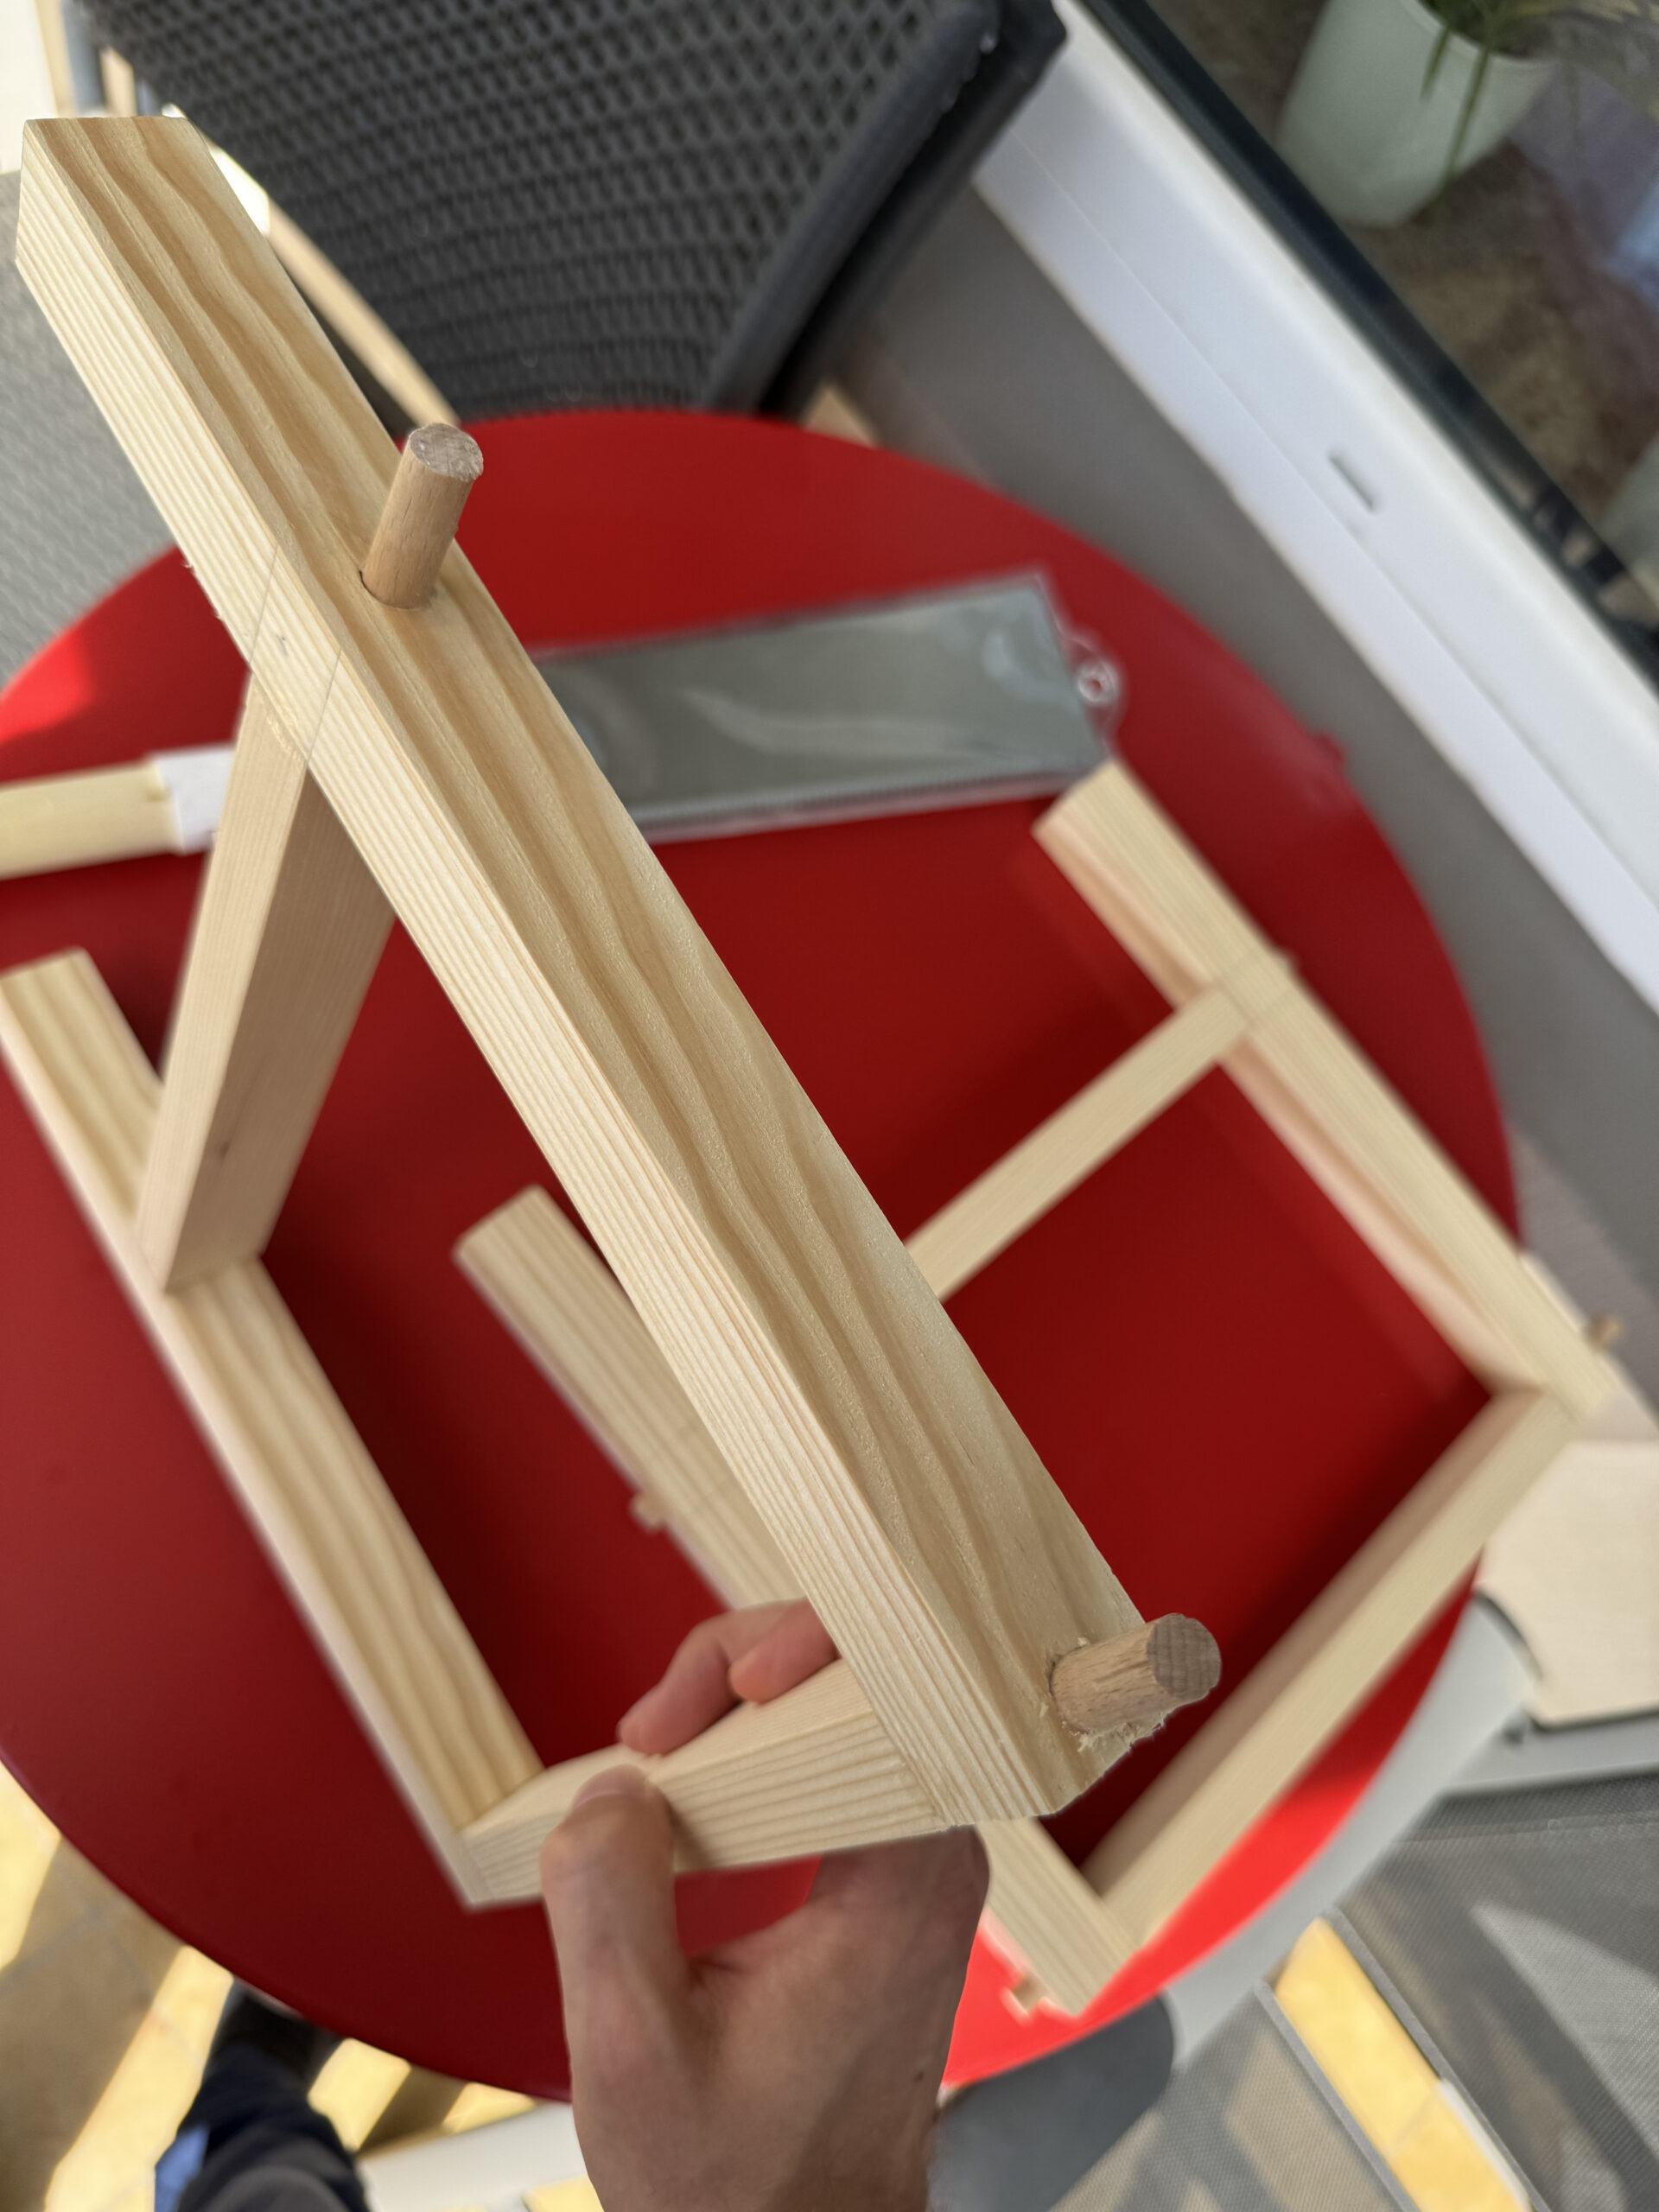
Since some of the dowels were a bit too large I put them in the drill to sand them. After gluing the dowels in place, I sawed off the extra bits.
Finally, it was time for final assembly and gluing!
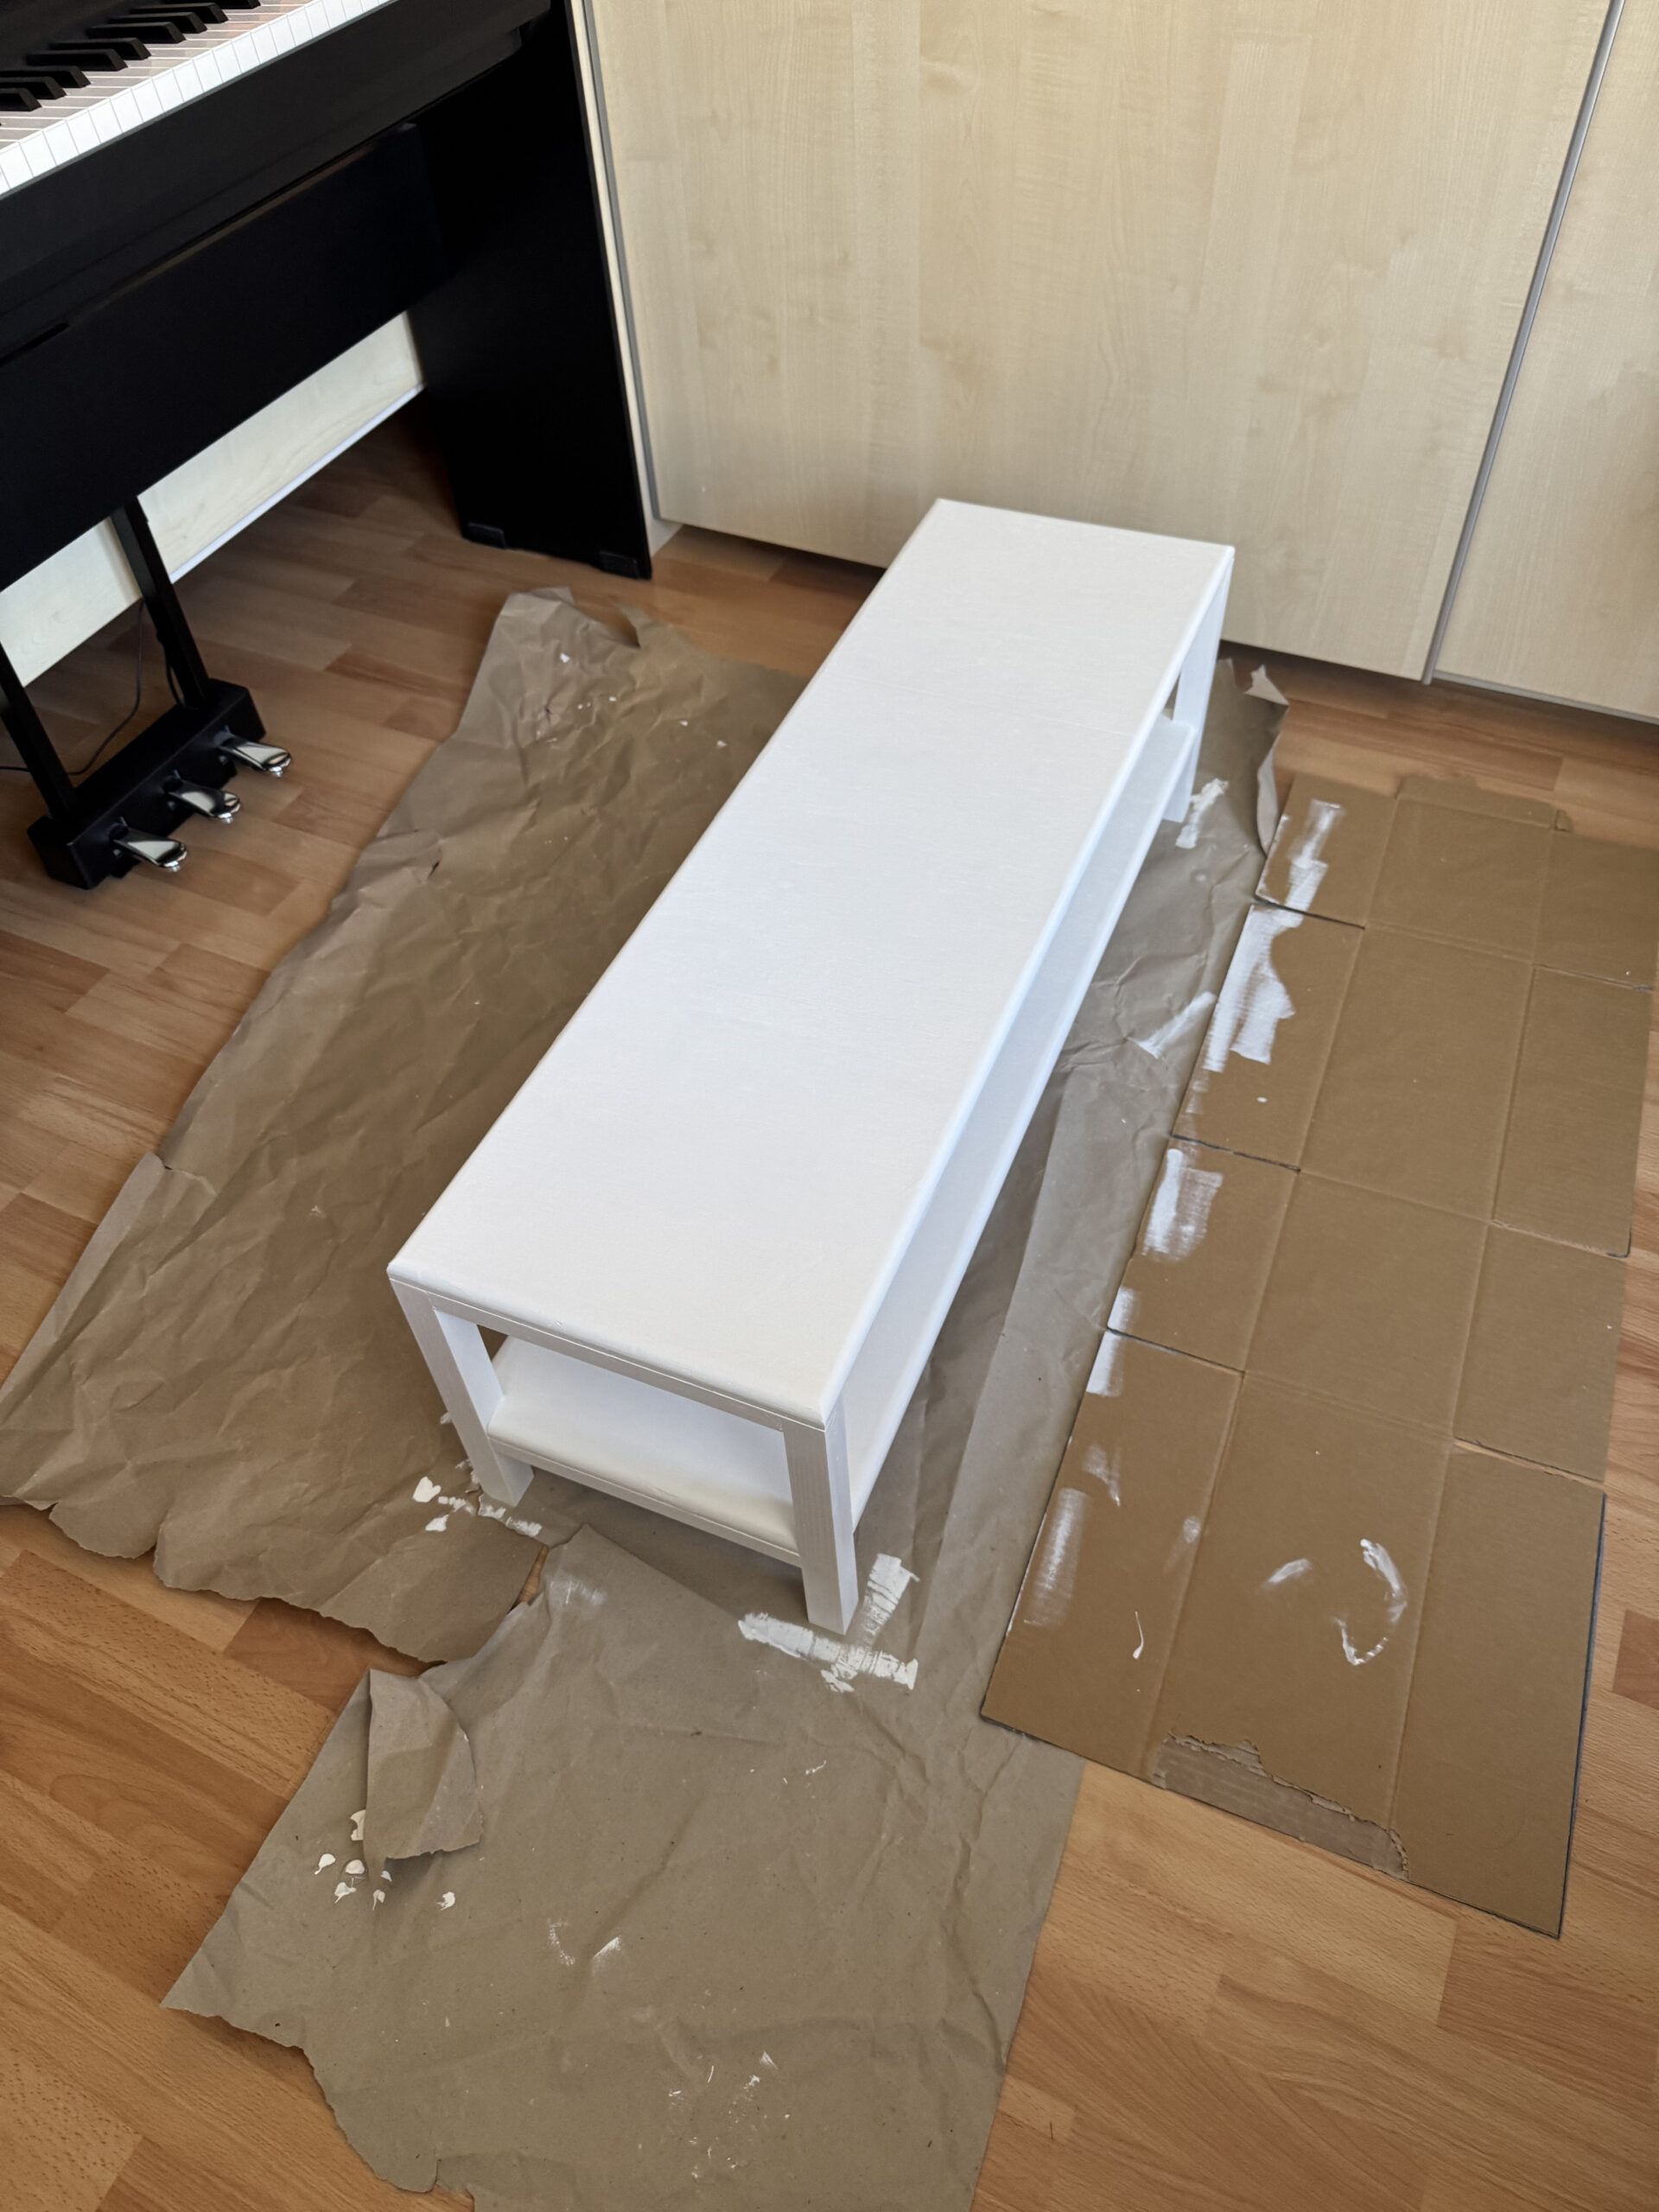
To match the shoe rack I painted it using a white acrylic varnish.
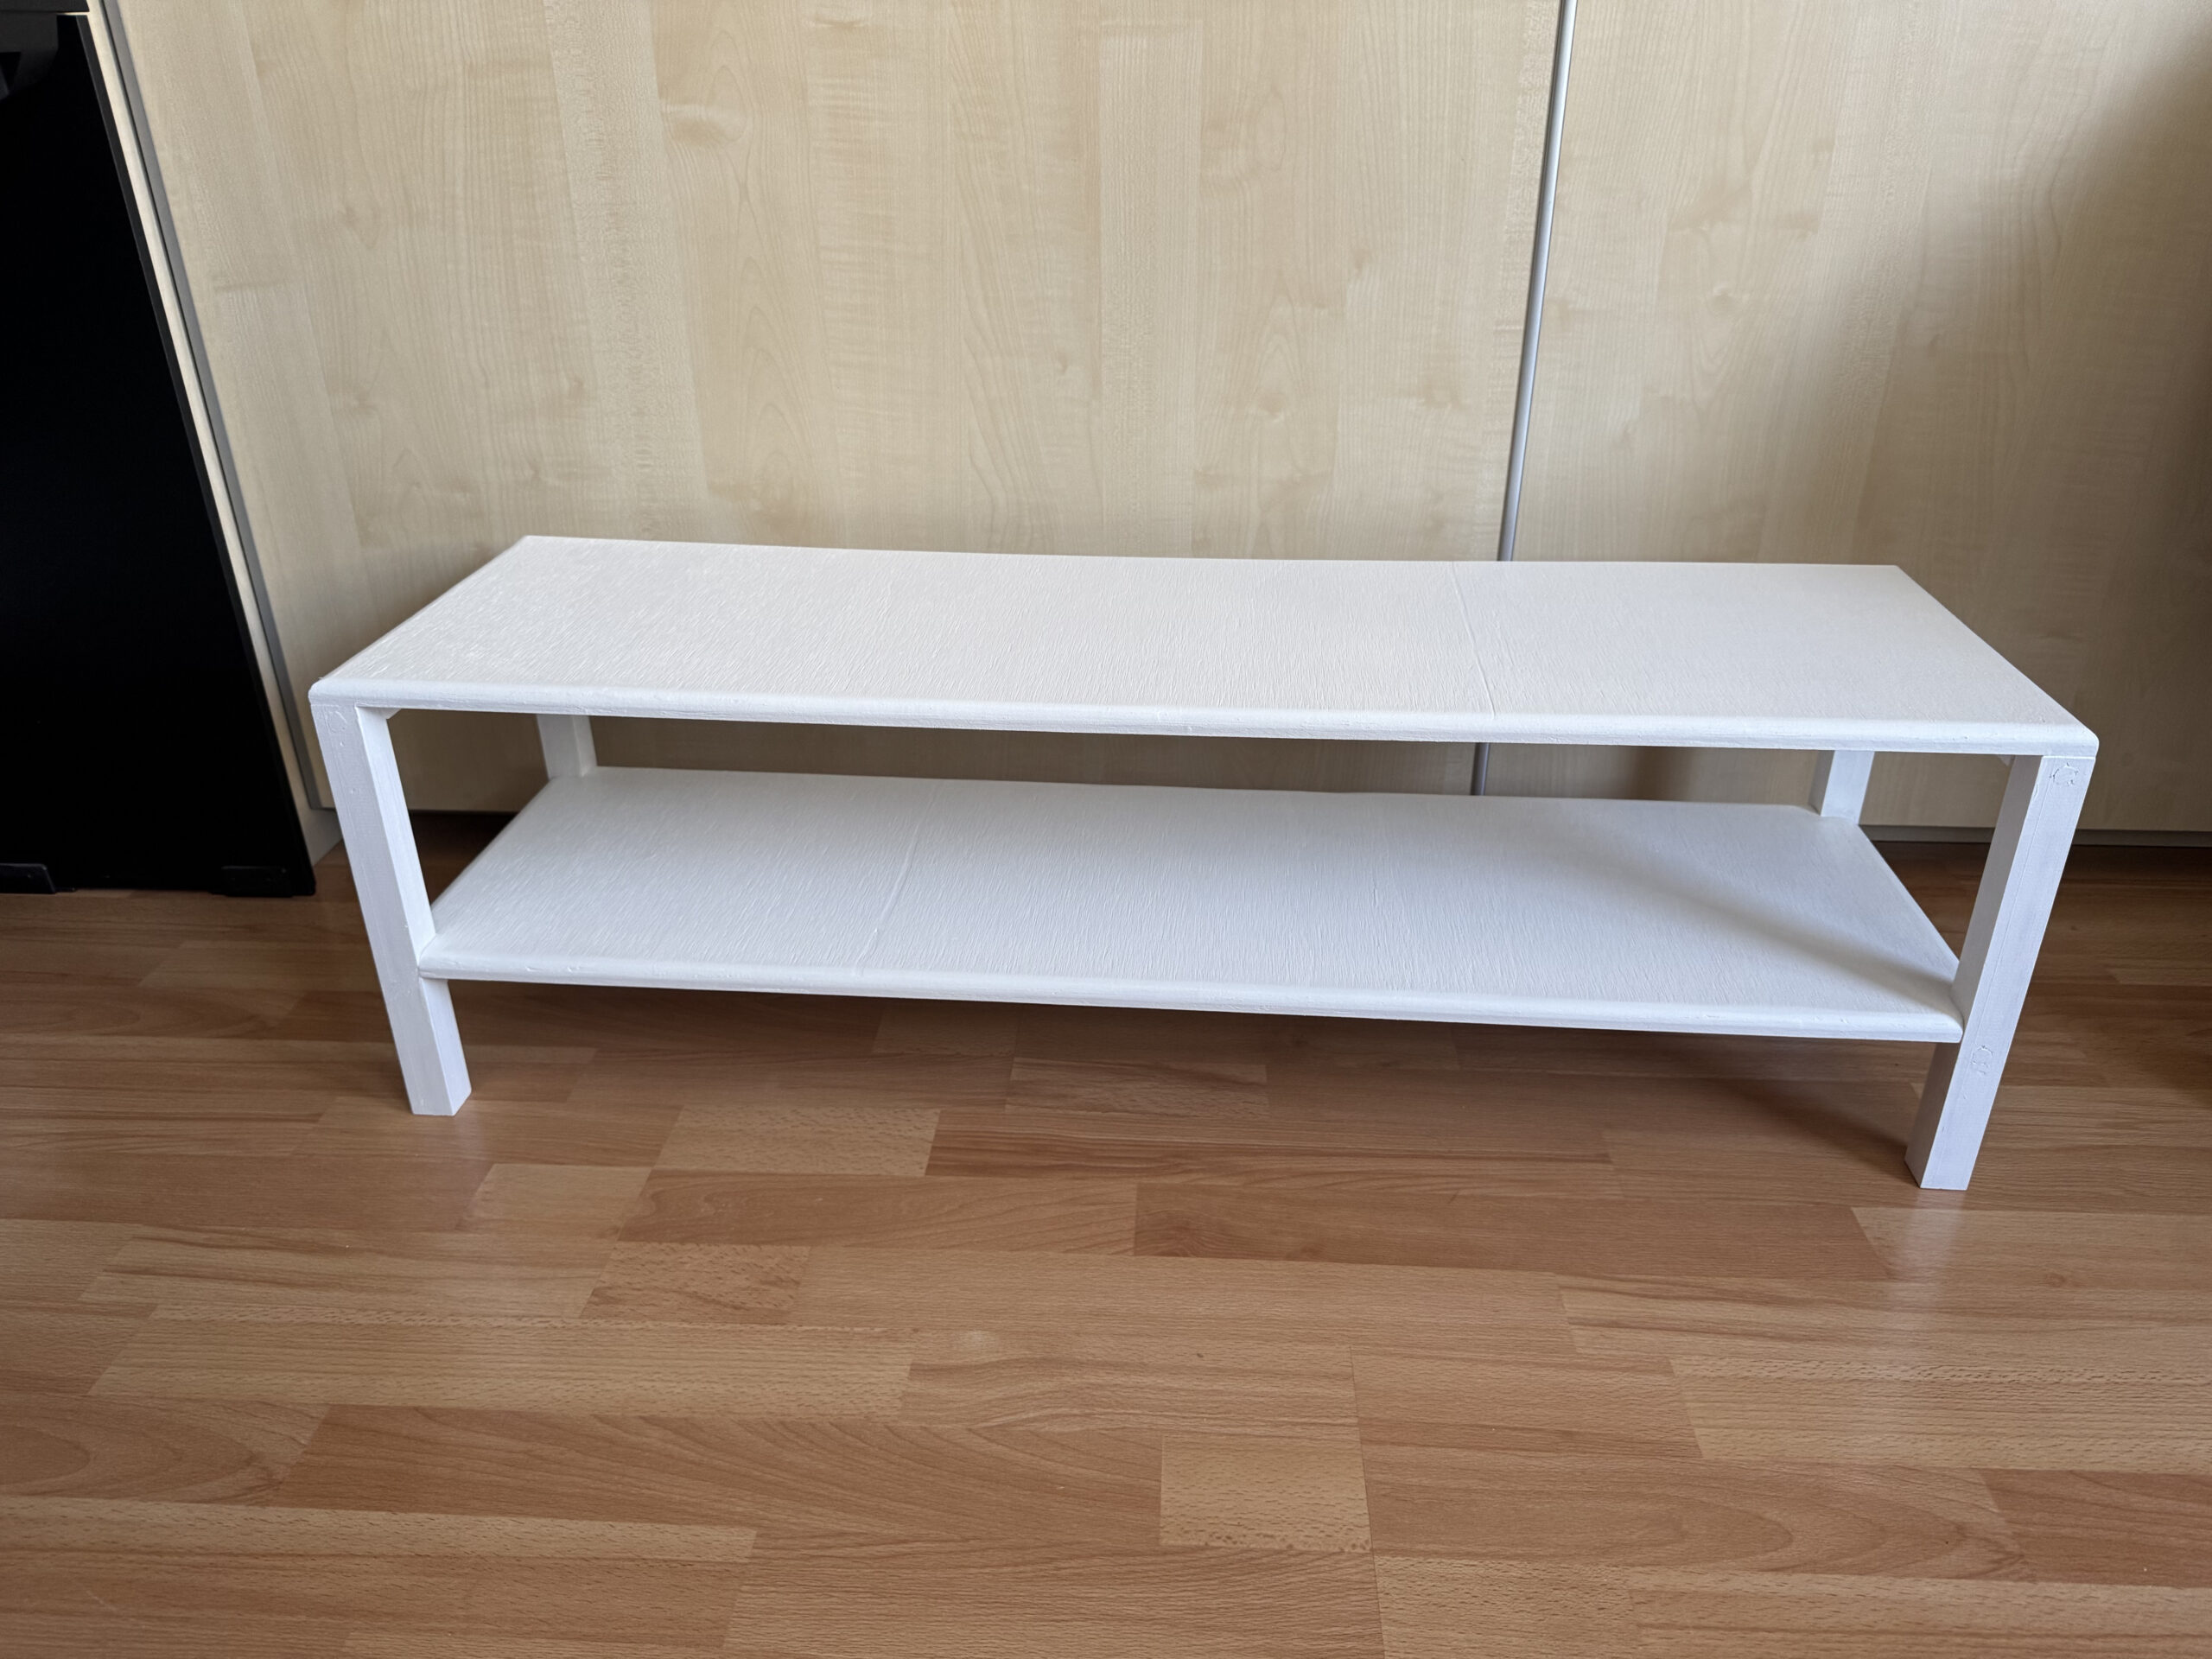
And here is the final, final result:
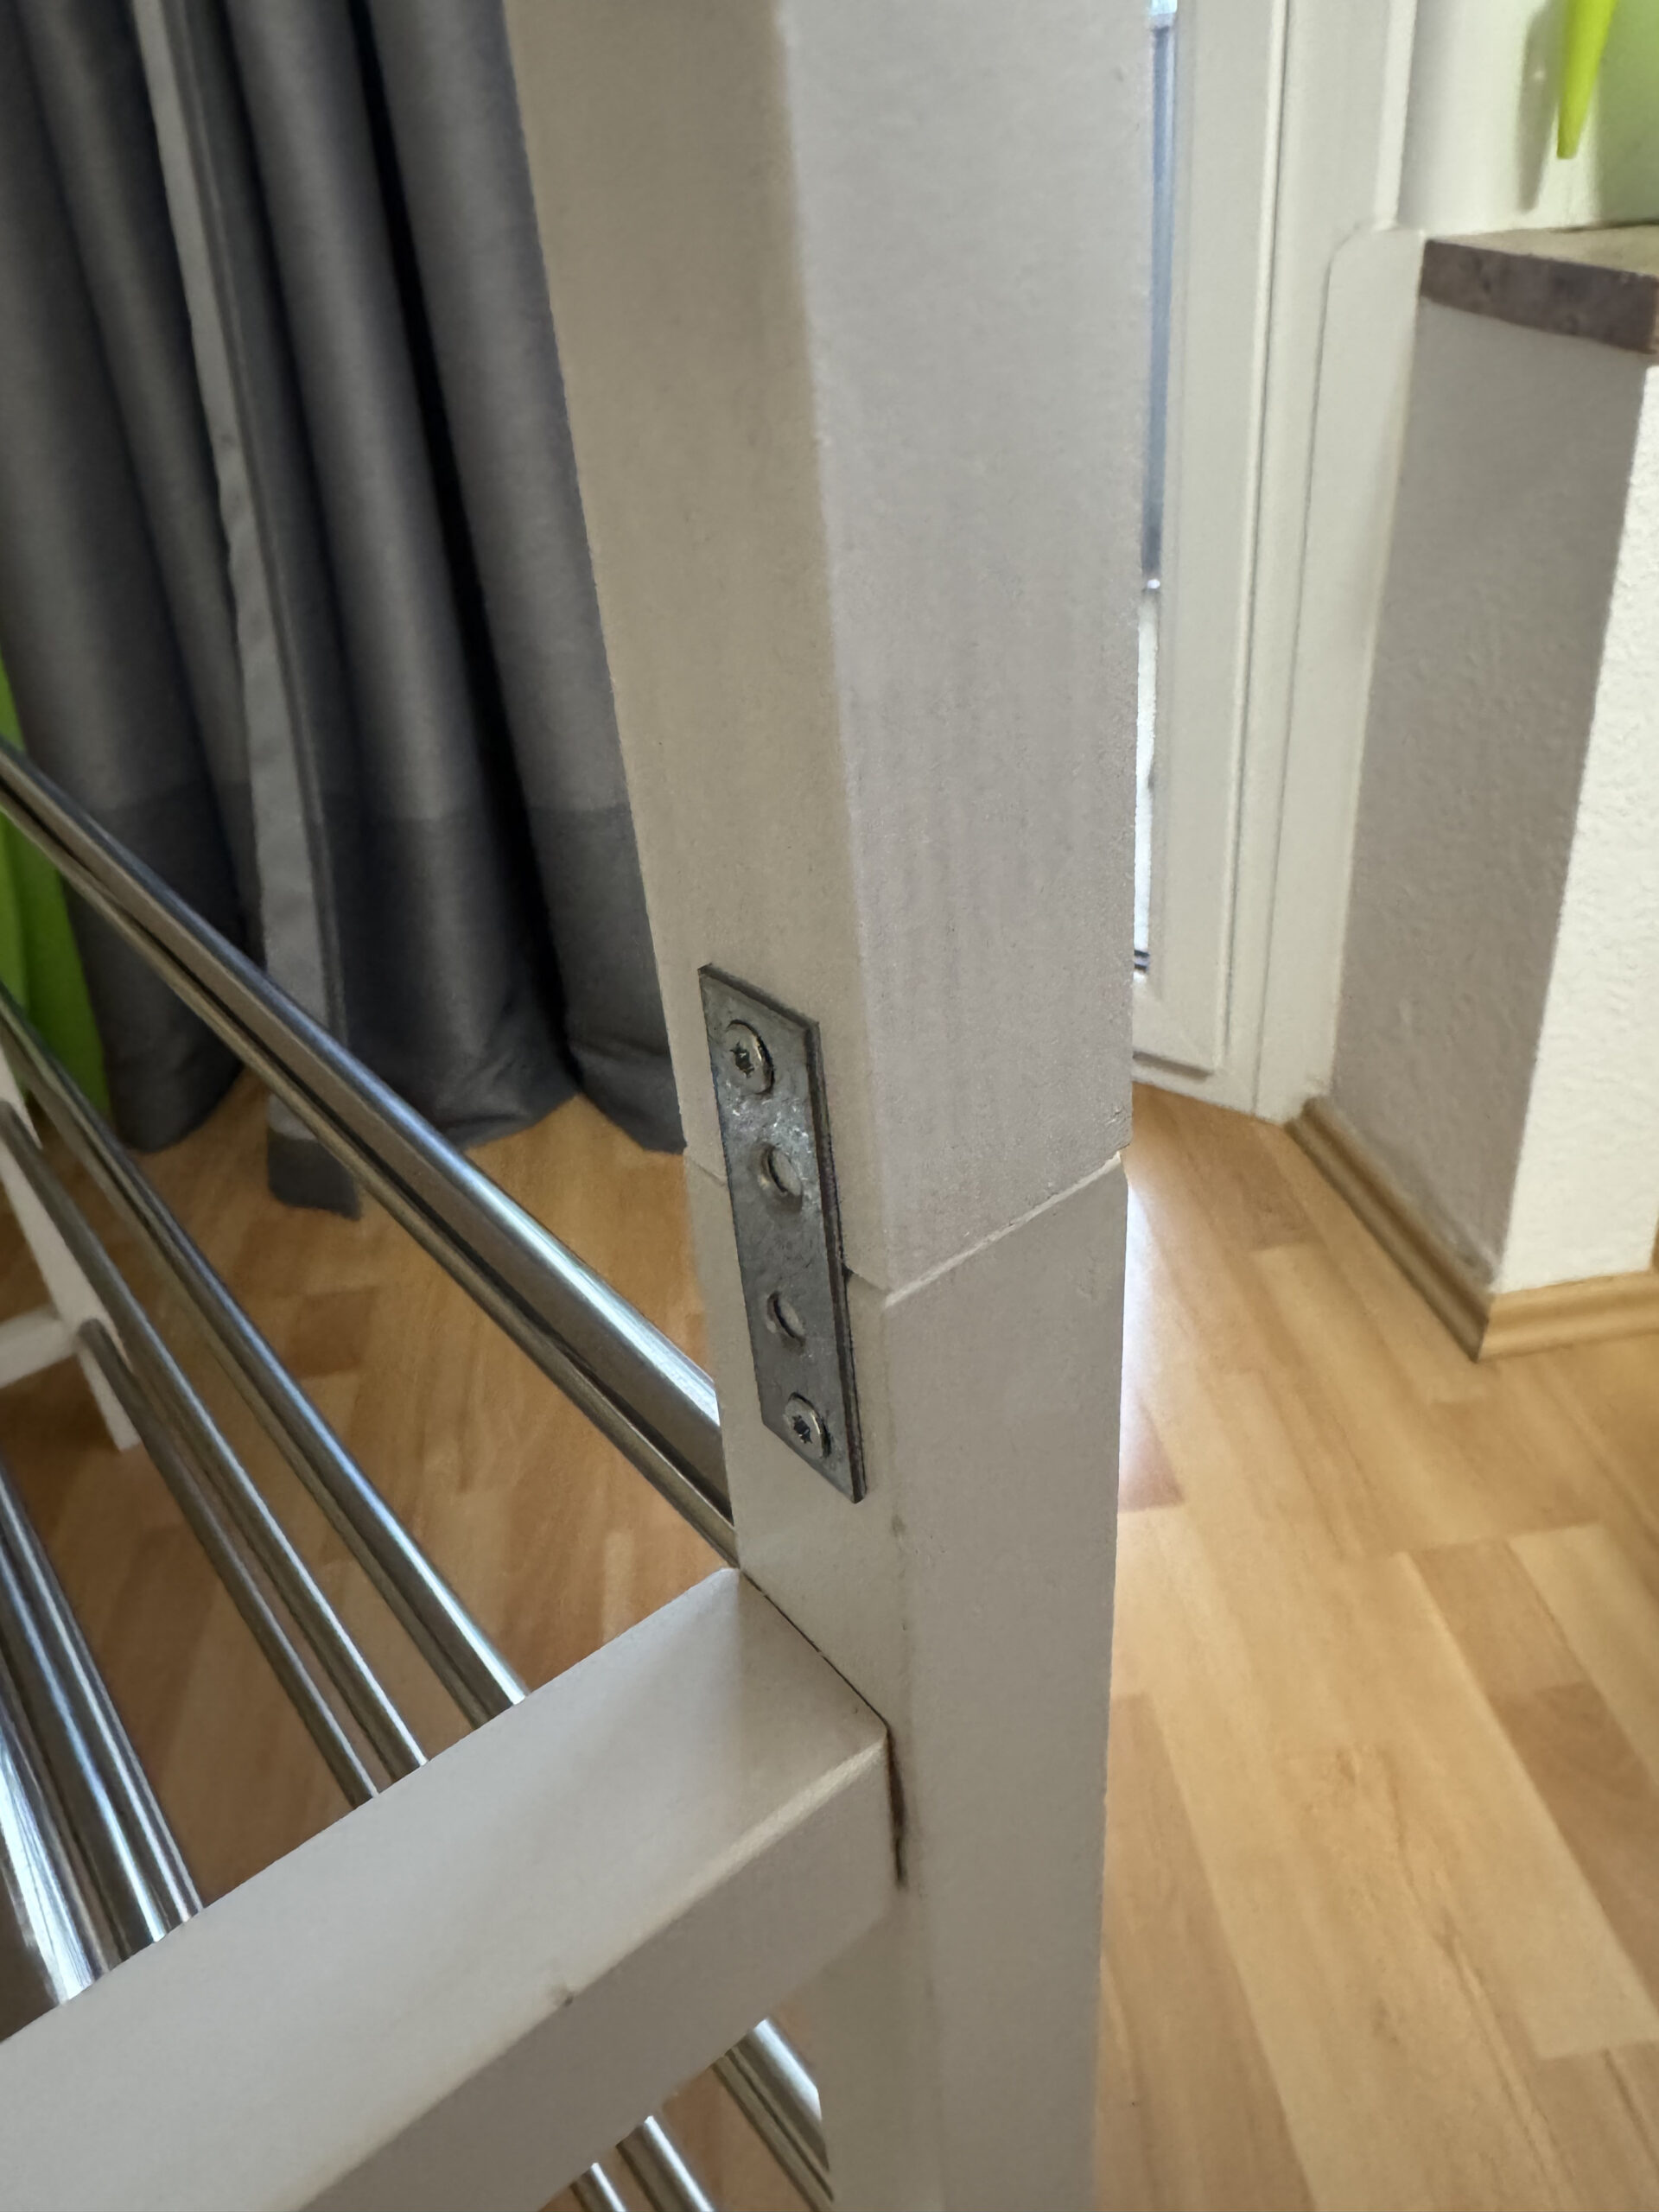
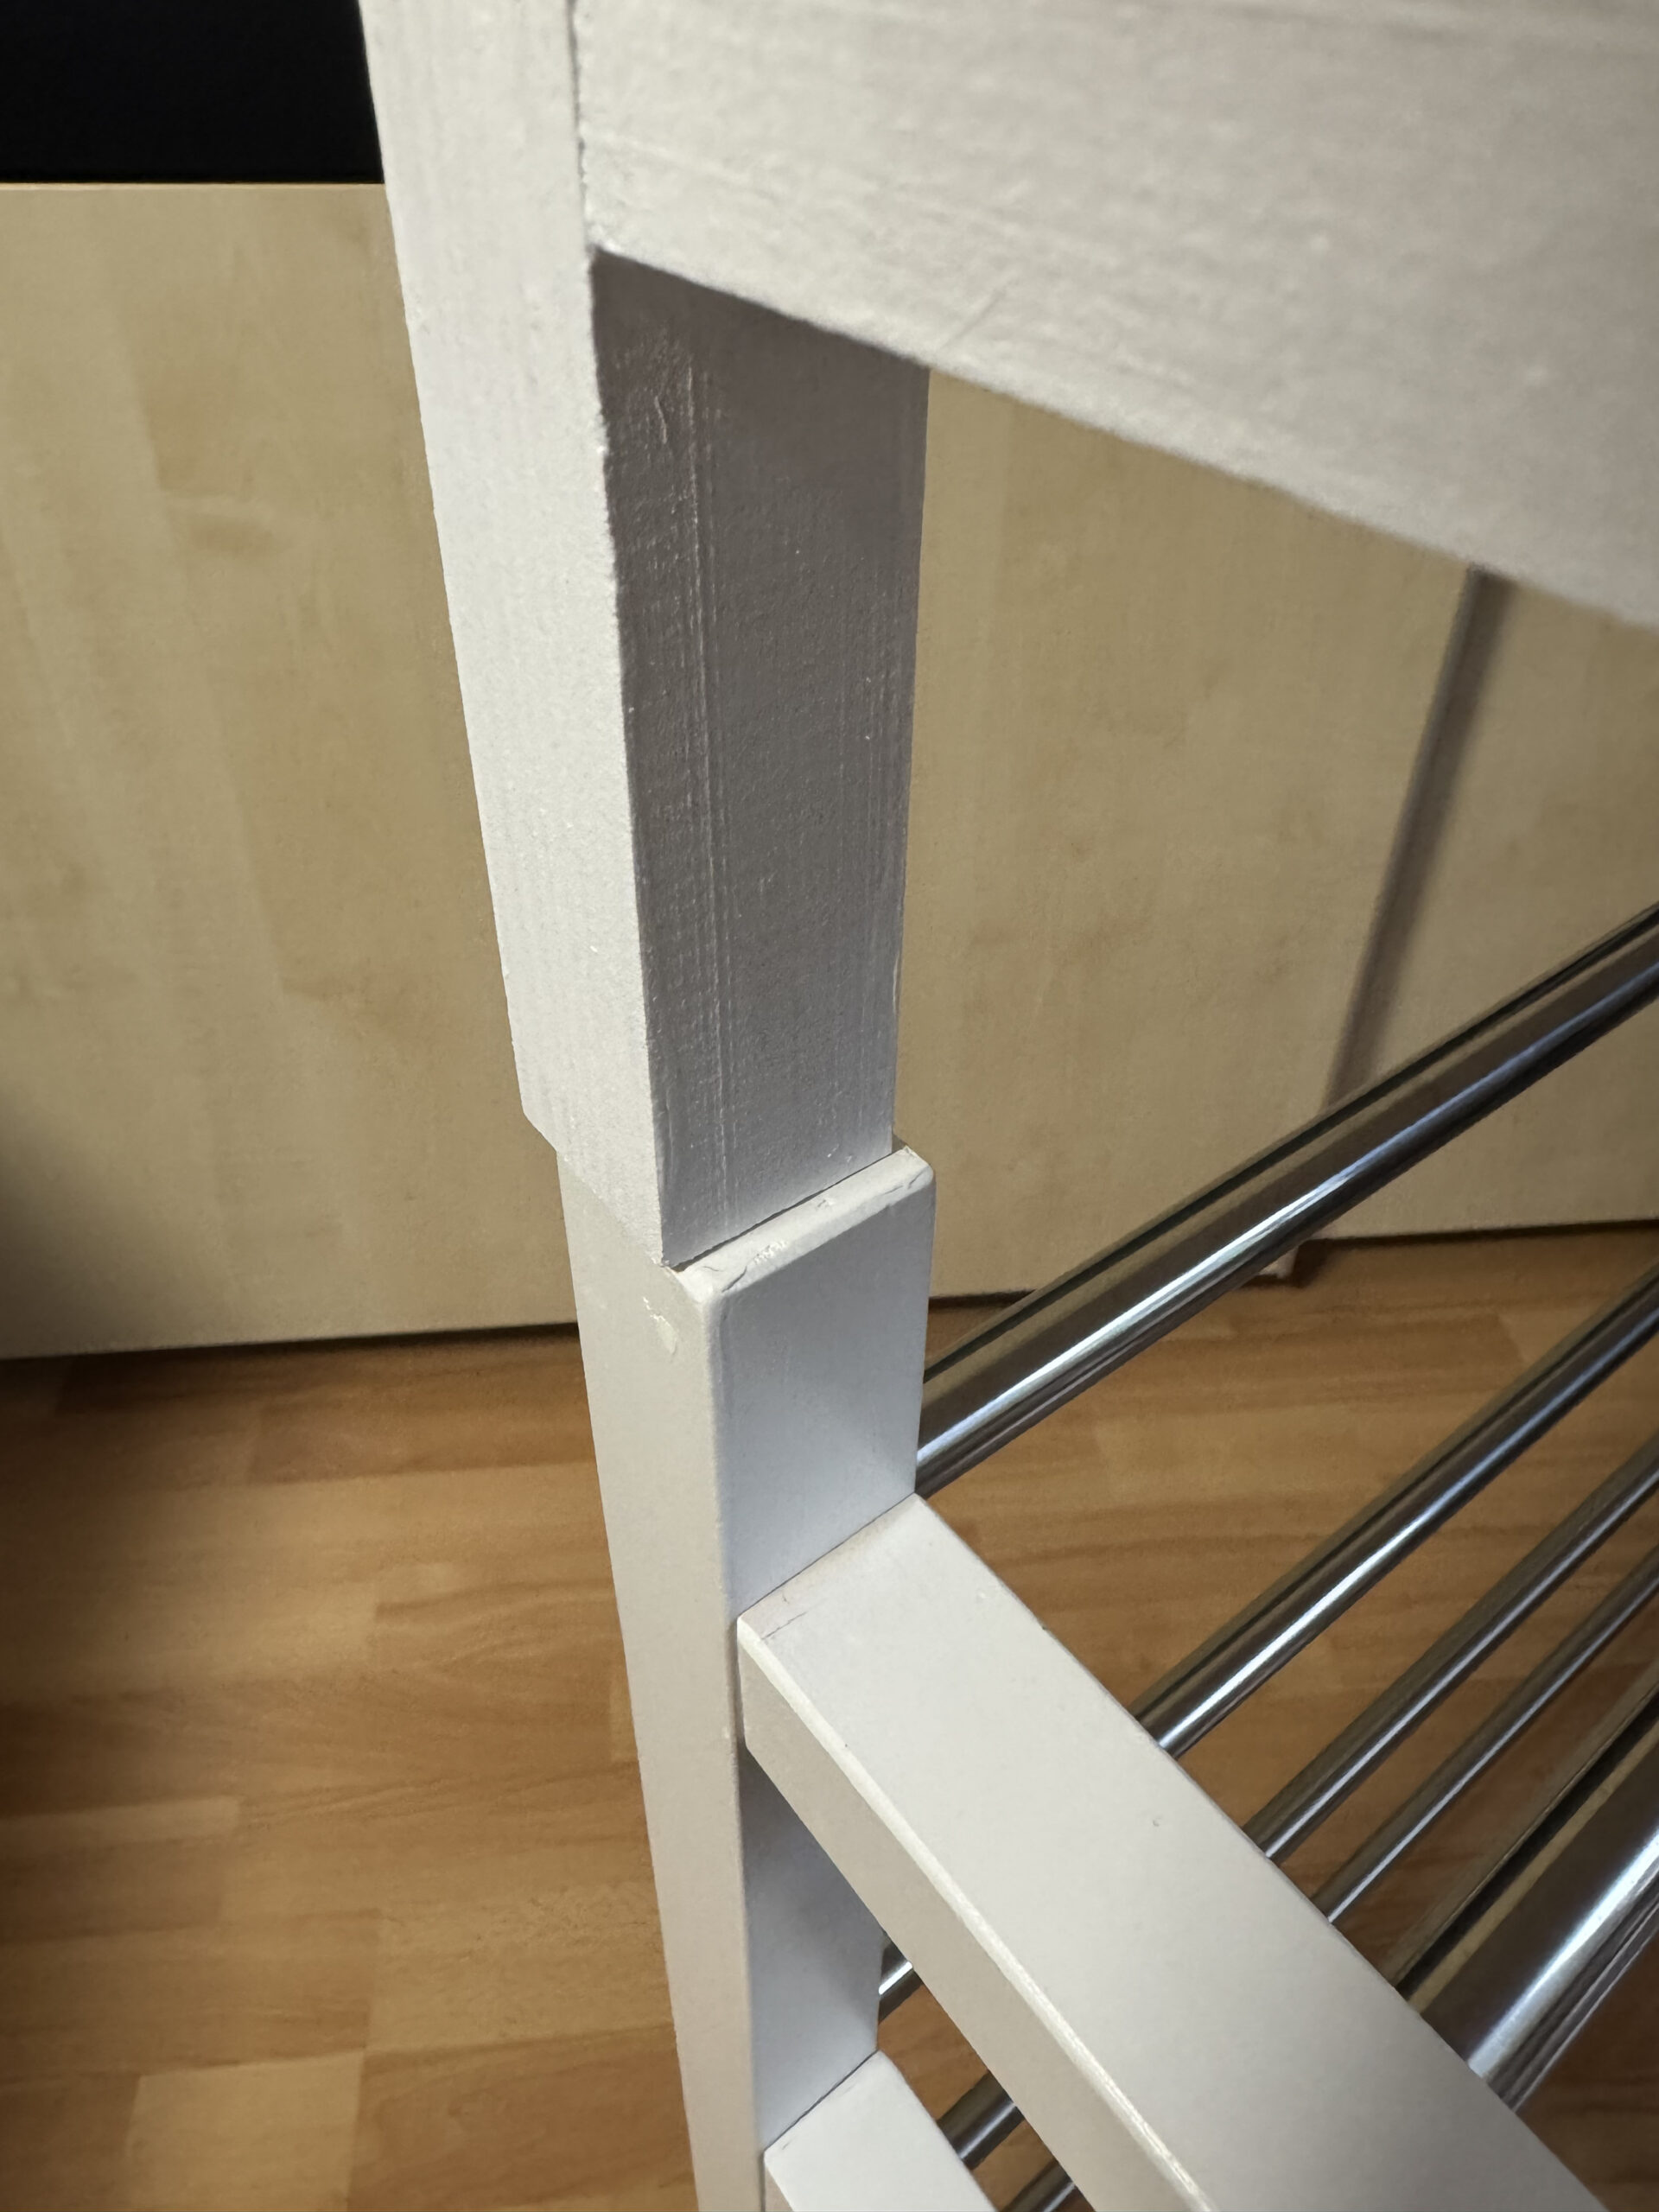
To attach it to the shoe rack I used some metal bracing. There were some alignment issues, because the shoe rack is not very high quality and not very accurately constructed, and I built my part according to the ideal dimensions (100cm x 30cm) and not to the actual dimensions. I am happy to report that my work is accurate to the millimeter. Also my posts are a couple millimeters smaller than the ones of the shoe rack causing additional alignment problems, since I wanted to put the metal bracing on the inside, which shifts everything over by the difference in size between the posts. In the end I made it work as best as I could and am fine with it.
As a final note the total material cost was 41.55€. And now, here is the finished shelf in its location in the storage room: